Working with 3D Views
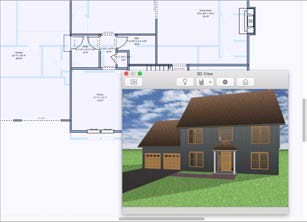
Architect 3D lets you view your design in photo-realistic 3D. You can select exterior and interior wall color, add realistic roof materials and select from a variety of wood textures to make your design completely unique. Using a 3D view, you can see your design from a variety of angles and access a number of render styles, including the powerful ClearView, where you can literally see through the walls and view electrical, plumbing, and so on.
The 3D views are available on the toolbar.
 |
 |
 |
|---|---|---|
3D View Window Full 3D View Elevation Editor
To reset the 3D view
- Choose 3D > Reset 3D View (or press Shift-Command-R).
To display a floating 3D view
- Choose 3D Window View
 from the 3D View pop-up menu. A floating 3D view appears. You can drag to move the window, or resize by dragging an edge or corner.
(alternatively) Choose Design > Design Mode > 3D Window View (or press Option-Command-3).
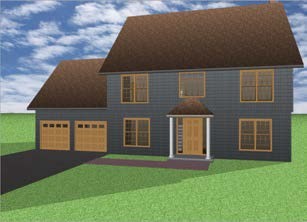
To display a 3D view only
- Choose 3D Full View
 from the 3D View pop-up menu. A full 3D view appears. (alternatively) Choose Design > Design Mode > 3D Full View (or press Option-Command-2).
Note : You can hide the left and right sidebars to create a larger 3D view.
To display Elevation Editor view
- Choose
 from the 3D View pop-up menu.
(alternatively) Choose Design > Design Mode > Elevation Editor (or press Option-Command-4).
 There are predefined views available in the toolbar. Choose one of the views to quickly see your design from that direction, or click the Rotate Elevation View Angle button and drag in the view window to rotate around the design.

You can add doors, windows, and accessories while in Elevation View by selecting one of the tools and then clicking on a wall to place. For more info on editing door, window, and accessory properties see “Floor Plan Tab”
While in Elevation View, you can also edit roofs, decks, and 3D objects that exist in your design.
To display Real Model view
- Choose RealModel
 from the 3D View pop-up menu. The view changes to RealModel and the RealModel menu becomes available.
(alternatively) Choose Design > Design Mode > RealModel (or press Option-Command-5). For more information, see “Preparing to Construct a RealModel”