Adding a Home Automation Touch-Panel
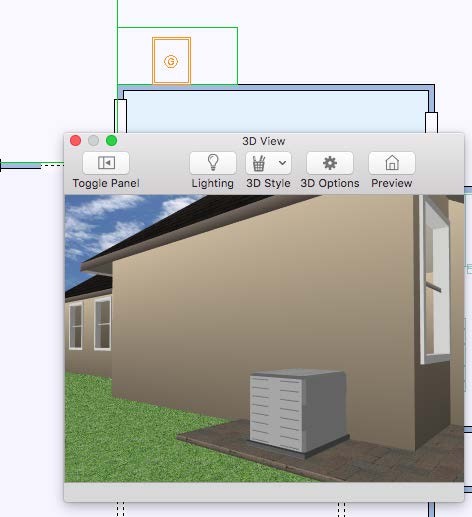
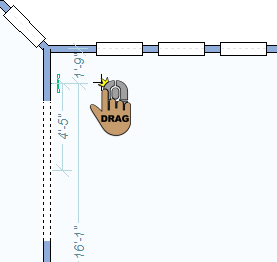
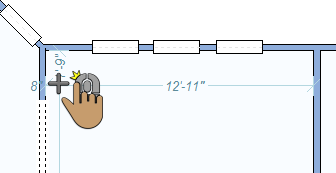
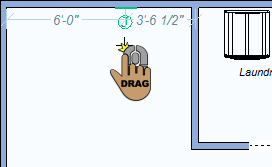
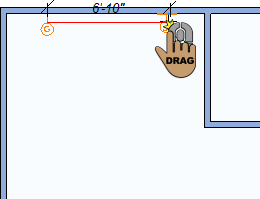
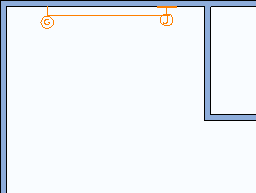
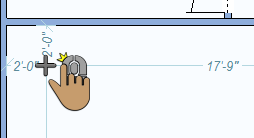
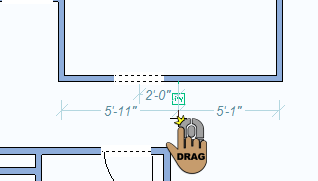
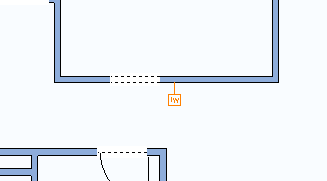
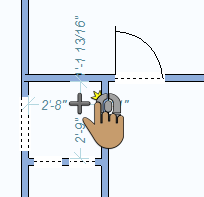
Automated components can help to make your home simpler and more efficient. There are a number of automation components available in Architect 3D from network routers to intercoms, and more. These components have default elevations and orientations. For example, the Backup Generator is placed on the ground, however the Backup Generator Panel attaches to a wall at a default elevation. The home automation components are displayed with dimensions as you drag along a wall or move the cursor around the design window, which indicate the distance from the center of the component to the nearest wall or other components in the design. You can reposition any of the home automation components using basic editing techniques.
| Below are some references that may be useful as you design |
|---|
| Rotating a Selection Elevating Objects Moving a Selection AutoSnap and Alignment Options |
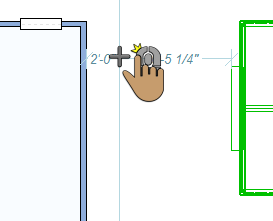
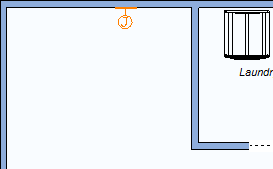
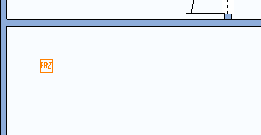
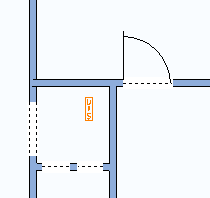
To place a home automation touch-panel
1 Choose the Home Automation Touch-Panel button  from the Electrical Tools group.
2 Use the Drag Along Wall drawing method to position the component on the side of a wall where you want it and release to place.
 |
 |
|---|---|
To place a network router
1 Choose the Network Router button  from the Electrical Tools group.
2 Use the Click Once to Place drawing method to place the component in your design.
 |
 |
|---|---|
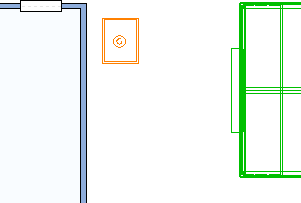
To place a photo cell
1 Choose the Photo Cell button  from the Electrical Tools group.
2 Use the Click Once to Place drawing method to place the component in your design.
 |
|
|---|---|
To place a backup generator
1 Choose the Backup Generator button  from the Electrical Tools group.
2 Use the Click Once to Place drawing method to place the component in your design.
 |
 |
|---|---|
To place a backup generator panel
1 Choose the Backup Generator Panel button  from the Electrical Tools group.
2 Use the Drag Along Wall drawing method to position the component on the side of a wall where you want it and release to place.
 |
 |
|---|---|
To place a circuit panel
1 Choose the Circuit Panel button  from the Electrical Tools group.
2 Use the Drag Along Wall drawing method to position the component on the side of a wall where you want it and release to place.
 |
 |
|---|---|
To place a conduit
1 Choose the Conduit button  from the Electrical Tools group.
2 Use the Drag-to-Size drawing method to set the angle and length for the component. Conduit is visual representation that is displayed in 2D, but not in 3D.
 |
 |
|---|---|
To place a freeze detector
1 Choose the Freeze Detector button  from the Electrical Tools group.
2 Use the Click Once to Place drawing method to place the component in your design.
 |
 |
|---|---|
To place an intercom
1 Choose the Intercom button  from the Electrical Tools group.
2 Use the Drag Along Wall drawing method to position the component on the side of a wall where you want it and release to place. The intercom is placed at a default elevation on the wall.
 |
 |
|---|---|
To place a battery power supply
1 Choose the Battery Power Supply button  from the Electrical Tools group.
2 Use the Click Once to Place drawing method to place the component in your design.
 |
 |
|---|---|