Printing Template Materials and Colors
To add a realistic look to your RealModel, you can print sheets of materials and colors to be applied to your model and trimmed to size. With this process, you can see what your design will look like. Follow these steps for every wall and roof on your model.
Note : It is best to print and assemble the material and color on each wall, before moving on to the next wall. If you choose not to do this, you should label each material template and color, as they are printed, to make identifying them easier, when attaching them to your model.
To print template materials and colors
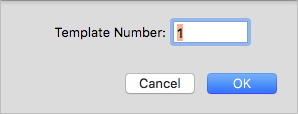
1 Decide which material you want to print first and then choose RealModel > Print Material or Color. A dialog appears.

2 Enter the template number of the material or color you want to print, then click OK. The Print dialog appears.
3 In the dialog that appears, confirm your default printer selection, and other print settings, then click
Print.