Exporting Files
You can export a rendering of your 3D View window to BMP, GIF, JPG, PNG, or TIFF format. Files can be exported in Textured, Wireframe, and ClearView modes. The exported file will appear just as your 3D View window does. Be sure to render your drawing in high-resolution, before exporting. Size is also controlled by how your 3D View window appears; the larger the 3D View window, the larger the file will be. For more information on controlling the 3D View environment, see “Viewing in 2D & 3D”
You can also export a landscape quote if your drawing includes landscaping. For more information, see “Exporting a Landscape Quote”
Exporting a 3D Image
You can export your rendered 3D view as an image file. There are many options available for exporting a 3D image.
Format specifies the file format for the 3D image.
Render Quality specifies the render quality for the 3D image.
To export a 3D Image
1 Open a 3D View window and set the position and render style you want.
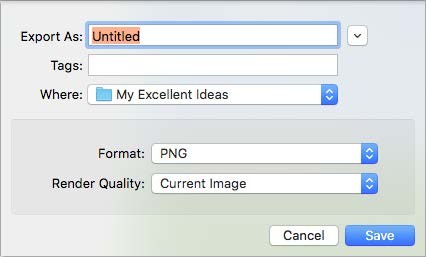
2 Choose File > Export > 3D Image. A dialog appears.
3 Enter a name for the file in the Export As field. (optional) Enter a tag to categorize the image.
4 Choose where you want to save the file.
5 Choose the Format and Render Quality from the corresponding pop-up menus.
6 Click Save. Your 3D view is saved.
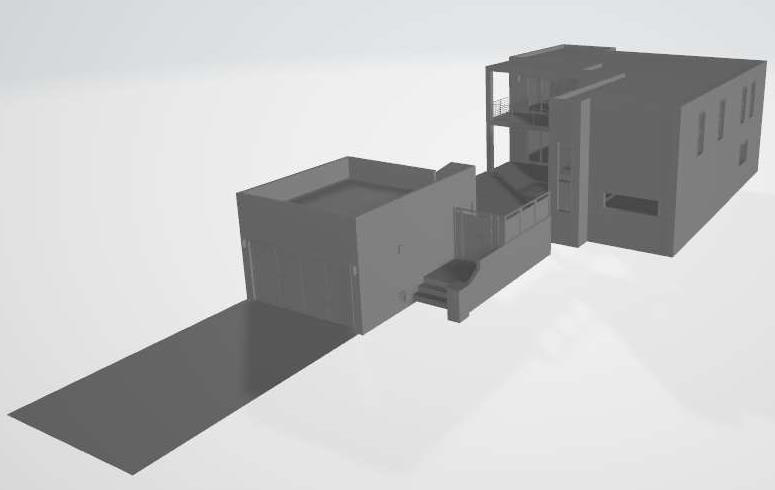
Exporting a STL File
You can export a 3D model to a STL file. This format is used to create a solid object from the Architect 3D model.
To export an STL file
1. Click File menu > Export > STL Design. The Export STL dialog box is displayed.
2. Choose a destination for the file then type a file name in the File Name text box.
3. Click Save. The STL file is exported to the location you’ve specified. Architect 3D Software automatically adds the STL extension.
4. Note that the files are exported without textures.
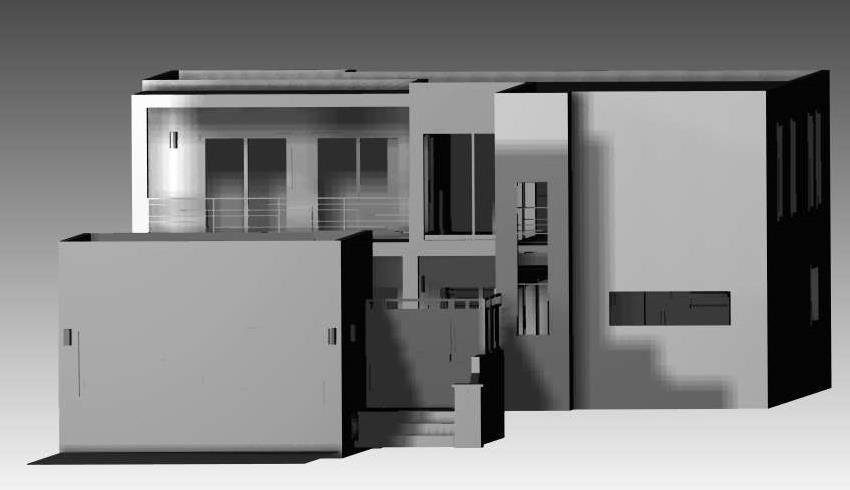
Exporting an OBJ File
You can export a 3D model to an OBJ file mainly for use in 3D modeling with other programs as well as 3D printing.
To export an OBJ file
1. Click File menu > Export > OBJ. The Export OBJ dialog box is displayed.
2. Choose a destination for the file then type a file name in the File Name text box.
3. Click Save. The OBJ file is exported to the location you’ve specified. Architect 3D Software automatically adds the OBJ extension.
Note Export to the OBJ format includes Textures used in the Architect drawing