Adding Home Security Components
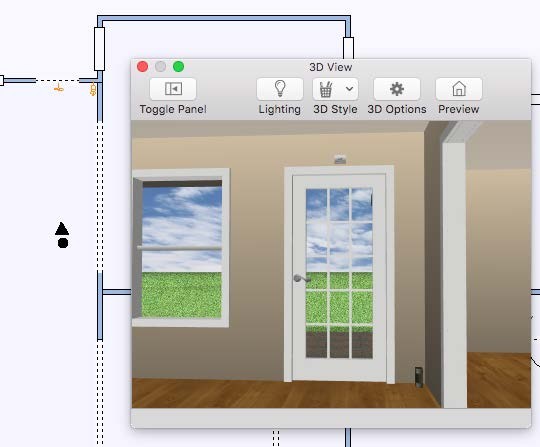
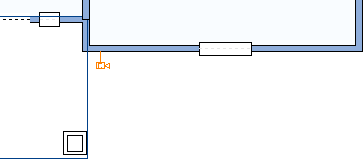
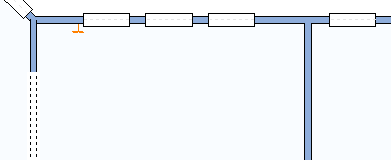
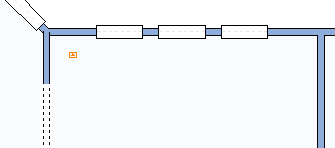
Home security components are available to suit all levels of security, from light and heat detection to cameras and control panels. These components have default elevations and orientations. For example, the Dome Camera button attaches a camera to the ceiling. The home security components are displayed with dimensions as you drag along a wall or move the cursor around the design window, which indicate the distance from the center of the component to the nearest wall or other components in the design. You can reposition any of the home security components using basic editing techniques.
| Below are some references that may be useful as you design |
|---|
| Rotating a Selection Elevating Objects |
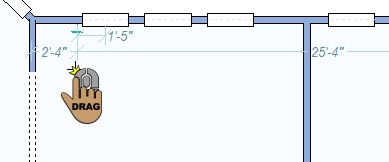
To add a security camera to a wall
1 Choose the Security Camera button  from the Electrical Tools group.
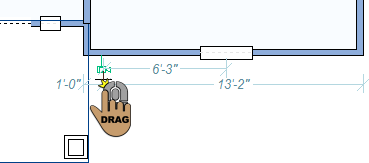
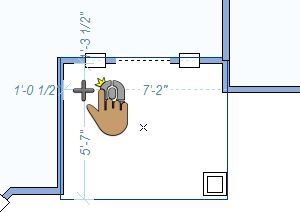
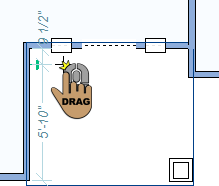
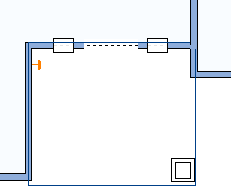
2 Use the Drag Along Wall drawing method to position the component on the side of a wall where you want it and release to place.
 |
 |
|---|---|
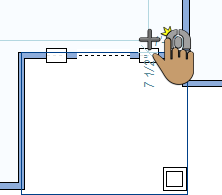
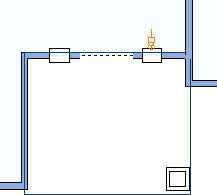
To add a dome camera to a ceiling
1 Choose the Dome Camera button  from the Electrical Tools group.
2 Use the Click Once to Place drawing method to place the component in your design. By default, the dome camera is attached to the ceiling, based on the auto ceiling elevation.
 |
 |
|---|---|
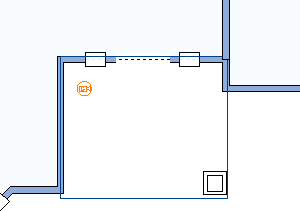
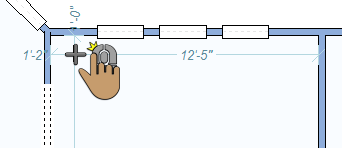
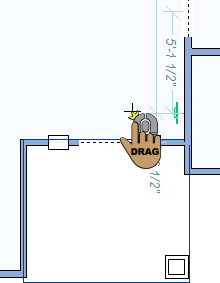
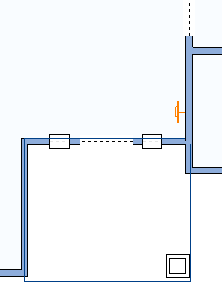
To add a security contact
1 Choose the Security Contact button  from the Electrical Tools group.
2 Use the Drag Along Wall drawing method to position the component on the side of a wall where you want it and release to place.
 |
 |
|---|---|
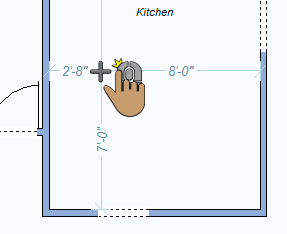
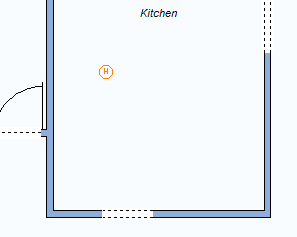
To add a motion detector
1 Choose the Motion Detector button  from the Electrical Tools group.
2 Use the Drag Along Wall drawing method to position the component on the side of a wall where you want it and release to place. The motion detector is placed at a default elevation near the ceiling.
 |
 |
|---|---|
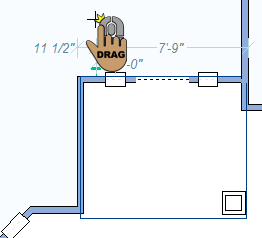
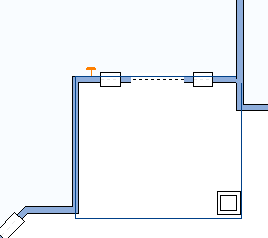
To add a wall-mounted glass break detector
1 Choose the Wall Mount Glass Break Detector button  from the Electrical Tools group.
2 Use the Drag Along Wall drawing method to position the component on the side of a wall where you want it and release to place. The glass break detector is placed at a default elevation on the wall.
 |
 |
|---|---|
To add a ceiling-mounted glass break detector
1 Choose the Ceiling Mount Glass Break Detector button  from the Electrical Tools group.
2 Use the Click Once to Place drawing method to place the component in your design. By default, the glass break detector is attached to the ceiling, based on the auto ceiling elevation.
 |
 |
|---|---|
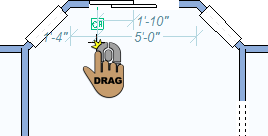
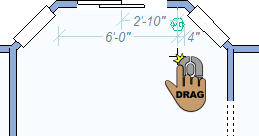
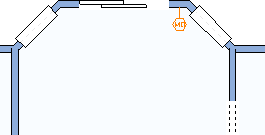
To add a photo beam
1 Choose the Photo Beam button  from the Electrical Tools group.
2 Use the Click Once to Place drawing method to place the component in your design. In the example below, the photo beam has been rotated to fit into a corner.
 |
 |
|---|---|
To add a security keypad
1 Choose the Security Keypad button  from the Electrical Tools group.
2 Use the Drag Along Wall drawing method to position the component on the side of a wall where you want it and release to place.
 |
 |
|---|---|
To add a security control panel
1 Choose the Security Control Panel button  from the Electrical Tools group.
2 Use the Drag Along Wall drawing method to position the component on the side of a wall where you want it and release to place.
 |
 |
|---|---|
To add a heat detector
1 Choose the Heat Detector button  from the Electrical Tools group.
2 Use the Click Once to Place drawing method to place the component in your design. By default, the heat detector is attached to the ceiling, based on the auto ceiling elevation.
 |
 |
|---|---|
To add a wall-mounted security keypad
1 Choose the Security Keypad Wall Mount button  from the Electrical Tools group.
2 Use the Drag Along Wall drawing method to position the component on the side of a wall where you want it and release to place.
 |
 |
|---|---|
To add a pedestal-mounted access keypad
1 Choose the Security Keypad (Pedestal Mount) button  from the Electrical Tools group.
Use the Click Once to Place drawing method to place the component in your design
 |
 |
|---|---|