Accessing the 3D Rendering Styles
With Architect 3D’s five 3D rendering options you can view your design in a variety of ways. You can access the rendering styles from the 3D view toolbar or the 3D menu.
 |
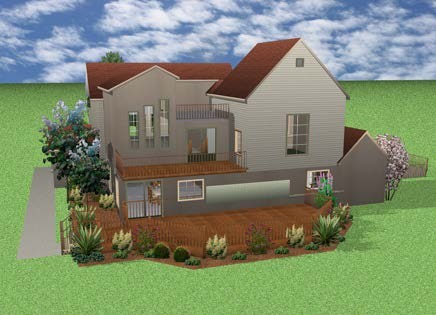
 Shaded Texture shows all of paint, materials, objects, and plants.
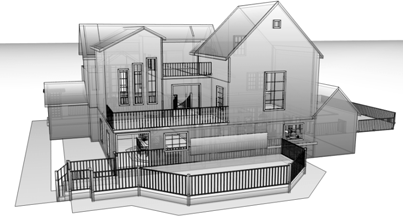
 ClearView lets you see potential conflicts hidden by walls, for example, between utilities, and so on.
 |
 |
|---|---|
The ClearView Opacity is controlled by the Rendering & Navigation options, which you can access from the 3D view window toolbar or from the 3D menu. Drag the slider to control how transparent or opaque the view appears.

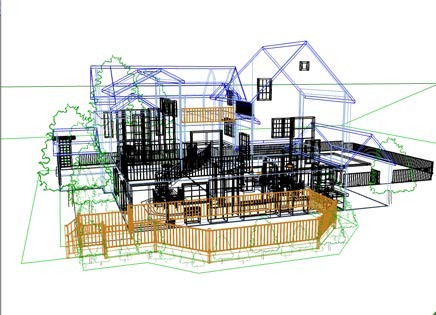
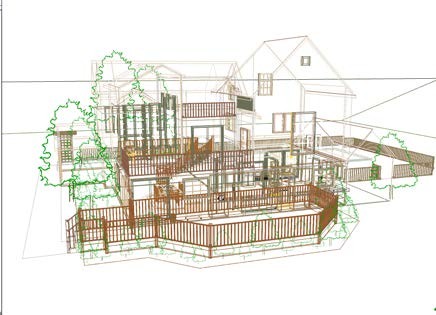
 Colored Wireframe mode displays your design on a white background. Each feature of your floor plan will be rendered in the color of the plan tab where it is drawn. For example, walls will be displayed in the color you have defined for the Floor Plan.
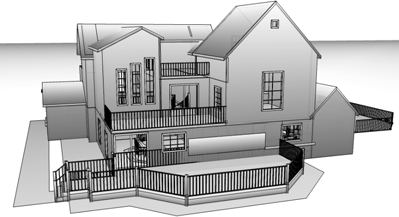
 Textured Wireframe mode also displays your design on a white background. But, each feature of your floor plan will be rendered in the color of the material you have applied to it.
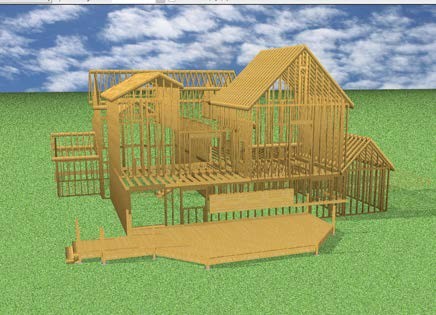
 Framing mode displays your design to show the studs, rafters, and other framing features. Wall attachments such as plumbing and electrical components are not visible while in framing mode.
To view a 3D rendering style
1 Open a 3D view window.
2 Click the 3D Style button  on the toolbar and choose the rendering style you want. (alternatively) Choose 3D > Rendering Style and then choose the rendering style you want.
To adjust ClearView Opacity options
1 Open a 3D view and click the 3D Options button  on the toolbar. (alternatively) Click 3D > Rendering Options.
2 Click the Rendering & Navigation tab, then adjust the ClearView Opacity setting and then click OK.