Placing a Shower
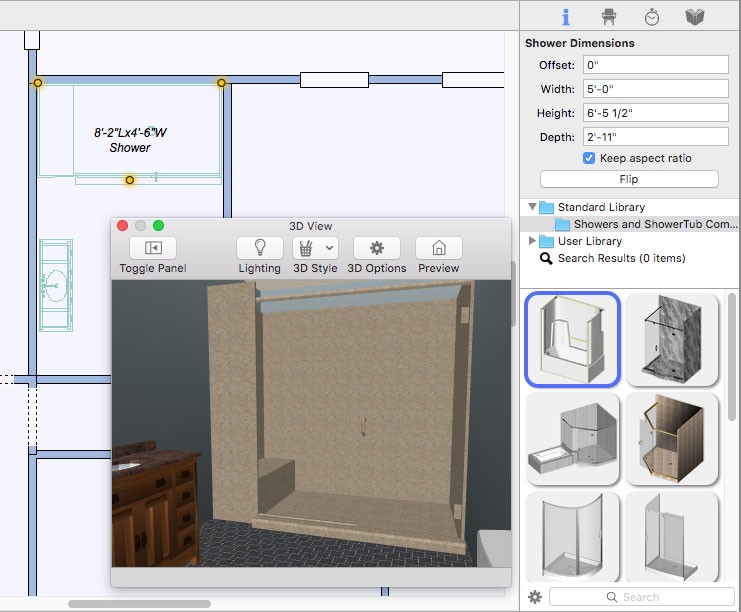
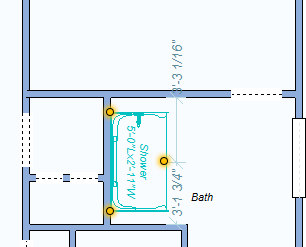
Showers are placed in the same manner as bath tubs. In addition to associative dimensioning and wall tracking, as you place a shower, Architect 3D automatically adds annotation to your design once the shower is placed. If you don’t find the exact sized shower you are looking for, simply place a shower that is similar in size, then adjust the shower properties to the exact size you want for your home design. As you drag along a wall, the dimension lines indicate the distance from the center of the shower to the nearest wall end or plumbing fixture. When the tool is active you can choose a shower style from the Properties tab in the right sidebar. You can also change the style after the shower has been placed by selecting the shower in your drawing and choosing a different style.
| Below are some references that may be useful as you design |
|---|
| Shower Properties, AutoSnap and Alignment Options, Elevating Objects, Moving a Selection, Nudging a Selection, Applying Building Materials, Applying Paint Colors |
To place a shower
1 Choose the Shower button  from the Plumbing Tools group.
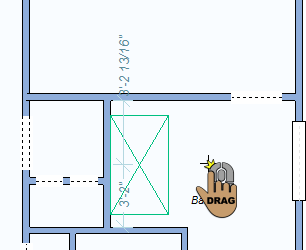
2 Use the Drag Along Wall drawing method to position the component on the side of a wall where you want it and release to place.
 |
 |
|---|---|