Printing Floor Plans
Architect 3D prints, using the current printer drivers. You can, however, print using any installed printer. Using the Print dialog you can specify a printer from those currently installed. You can print your drawing in color or in black and white; it can be printed to scale or you can print it all on one page, whatever you require. Follow these steps to print your 2D drawing. See Mac Help for information on printer settings.
Note : Gridlines print if they are visible when the drawing is printed.
To print to fit page
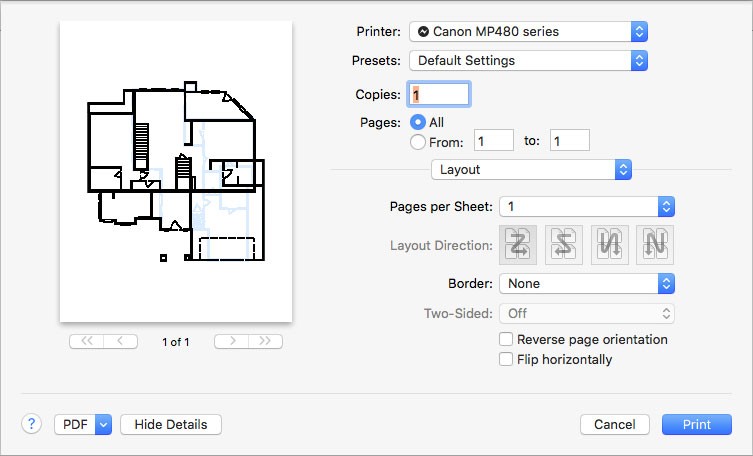
1 Choose File > Print to Fit (or press Command-P). A dialog appears. Click the disclosure triangle to expand the sheet.
2 Choose the printer you want from the Printer pop-up menu.
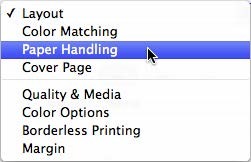
3 From the pop-up, choose Paper Handling.
4 Select the “Scale to fit paper size” checkbox. The Destination Paper Size pop-up menu becomes active.
5 Choose the paper size from the Destination Paper Size pop-up menu.
6 Click Print.
To print to scale
Before printing to scale, you can adjust your Plan Scale setting on the Design menu. For more information on scale, see “Setting the Scale”
1 Choose File > Print to Scale (or press Option-Command-P). A dialog appears.
2 Choose the printer you want from the Printer pop-up menu.
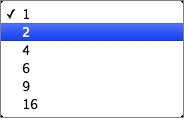
3 By default, the design prints one page per sheet of paper. To adjust the number of pages that are printed on each sheet of paper, choose Layout from the pop-up menu, and then choose the number of sheets you want from the Pages per Sheet pop-up menu.
4 When you choose more than 1 page per sheet, you can choose the layout direction to specify the direction that the pages are printed.

5 When all of the print options are set, click Print.
To set up your page for printing
1 Choose File > Page Setup (or press Shift-Command-P). A dialog appears.
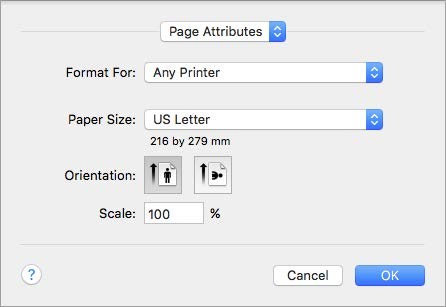
2 Choose the printer or fax machine you want to format from the Format For pop-up menu.
Note : To edit system preferences, choose Printers & Scanners Preferences and use Mac Help to configure system preferences.
3 Choose the Paper Size from the pop-up menu.
To enter a custom paper size, choose Manage Custom Sizes. Enter the custom paper size information, in the corresponding fields, and click OK.
4 Select the Orientation you want.
5 Enter the scale to which you want your page to print in the Scale field.
6 Click OK to apply your page setup. The settings are applied to the printer(s) you chose.