PhotoView Properties
Once you have imported your PhotoView image, you have the option of further customizing its appearance. This can be done at any time during the design process. You can resize, change elevation, rotate, flip it, and perform other editing tasks. To edit a PhotoView image, click to select it in the design window and the PhotoView Properties are displayed.
Note : Always press the Return to accept new values in a text field.

Size defines the Width and Height, in inches or feet and inches, for the image. You can also resize an image manually by dragging an end point until the image is the size you want.
Dragging an end point only changes the width of the image; to keep proportions accurate, update the Height value manually.
Cast Shadows checkbox controls if the imported image generates a shadow or not. When selected, the image casts a shadow; when deselected no shadow us cast.
Flip Image button flips the image horizontally.
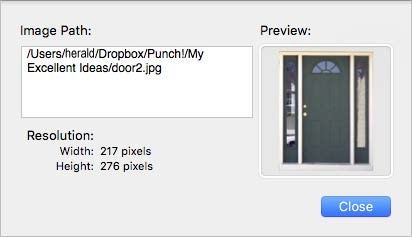
Image Information button open the PhotoView Info dialog box, which shows the path where the file is located on your hard drive.
Set Image button allows you to set a different image in your drawing. You can search for a new image and add it to the design, replacing the existing image (the dimensions remain the same).
Tip: You will find it useful to store PhotoView images in the Content folder in the Architect 3D directory. The content folder is designed to be the first place searched for missing files, for instance, PhotoView files, custom materials, custom trims, and so on.