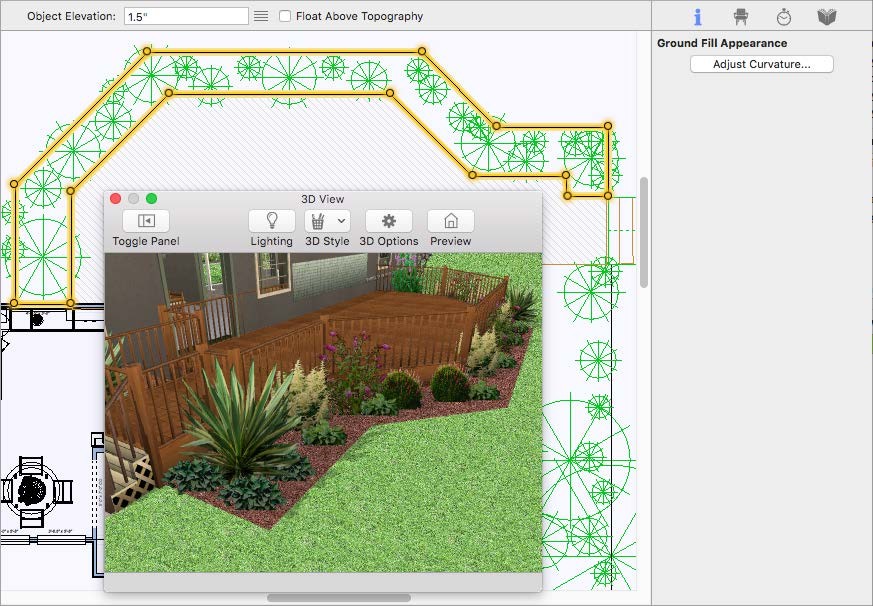
Adding a Fill Region
From simple, rectangular garden entryways and flower beds to elaborate planting areas, Architect 3D makes designing them easy. You can also show mulch around trees or shrubs, or to add a pond or stream to your landscaping. Ground fill regions have a default mulch material applied, which can be updated by applying a different material to the region in the 3D view window. As you draw fills, a rubber band line is displayed and follows the pointer. Also, dimensions are displayed as you draw.
After you draw a ground fill region, you can change the material that is applied to the fill, or you can fill the region with plants, or even add edging around the border. When filling with plants, you should make sure to give them enough space to account for their growth potential.
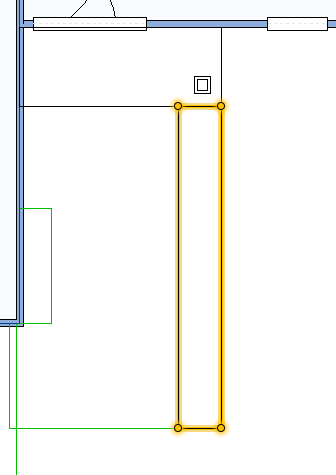
To draw ground fill region
1 Choose the Ground Fill Region button  from the Landscape Tool group.
2 On the Properties pane, choose the shape you want.
3 Use the Define 2D Shape drawing method to draw a fill region.
 |
 |
|---|---|
This example shows a ground fill region drawn using the Rectangle From Corner shape
To fill a ground fill region with plants
1 Draw a ground fill region (see “To draw ground fill region”
2 Choose the plant you want to add in the fill region (for information on accessing plants, see “Plants Libraries”
3 Right-click an edge of the ground fill region and choose Fill with Plants. A dialog appears.

4 Choose the settings you want and then click Fill.