Defining the Property Line
If you are working in a confined or unusually-shaped area, you may want to define the property lines. The property line will only appear in the 2D design window.
If you know the exact coordinates you can enter them using the Survey Coordinates window and define your property line based on the data you input (you can also edit a manually drawn property line and adjust the points based on coordinates). There are three coordinate modes available when adding a property line based on coordinates.
| Below are some references that may be useful as you design |
|---|
| Reshaping and Resizing 2D Objects AutoSnap and Alignment Options Elevating Objects Moving a Selection Nudging a Selection Changing Curve Tension Dimensioning |
To add a property line manually
1 Choose the Property Line button  from the Landscape Tools group.
2 On the Properties pane, choose the shape you want.
3 Use the Define 2D Shape drawing method to draw a property line.
 |
 |
|---|---|
This example shows a railing drawn using the Closed Polygon shape
To add a property line by specifying coordinates
1 Double-click the Property Line button from the Landscape Tools group. A dialog appears.
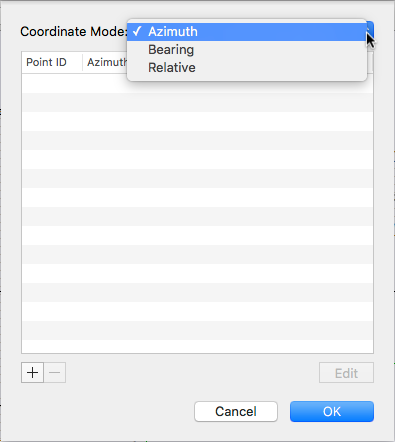
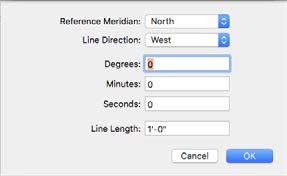
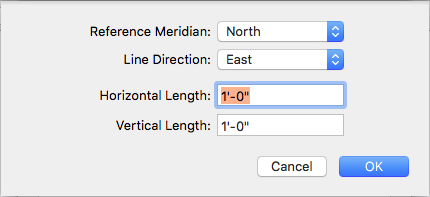
2 Choose the Coordinate Mode and click the Add button  . The options differ depending on the reference meridian.
 |
 |
 |
|---|---|---|
Azimuth Bearing Relative
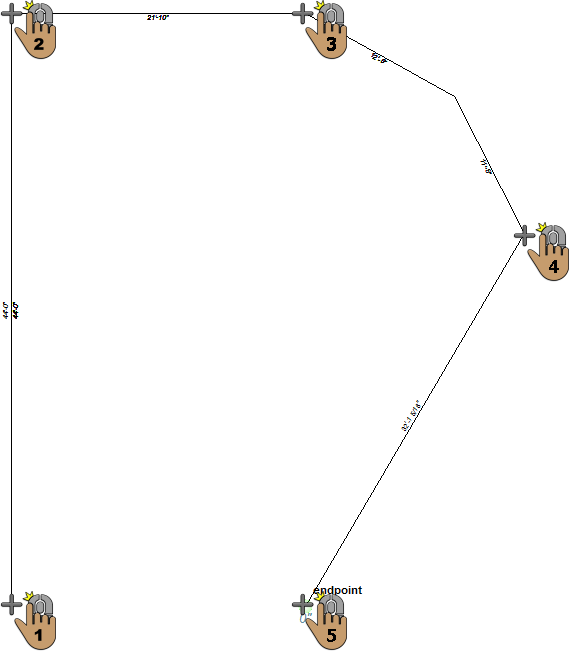
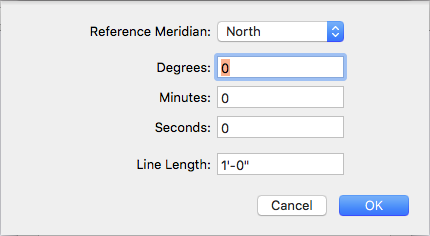
3 Specify the survey coordinates and click OK.
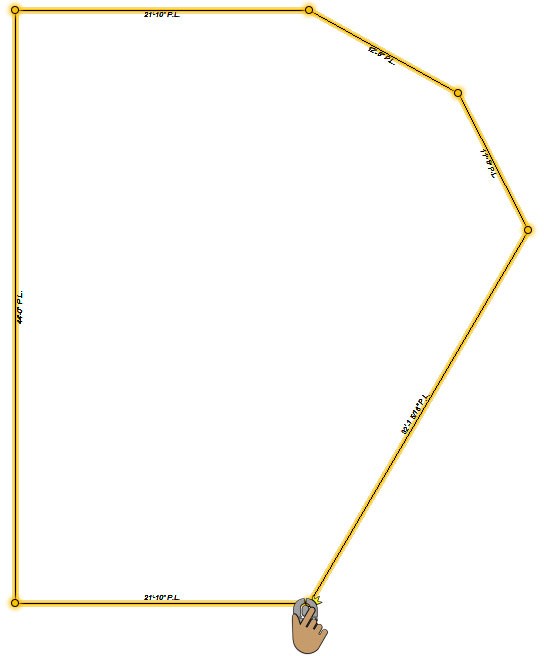
4 Click OK to draw the property line.