Drawing Walls
QuickStart makes it easy to begin your design process, but you can add walls at any time. You can either draw “free form” or to specific dimensions, whichever suits your needs best. Walls are automatically joined when you draw, and are placed at right angles, while curved walls and bay walls include angular segments.
You can draw the followings types of walls:
- Straight Wall
- Curved Wall
- Bay Wall
| Below are some references that may be useful as you design |
|---|
| Wall Properties 2D Editing Methods Reshaping and Resizing 2D Objects Changing Segment Length Customizing Wall Framing Properties Breaking a Wall |
Straight Wall
There are two ways to draw straight wall segments: freeform or custom length.
The Wall Tool creates a straight, freeform wall segment. The angle and length are determined by the start and end points of the wall you draw.
The Wall (Custom Length) Tool creates a straight wall segment based on a custom defined length that you specify. The angle is determined by the start and end points of the wall you draw, and the length is based on the values you specify in a dialog that appears.
To draw freeform walls
1 Choose the Wall button  from the Floor Tools group. Its properties appear on the Properties pane.
2 Use the Drag-to-Size drawing method to drag the wall segments to the desired length and angle.
 |
 |
|---|---|
To draw custom length walls
1 Choose the Wall (Custom Length) button  from the Floor Tools group. Its properties appear on the Properties pane.
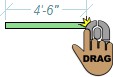
2 Use the Drag-to-Size drawing method to drag the wall segment to the desired angle. A dialog appears when you release the mouse button.
3 Enter the Custom Length needed, then click OK. The wall is resized based on the value you entered.

Curved Wall
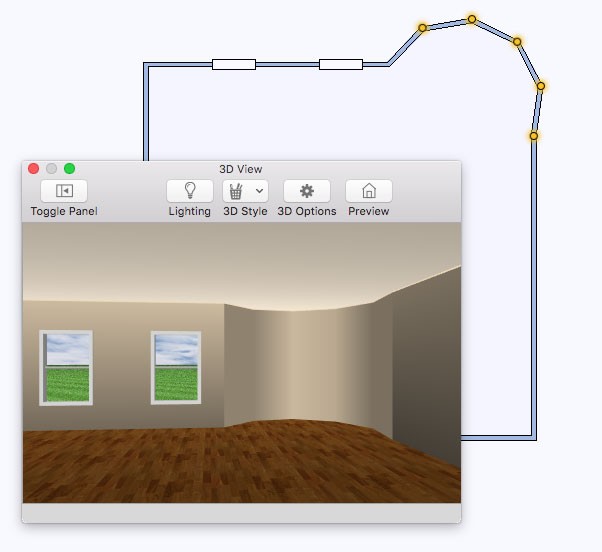
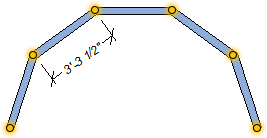
The Curved Wall Tool creates a curved wall based on a diameter and angle you define. The default length for each segment in the curve is 3'-6", but you can change this on the Properties pane, in the Seg. Length field, before you draw. In the example below, a curved wall has been added in the corner of the room. The curved segment length used to create this curved wall was 2'-0".
To draw a curved wall
1 Choose the Curved Wall button  from the Floor Tools group. Its properties appear on the Properties pane.
(optional) Edit the Seg. Length value on the Properties pane. Press the Return key to accept new values.
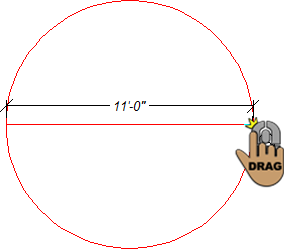
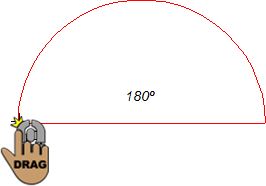
2 In the design window, drag to set the diameter of the curved wall. A rubber-band line follows the pointer and dimensions appear.
3 Release when the wall is the correct length and then drag until the wall is the shape or angle you want.
Note : Press the Shift key to reverse the direction the arc is drawing.
4 Click to place the wall.
 |
 |
 |
|---|---|---|
Bay Wall
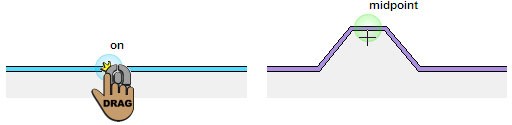
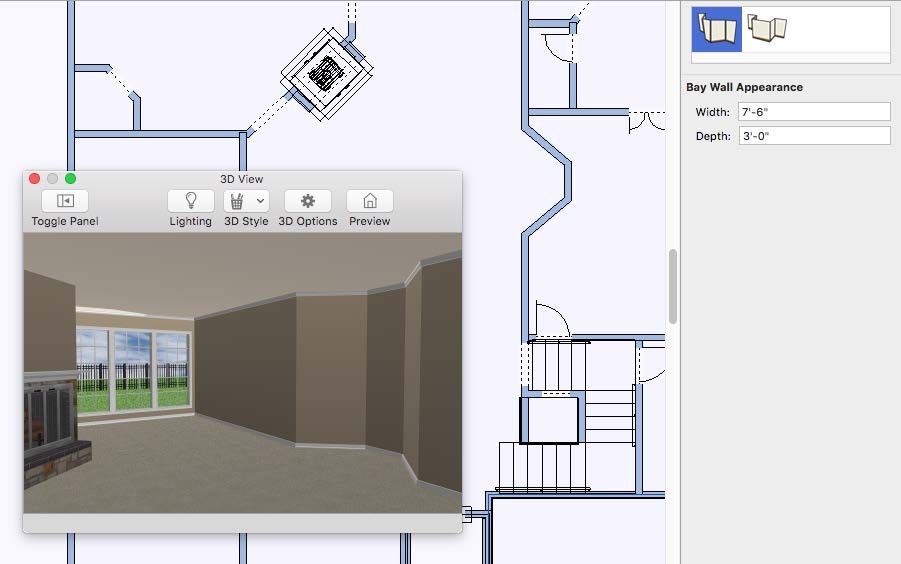
The Bay Wall Tool creates an angular or perpendicular bay section along an existing wall.
You can choose between an angular or perpendicular style before you draw by choosing the style on the Properties pane. Once placed, the bay style cannot be changed.
Note : As wall attachments, the width of the bay wall must be equal to or less than the length of the wall segment you’re attaching to.
To draw a bay wall
1 Choose the Bay Wall button  from the Floor Tools group. Its properties appear on the Properties pane.
2 On the Properties pane, choose the wall style you want.
(optional) Edit the Width and Depth values for the wall. Be sure to press Return after editing values.
3 Use the Drag Along Wall draw method to place an angular or perpendicular bay section along an existing wall.