2D Editing Methods
There are some common editing methods that you’ll use repeatedly while creating your design in Architect 3D Below are detailed steps for each of the editing methods. Practice these methods before you begin, or refer back to this information as you draw.
For additional editing techniques, see the chapter titled “Edit Your Design”
Reshaping and Resizing 2D Objects
Objects created using the Drag-to-Size or Define 2D Shape drawing method can be reshaped or resized by dragging a point or segment. For information on how to lock segment angles or release snaps and alignment constraints, see “AutoSnap and Alignment Options”
To reshape and resize 2D objects
1 Click the Select Objects button  and then click to select the point or segment you want to edit.
2 Drag the selection to reshape or resize the object. Release to place.
Elevating Objects
You can adjust the elevation of an individual object or a group of objects to a specific value or to match the elevation of a nearby object. You can also elevate all of the objects on an entire floor. For more information, see “Elevating Objects”
Component Description
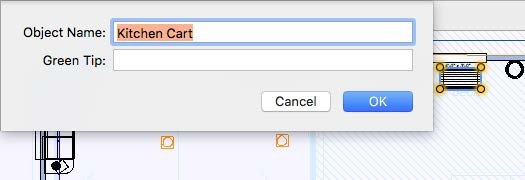
Components that are added to your design from one of the plan tab have a default description you can change. The description text is used in the Description column in Estimator. In the example below, the Kitchen Cart name is displayed for editing.
Updates to the description text only affect the component in your plan; changes do not affect the original item in the content library. To edit the component description information in the library, copy the item to the User Library and then edit its details. For more information, see “Organizing Library Content”
To edit component description
1 Choose the Select Objects button from the Editing Tools group and then right-click the object and choose Object Information from the shortcut menu.
2 Edit the text as needed and click OK.