Text Font
Use text to add information to your drawing. For example, you might add text to annotate rooms, specify a home address, the date the drawing was created, or a specific feature in your plan. Architect 3D gives you the flexibility to place text anywhere in your plan drawing, using different formatting techniques for each text instance. Text you place in your drawing appears on all 2D printed output.
The text tools are available in the Annotations Tools group on the left sidebar. For information on assessing the sidebar, see “Left Sidebar”
Multi-Line Text
Using the Multi-Line Text tool you can add multiple lines of text to your design for annotations. When adding text, you can edit the font properties by clicking the Font button, or edit the font after text is placed. For more information, see “Edit Text and Text Properties”
To place text in your drawing
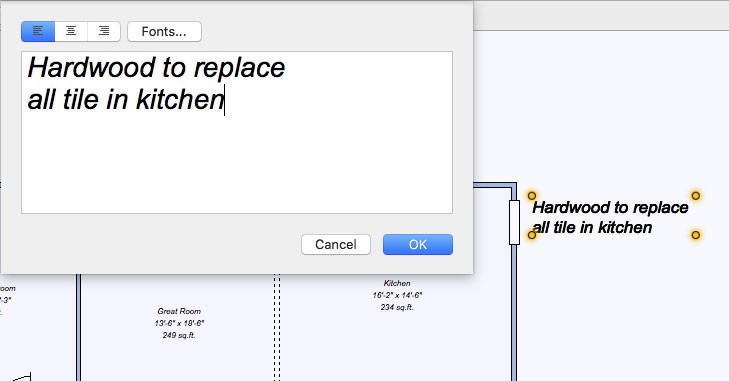
1 Choose the Multi-line Text button  from the Annotation Tools group and then click in the design window where you want to place text. A dialog appears.
2 Enter the annotation in the field. Press the Return key to move to the next line.
3 Click OK to place the text.
Rotated Text
Using the Rotated Text tool you can add a single line of text at an angle for precise annotations. When adding text, you can edit the font properties by clicking the Font button, or edit the font after text is placed. For details on font settings, see “Edit Text and Text Properties”
To place text at an angle
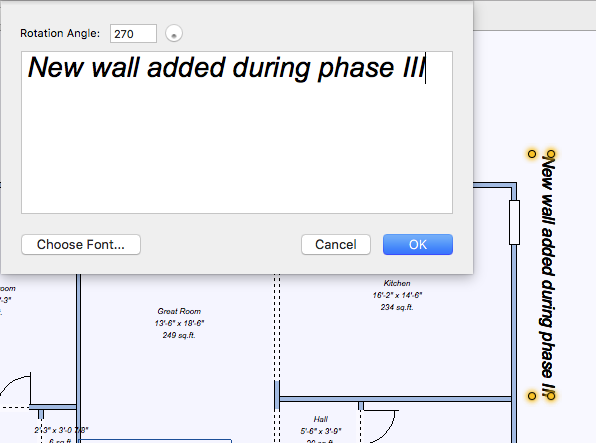
1 Choose the Rotated Text button  from the Annotation Tools group and then click in the design window where you want to place text. A dialog appears.
1 Enter the annotation in the field. Press the Return key to move to the next line.
2 Enter the Rotation Angle you want or drag the dial to set the angle.
3 Click OK to place the text.
Edit Text and Text Properties
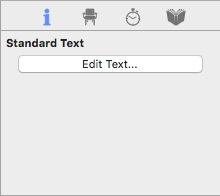
Once you’ve added text in your drawing you can edit the content, font properties, and alignment.
- Select the text and click the Edit Text button on the Properties pane (or right- click the text you want to edit and choose Edit Text from the shortcut menu). The text appears in a dialog.
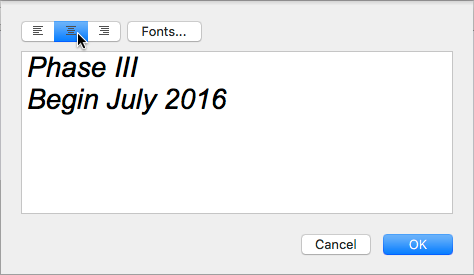
- Choose the Fonts button and change the font, style, and size. To narrow the font options choose the Collection and Family you want. The available fonts appear in the Typeface column.

- Alignment allows you to set the text justification for Left, Center, or Right (only available for multi-line text). Alignment is positioned within the text’s bounding text box. To resize the bounding box, drag a cornerpoint to set the size and then select the text alignment style you want and click OK.
 |
 |
 |
|---|---|---|
Drag to extend bounding box Choose alignment Text aligned in bounding box