Using Rules and Fills
You can change the thickness (weight) of the lines or fills of the shapes drawn with tools on the Detail Plan.
Line Thickness
You can choose a predefined line thickness on the Properties pane or specify a value up to 20pt. To edit the line thickness, you must select the shape first.
 |
 |
|---|---|
Line Weight 1pt Line Weight 6pt
To change the line thickness
1 Choose the Select Objects button from the Editing Tools group then click to select the shape you want to edit.
2 On the Properties pane, enter the thickness you want in the Width field and press Return. (alternatively) Click the arrow buttons to increase or decrease the size in increments of one.
Line Style
You can choose a predefined line style from the Style pop-up button on the Properties pane. To edit the line style, you must select the shape first.
|
 |
|---|---|
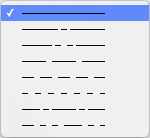
Solid Style Dotted Style
To change the line style
1 Choose the Select Objects button from the Editing Tools group then click to select the shape you want to edit.
2 On the Properties pane, choose the line style you want from the Style pop-up menu.
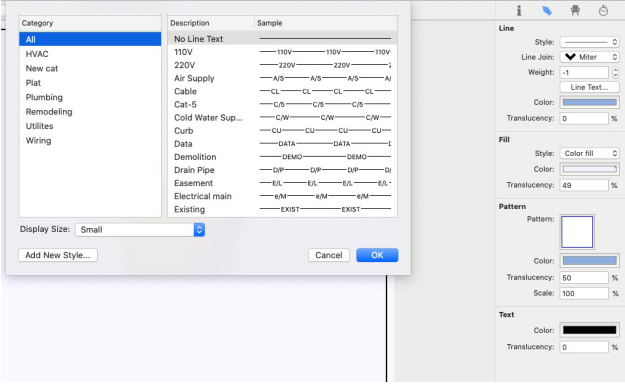
Line text styles
Add labels to line styles. Allow for labeling systems such as HVAC, electrical, plumbing runs. Additional text styles available through downloadable content or creates your own.
To change the line text
- Click the “Select/ Move Objects Tool” and then click to select the element you want to edit.
- On the Draw Style Tab, click on the Line text button and choose one of the line text styles.
- You can change the text size by switching the radio button in Display Size.
- You can add Custom text by filling Text, Description, and Category in New Text Line section.
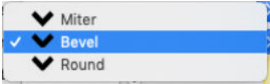
Line Join
You can choose a predefined line cap styles (miter, bevel, rounded) from the Line Join drop-down menu. To edit the line cap style, you must select the line or shape first.
To change the line cap style
- Click the Selection Tool and then click to select the element you want to edit.
- On the Draw Style Tab, click the Line-Join drop-down menu and choose one of the styles from the drop-down menu.
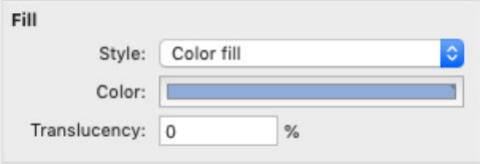
Fill
You can change an element’s fill using a solid color (Color Fill), or transparent (No fill). To edit an element’s fill properties, you must select the element first.
To change the shape fill
- Click the Selection Tool and then select the element you want to edit.
- On the Draw Style Tab, select the desired Fill Style, Color and Translucency and click to apply.
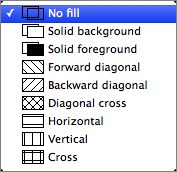
Fill Pattern
You can change a shape’s fill pattern to be transparent, a solid color, or a patterned fill. To
edit a shape’s fill style, you must select the shape first. The fills, from left to right, include:
- Transparent
- Filled
- Solid Filled
- Patterns
To change the fill pattern
1 Choose the Select Objects button from the Editing Tools group then click to select the shape you want to edit.
2 On the Properties pane, choose the pattern you want from the Pattern pop-up menu.