Placing Vents and Registers
Placing vents and registers involves one mouse click. Once you’ve placed vents, you can move them by dragging or defining specific coordinates. You can even rotate vents at custom angles to fit your design. Architect 3D provides several vents to choose from, including floor, ceiling, and wall vents. You can choose the register style on the Properties pane in the right sidebar before or after your place it in your design.
To following options are available in the HVAC Tools group:
- Floor Registers
- Wall Register/Return
- Ceiling Register/Return
| Below are some references that may be useful as you design |
|---|
| AutoSnap and Alignment Options Elevating Objects Rotating a Selection Moving a Selection Nudging a Selection Applying Paint Colors Applying Building Materials |
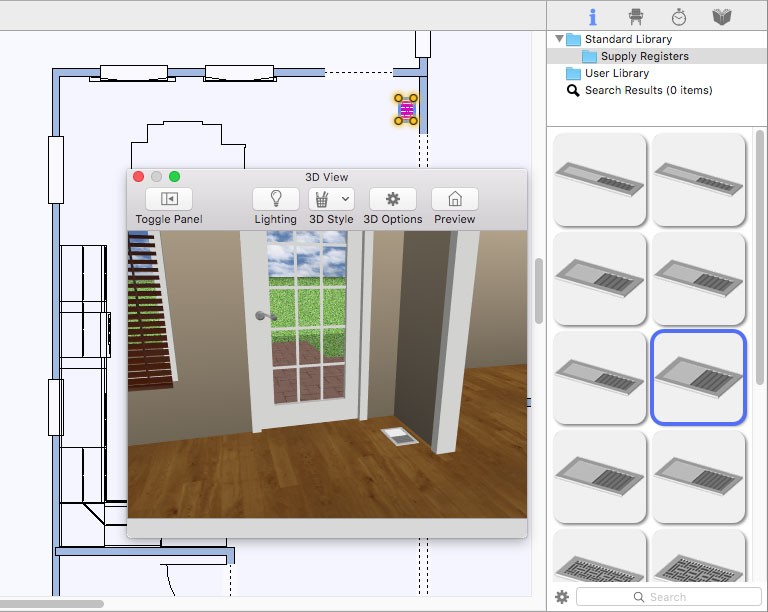
Floor Registers
Floor registers are placed at the auto-floor elevation, if the auto-floor is enabled. Otherwise, the register is placed at the base elevation for the current floor. If you’ve created a floor manually (using the Floor Tool) you should adjust the register elevation to match that of the floor. When the tool is active you can choose the style you want on the Properties pane. You can also change the style after the register has been placed by selecting the register in your drawing and choosing a different style.
To place a floor register
1 Choose the Floor Register button  from the HVAC Tools group.
2 Use the Click Once to Place drawing method to place the register in your design.
 |
 |
|---|---|
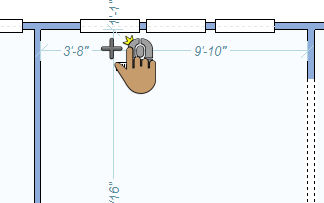
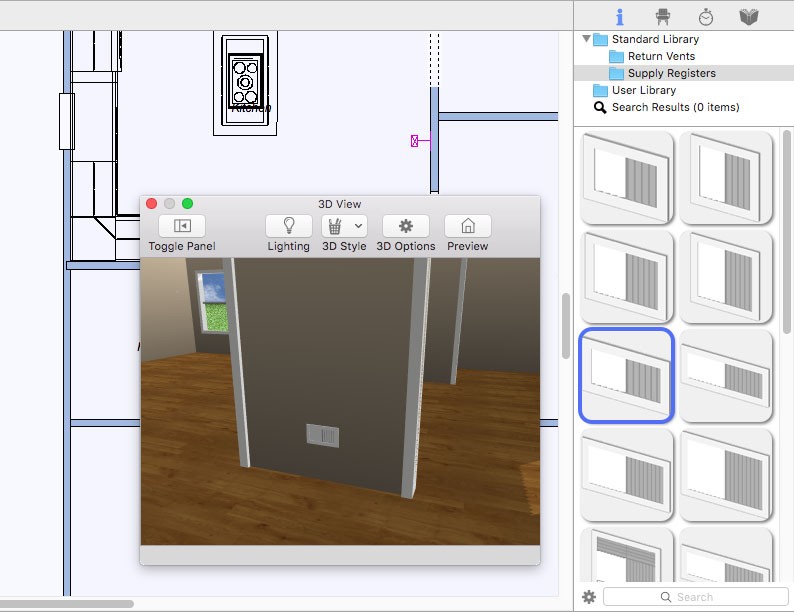
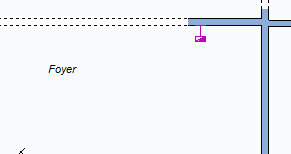
Wall Register/Return
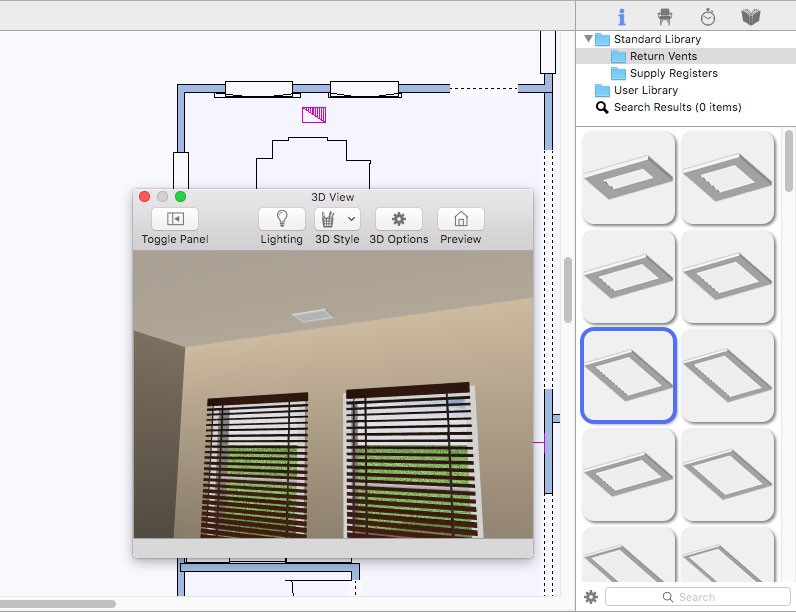
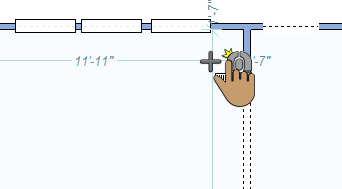
Wall registers and vents are placed on a wall at a default elevation. As you drag along a wall, the dimension lines indicate the distance from the center of the register/vent to the nearest wall end or wall attachment. When the tool is active you can choose the style you want on the Properties pane. You can also change the style after the register/vent has been placed by selecting the component in your drawing and choosing a different style.
There are two libraries available: Return Vents and Supply Registers. When a library is selected, its contents are displayed in the Preview Bar.
To place a wall register or return
1 Choose Wall Register/Return button  from the HVAC Tools group.
2 Use the Drag Along Wall drawing method to position the register/return on the side of a wall where you want it and release to place.
 |
 |
|---|---|
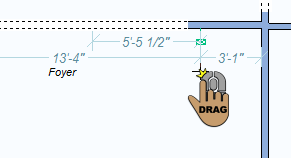
Ceiling Register/Return
Ceiling registers are placed at the auto ceiling elevation. If you’ve created a ceiling manually (using the Floor Tool) you may need to adjust the register/vent elevation to match that of the ceiling.
When the tool is active you can choose the style you want on the Properties pane. You can also change the style after the register/vent has been placed by selecting the component in your drawing and choosing a different style.
There are two libraries available: Return Vents and Supply Registers. When a library is selected, its contents are displayed in the Preview bar.
To place a ceiling register or return
1 Choose Ceiling Register/Return button  from the HVAC Tools group.
2 Use the Click Once to Place drawing method to place the register/return in your design.
 |
 |
|---|---|