Adding and Removing Flooring
Adding and Removing Flooring
You can manually draw a floor section that exists independent of an existing floor or surface. This enables you to customize the shape, thickness, and surface material to create a unique floor section.
You can also remove flooring by defining a cutout area. This works for floors drawing using the Floor Tool as well as auto-floors created within enclosures.
The following options are available:
- Floor Tool
- Floor Cutout Tool
| Below are some references that may be useful as you design |
|---|
| Floor Properties Reshaping and Resizing 2D Objects Elevating Objects Component Description Applying Building Materials |
Floor Tool
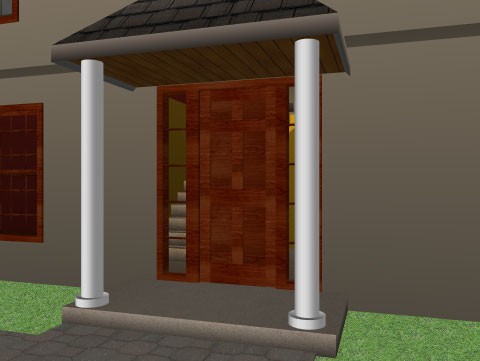
You can use floor sections in place of an auto-floor, for raised areas in a room, to create ceilings for patios or porches, or for other situations that call for an adjustable surface.
Note : If necessary, you can turn off the automatic flooring option. Click within an enclosure and deselect “Display Floor” on the Properties pane.
To draw flooring
1 Choose the Floor button  from the Floor Tools group. Its properties appear on the Properties pane.
2 On the Properties pane, choose how you want to draw the shape.
3 Use the Define 2D Shape drawing method to draw a floor section.
 |
 |
|---|---|
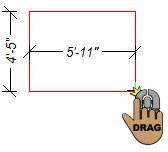
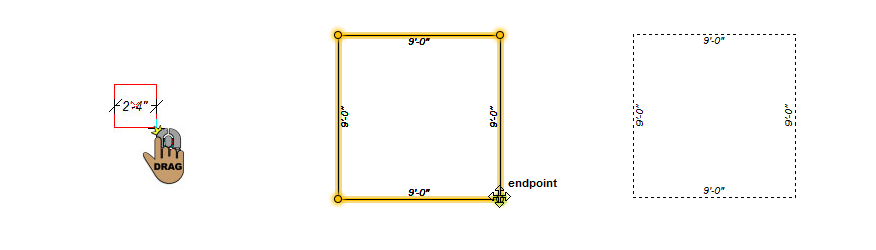
This example shows a floor drawn using the Rectangle From Corner shape
Floor Cutout Tool
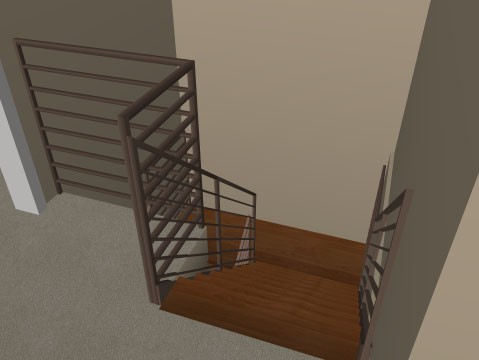
You can easily design lofts, creative staircase openings, create an opening where one does not currently exist.
To draw a floor cutout
1 Choose the Floor Cutout button  from the Floor Tools group. Its properties appear on the Properties pane.
2 On the Properties pane, choose how you want to draw the shape.
3 Use the Define 2D Shape drawing method to draw a floor cutout section.
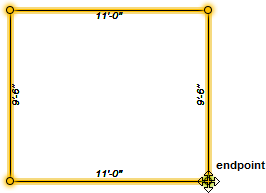
This example shows a floor cutout drawn using the Square From Center shape