Adding Lighting
You can add interior and exterior lighting to your design with just a couple of mouse clicks. Each light has its own properties so you can control settings individually. The following lighting options are available:
- Fixture Lights
- Flood Lights
| Below are some references that may be useful as you design |
|---|
| Light Properties 2D Editing Methods Elevating Objects Adding Lighting and Shadows Working with 3D Views on page 3 |
Fixture Lights
Adding fixture lighting to your design is very similar to adding other electrical components; however, they do not track directly to walls or automatically display dimensioning.
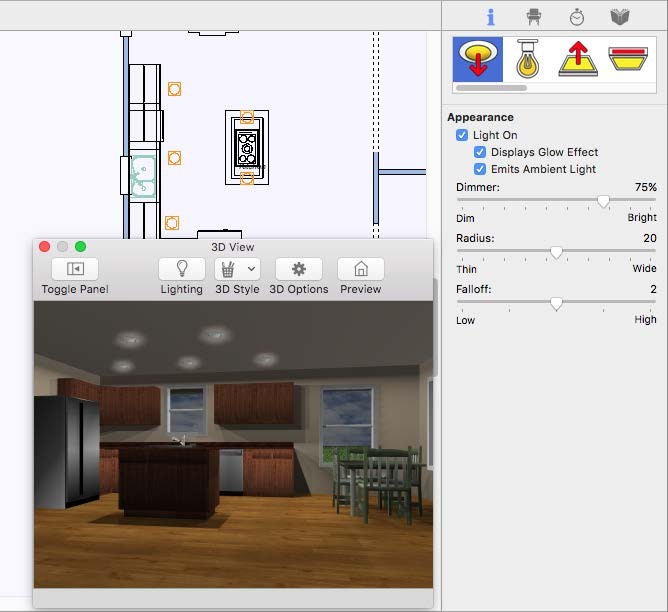
Architect 3D provides many light styles to choose from, including recessed canned lights, heat/vent lights, directional lights, even landscape lights. In addition, you can control the type and intensity of illumination that each fixture generates.
Before placing a light fixture in your drawing, choose a light style on the Properties pane. Once the light is place, its style cannot be changed.
To add light fixtures
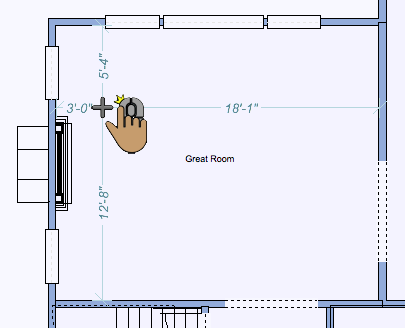
1 Choose the Fixture Lights button  from the Electrical Tools group.
2 Click the Properties tab and choose the light style you want.
3 Use the Click Once to Place drawing method to place the light in your design.
 |
 |
|---|---|
Flood Lights
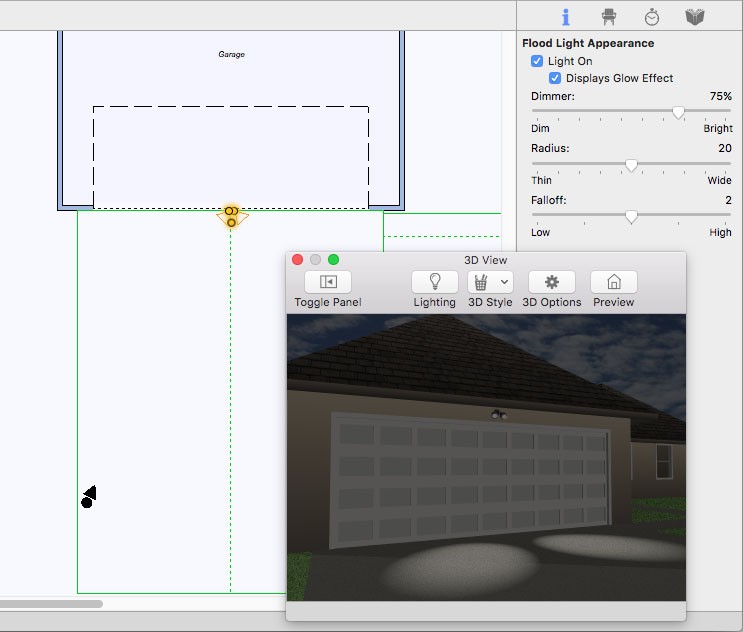
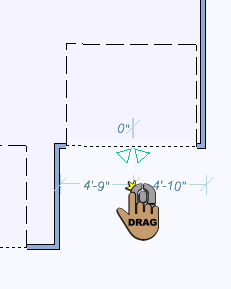
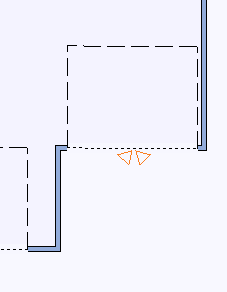
Flood lights are added just like outlets and switches; they attach to and track along walls. The flood light appearance is controlled on the Properties pane, and you can adjust this before or after the light is placed. You can change the flood light’s elevation or position after it has been placed.
To add a flood light
1 Choose the Flood Light button  from the Electrical Tools group.
2 Use the Drag Along Wall drawing method to position the light on the side of a wall where you want it and release to place.
 |
 |
|---|---|