Editing 3D Objects
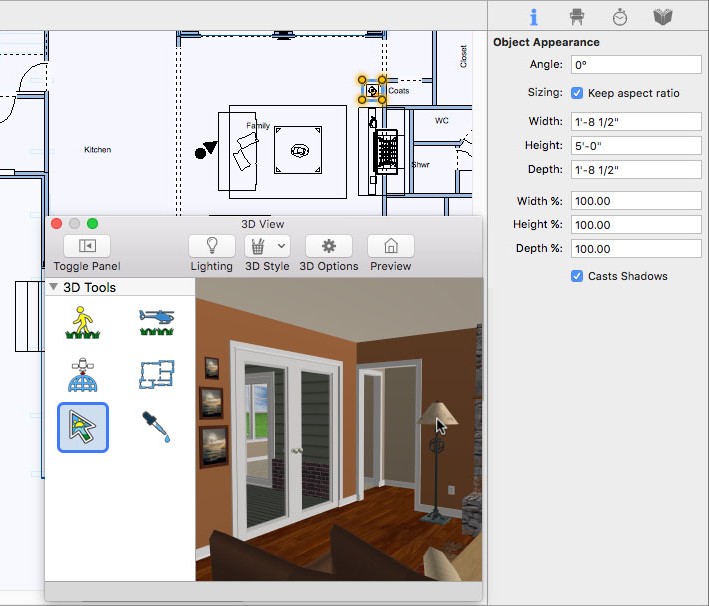
Once you’ve placed 3D objects in your drawing, it’s easy to move, delete, copy, and rotate objects, usually involving just one or two mouse clicks. You can select objects in either the 2D plan view or in a 3D view. In the example below, a lamp is selected in the 3D view and its properties are displayed on the Properties pane, including its rotation angle, sizing, and rendering options.
To resize an object
1 Click to select the object you want to edit.
- 2D Plan View: Choose the Select Objects
 button from the Editing Tools group.
 - 3D View: Choose the Select Objects
 button from the 3D Tools group.
2 Click the Properties tab on the right sidebar and edit the size in feet and inches or percentages. Be sure to press the Return key to accept new values.
(optional) If you want to maintain the width and height size ratio, select the “Keep aspect ratio” checkbox.
(optional) If you want shadows, make sure the “Cast Shadow” checkbox is selected. (optional) Enter an angle, if you want to rotate the object.
To rename objects
1 Choose the Select Objects button from the Editing Tools group.
2 Right-click an object in the 2D plan view and choose Object Information from the shortcut menu. A
dialog appears.
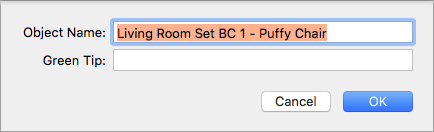
3 Enter a new name in the field then click OK.
Note : This is the name that will be listed in the spreadsheet, created by Estimator.