Automatic Flooring
By default, enclosed walls are drawn with a 1/2" auto-floor. You can turn on and off the floor’s display and edit its depth on the Properties pane. After removing the auto-floor, you can manually draw a floor. For more information, see “Adding and Removing Flooring”
 |
 |
|---|---|
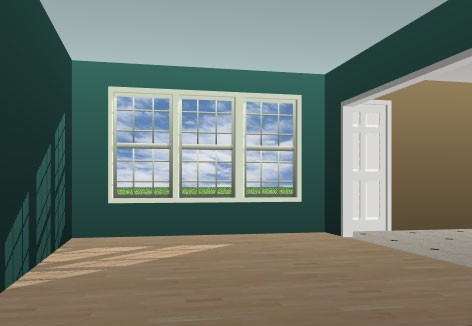
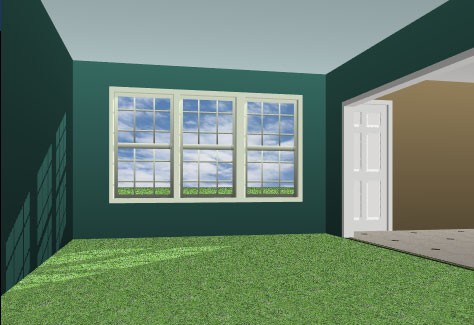
Auto-Floor On Auto-Floor Off*
To control automatic flooring display
1 Choose the Select Objects button from the Editing Tools group and click within the room where you want to edit the floor. (Press the Shift key as you click to select more than one room.)
2 Click the Properties tab and select the “Display Floor” checkbox to display the auto-floor. To remove automatic flooring, deselect the “Display Floor” checkbox.
To change an auto-floor depth
1 Choose the Select Objects button from the Editing Tools group and click within the room where you want to edit the floor. (Press the Shift key as you click to select more than one room.)
2 Click the Properties tab and select the “Display Floor” checkbox.
3 Enter a new value in the Depth field and the press the Return key.