(Available in Pro Platinum, Expert and Deluxe)
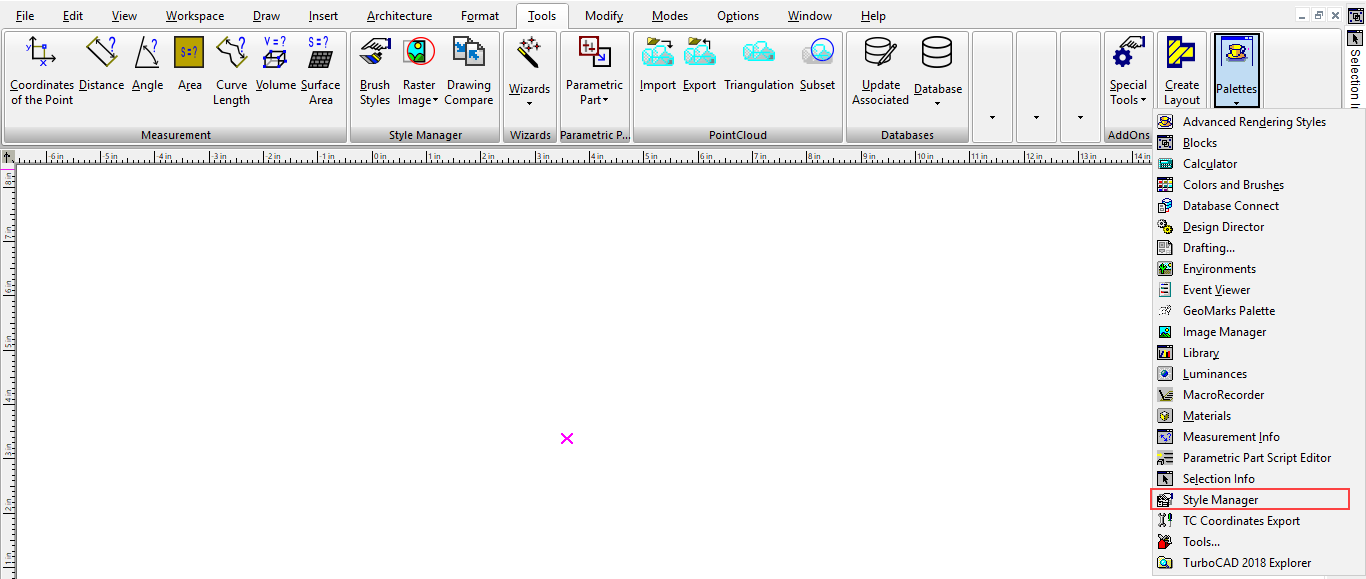
Default UI Menu: Tools/Palettes/Style Manager/Window Styles
Ribbon UI Menu:
The Window tool can be used to insert windows into walls, but you need to first define window styles.
Note: If you want to save styles to a template,
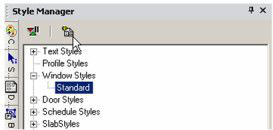
In the Style Manager, there is one style, "Standard," listed under "Windows." A preview showing a previous of the window style is on the lowest pane.
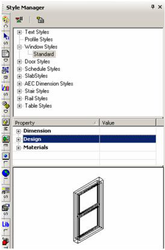
Note: In the Preview area, you can click to zoom part of the graphic. Double-click to fit the graphic in the window.
- You can change the "Standard" style, but if you want to preserve this style, make sure "Standard" is highlighted and click Create New Style.
- Assign a name.
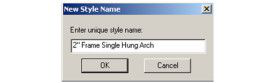
This creates a new style which is a copy of "Standard."
- There are three categories of properties. Open Dimension, where you can specify measurements of the frame, sash, and glass.
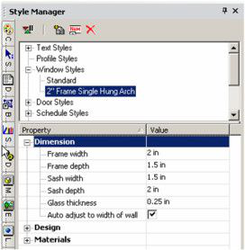
Auto Adjust to Width of Wall: Sets the depth of the window so that it will cut all the way through the wall.
- Open Design, where you can specify the window type (double hung, transom, etc.) and shape (rectangular, arch, octagon, etc.).
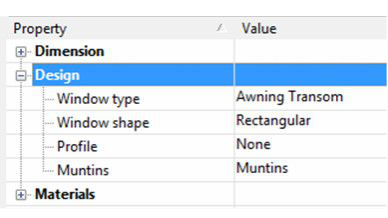
- You can also select, edit and create muntins.
Note: Profile is used when you've created a profile for changing the window shape, or for adding holes.
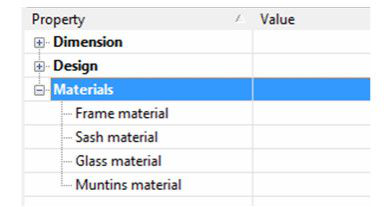
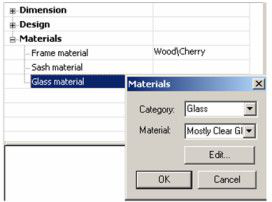
- The last category is Materials, in which you can set the materials of the frame, sash, and glass. If you leave any material blank (such as the Sash Material below), the object will be colored according to the Pen color set in the window's Properties.
To set or change a material, just click in the field. In the Materials window that opens, select the Category and Material.
Note: For details on materials,
- Before creating any windows, you must have at least one wall defined. To assign height to a wall, define a Thickness in the 3D page of the wall's Properties.
-
This is the icon for Window. Right-click on the icon to set the tool's Properties, and click the icon when you're ready to insert a window.
-
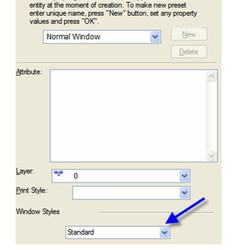
Open the Window tool's Properties. On the General page, select the Window Style.
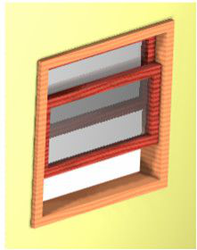
- On the Window Main page, set the overall dimension of the window. The preview at the lower left updates when you change the values.
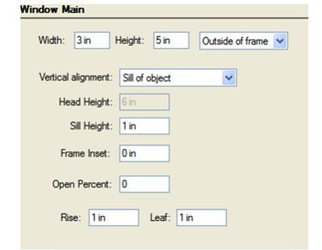
Width and Height: Overall outer dimensions of the window.
Inside/Outside of Frame: Specifies that the dimensions of the window are applied by measuring to the inside or outside of the window frame.
Vertical alignment: Specifies whether the widows vertical position is specified by the Sill Height, or the Head of the window.
Head Height: Specifies the vertical location of the top of the window. This field is only accessible if the vertical alignment option is set to Head of object.
Sill Height: Specifies the vertical location of the sill of the window. This field is only accessible if the vertical alignment option is set to Sill of object.
Rise: The distance from the top corner to the top center, in the case of arched or peaked windows.
Frame Inset: The distance from the front of the wall to the window frame
Open Percent: Defines how wide the window is open.
Leaf: in the case of uneven windows, the size of one of the panes.
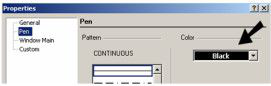
- On the Pen page, specify the color of the window. This color will be applied to any part of the window that does not have a material assignment.
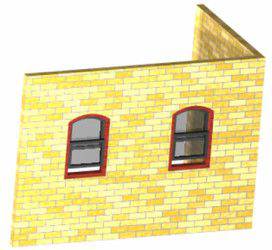
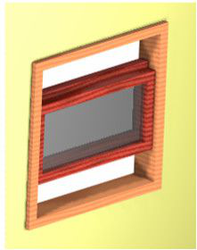
- When all parameters are set, activate Window and click the wall to place the windows. The wall material within the window area is removed. No matter where you click on the wall, the windows are placed according to the Elevation value. In this example, the sash is colored black, which is the default Pen color. The frame and glass have the assigned materials.
- If you click another wall, the window properly aligns to it.
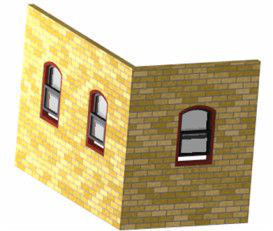
- You can orient of the window to the wall by using the Flip Left-Right, Flip Inside-Outside controls in the Local menu, or Inspector bar.
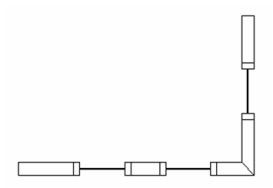
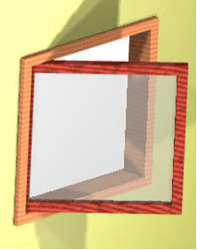
In World Plan view, you can see how the windows cut the walls.
All parameters available on the Properties window, including Window style, are also available on the Selection Info palette. If you move a window, it will remain within the plane of the wall.
Window Types
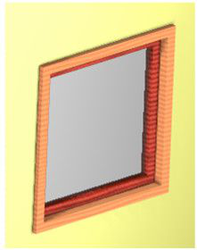
These are the standard window types available in the Design category of the Style Manager.
Single Hung
Double Hung
Pass Through (no glass)
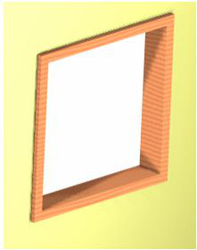
Picture (does not open)
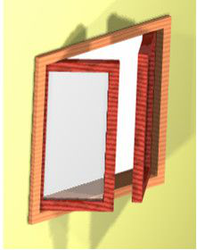
Casement
Double Casement
Glider
Awning Transom
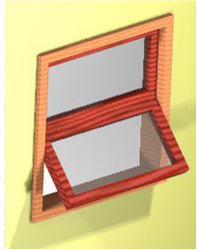
Hopper Transom

Single Hopper
Single Awning
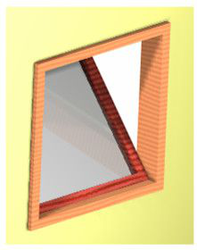
Vertical Pivot
Horizontal Pivot
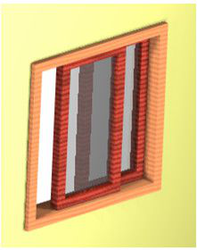
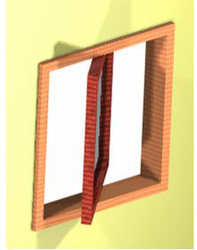
Uneven Double Hung: the two panes have different heights.
Window Muntins
Window muntins are available in several patterns that you can customize into many different styles:
- Rectangular
- Diamond
- Prairie 9 Lights
- Prairie 12 Lights
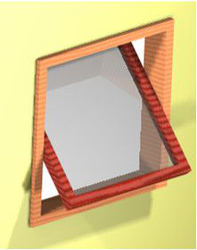
- Starburst
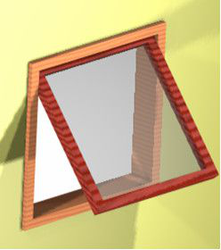
- Sunburst
The Starburst and Sunburst patterns are combined rounded/rectangular patterns with a half-round or a quarter-round spoked top and can be used for half- and quarter-round as well as rectangular muntins. The other patterns are primarily rectangular but will fit into a half-round. Multiple muntin blocks can be assigned to each style. This allows you to have different patterns of muntins for each panel of glass, or to combine muntin patterns. To setup muntins component please do the following:
- Open the Style Manager Palette.
- Navigate to the Window styles.
- Select the window style you wish to add muntins to.
- Expand the Design properties category and click Muntins.
- The Muntins dialog will appear.
This dialog contains list of all muntins assigned to the window style. For example you can add muntins with Rectangular pattern to the one window glass component and muntins with diamond to other component. 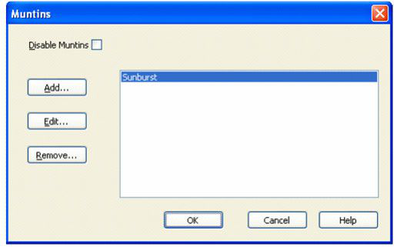
Add: displays the Muntins Block dialog where you can define a name for the muntins block and it's properties. Edit: displays the Muntins Block dialog with properties for the selected muntins. Delete: Deletes the selected muntins block. Disable Muntins: when ON - muntins are disabled.
- Open the Style Manager and select a window style you wish to add muntins to.
- Expand the Design properties category and click Muntins.
- The Muntins dialog will open.
- Click the Add button to open Muntins block dialog.
- Muntins can be applied to All window glass components, or to individual glass component pane.If you specify a single panel you must specify the number of the panel to be used. The number of the panel corresponds to the order in which you selected the hole profiles.
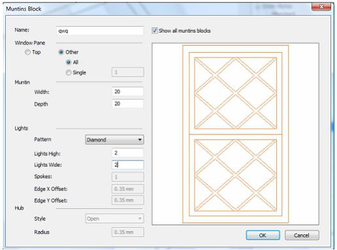
Note: If you cannot see the window because the preview is rotated, click on the preview with the center mouse button (wheel) hold and drag. This will rotate the preview.
- Define the muntins width and depth.
- Select the Rectangular in Pattern combo-box.
- Enter number of horizontal muntins lights in "Lights High" edit box.
- Enter number of vertical muntins lights in "Lights High" edit box.
- Click OK to close the Muntins Block dialog.
- Click OK to close Muntins dialog.
The Diamond Muntins pattern uses the same options as the Rectangular pattern. Prairie-9 Lights pattern, and the Prairie-12 Lights pattern use two alternate options: Edge X Offset and Edge Y Offset: these specify the distance of the outer muntins from the panel edge. The Starburst Muntins pattern has two additional options: Spokes: which sets the number of spokes that radiate out from the center to form the burst pattern. Center: which sets whether the hub will be at the Top or Bottom of the radial pattern. The Sunburst Muntins pattern has two additional options. Style: this sets the whether the center of the sunburst will be an open circle or a closed disk. Radius: this sets the radius for the center of the sunburst.