(Available only in Pro Platinum)
Default UI Menu: Draw/3D Object/3D Profile Based/Lofts/Lofting
Ribbon UI Menu:

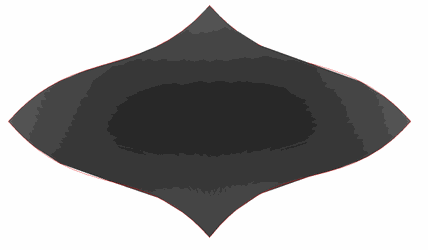
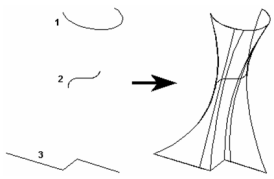
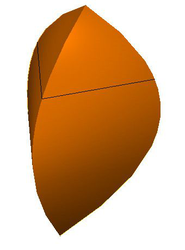
Creates a 3D object by connecting 2D profiles. The profiles lie on different planes, and the planes do not have to be parallel. The profiles are connected using NURBS (Non-Uniform Rational b-Spline) calculations. The profiles can be closed or open, but they must be consistent - all open or all closed.
- If you want to select only simple (single-object) curves, make sure Use Compound Profile is not selected.

-
Select the profiles, in the desired order. Selection order is important
-
Select Finish from the local menu, or double-click on the last profile, to create the loft.
The loft has no sharp corners at the profiles. To create corners, you can creates two separate lofts.
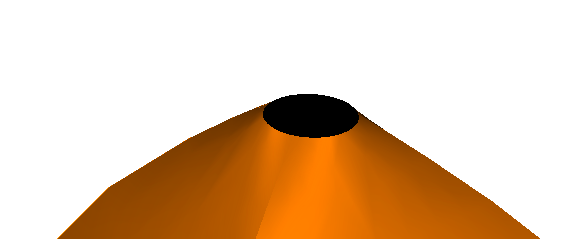
If you use open profiles, a 3D surface will result.
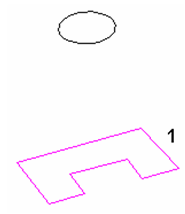
Lofting with Compound Profiles A compound profile is an open or closed chain of connected curves. You can use compound profiles when you do not want to create a polyline, or convert a chain into a polyline.
- Make sure Use Compound Profile is selected.

- Select the compound profile, which is automatically identified as a chain. To select individual segments hold down the CTRL key and click it, to de-select click it again with the CTRL key. In this example, Profile 1 is a series of connected lines, not a polyline. NOTE: if you select individual segments you will be prompted to Finish the selection of the profile.

- Select the next profiles using the same steps. If subsequent profiles are simple (not compound), you can turn off Use Compound Profile.

- When the last profile is selected, click Finish or select it from the local menu.
Note: Compound profiles can be modified, which updates the 3D objects upon which they are based.
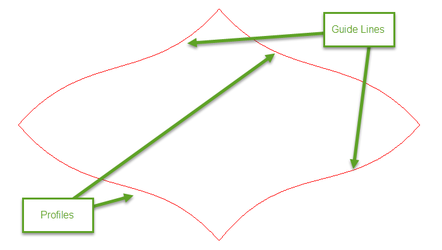
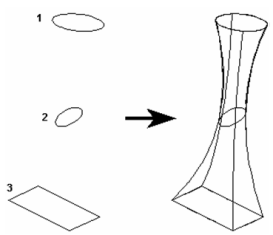
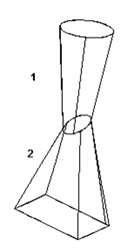
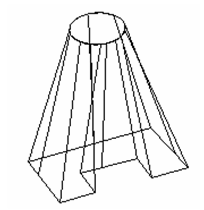
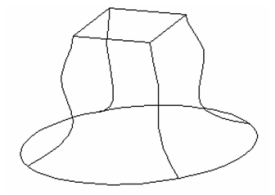
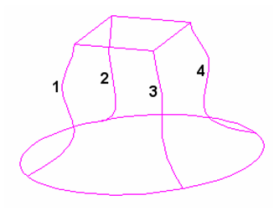
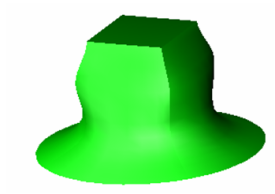
- Lofting with Guide Lines You can specify guides lines when creating the loft object. In this example, the lower circle and upper square are the loft profiles. The four curves between the profiles are guide lines.
- Activate Loft, and select the loft profiles in the desired order.
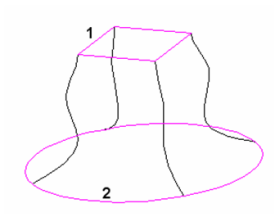
- Click Select Guide Lines, or select it from the local menu.

- Select each of the guide lines.
- Click Finish or select it from the local menu. The 3D object transitions between the loft profiles, following each of the guide lines.
Guide Lines Guide lines can be arcs, 2D or 3D Splines or lines. Beziers, and polyline cannot be used as guide lines. Guide line must touch every profile used in the loft. One end of each guide line must terminate on the first profile used in the loft The other end of that guide line must terminate on the last profile used in the loft. If guide lines do not meet these requirements they will be ignored.
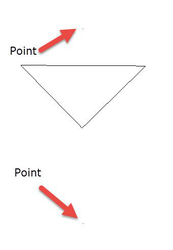
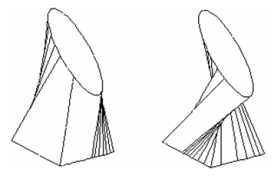
Lofting with Points
Points can be used in lofting. Note: Shaped points may be used but not the cross shape.
 Result:
 The shape of the point effects the shape of the resulting loft.

Lofting Shape Properties
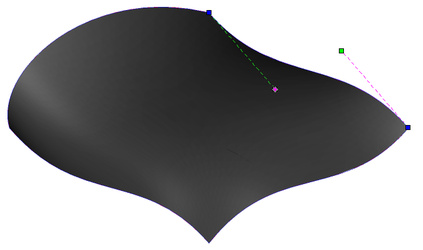
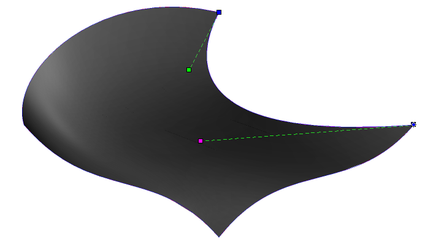
The Properties window of a loft contains a Lofting Shape page, in which you can minimize twist.
 Minimize Twist
Effect of Minimize Twist For TC Surface Options
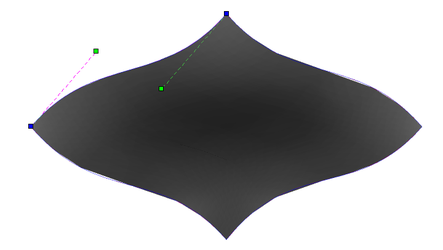
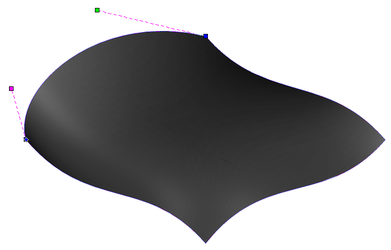
Editing Profiles
If you used the compound profile option in the selection of the profiles and/or the guidelines you can post edit them via Edit node.