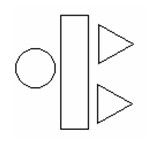
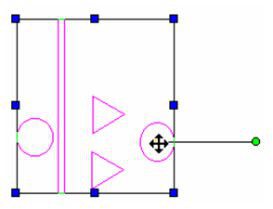
(Changing a block's contents) You can use any editing or node editing tool to modify, move, copy, add, etc. objects that comprise a block. This example use the block shown below, consisting of four objects. The block name is "Logo."
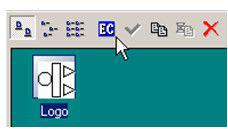
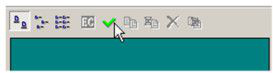
- In the Blocks Palette, select the block, and click Edit Content.
- In edit mode, the screen contains only the block components, which are available for editing. You can add, delete, or edit objects. Whatever appears on the screen will become part of the edited block.
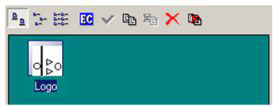
- When finished, right click and select Finish block/group editing, or click Finish Edit Content in the Blocks Palette.

The icon for the block is updated to reflect the edited components. Any instances of the block already in the drawing are updated, including resized and scaled blocks.
Relocating a Block Reference Point
Hotkey: Ctrl+Shift+R
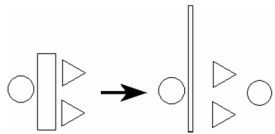
A block is inserted by placing its reference point. By default, the reference point is at the center of extents of the entire block, but this location can be changed.
- In the Blocks Palette, select the block, and click Edit Content.
- Activate Relocate Block Ref Point. The default reference point appears, as a yellow circle.
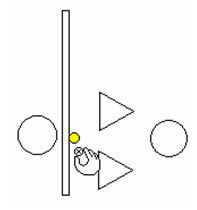
- Click to specify the new location for the reference point.
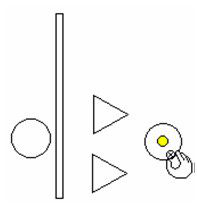
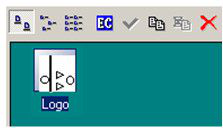
- Select Finish to Edit Block, or click Finish Edit Content in the Blocks Palette.
Now when you insert the block by dragging, you will drag it by the new reference point.
Note: For any instance of a block you can move its reference point and rotation bar.However, this change only affects the block itself and any copies of it. New instances of the block will use the block's defined reference point.
Changing a Block Name and Description
- To change a block name or add a description, double-click the block icon in the Blocks Palette.
- Make the necessary changes in the Edit Block window.
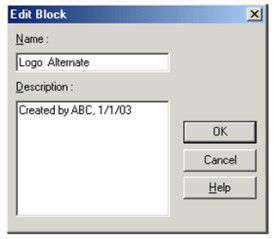
- After the changes are made, any description you add will be displayed as a tool tip on the block icon.
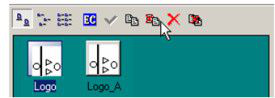
Copying a Block
This section is on copying a block to create a new block. To create copies of the same block in the drawing, you can use any of the standard editing tools.
- To copy a block, select it in the Blocks Palette and click Copy.
-
Depending on the Auto-Naming settings, a copy will be created with a generated name, or you will be prompted for a name.
-
The new block appears in the Blocks Palette, and can be edited like any other block.
Deleting a Block
Press Delete a Block button. Remove block with all references: Deletes the block and all instances. Be careful when using this option, because it cannot be undone.
Replacing Blocks
One convenient feature of blocks is that they can easily be replaced by other blocks. You can replace all blocks in the drawing, or just selected blocks.
- To replace instances of a block, select the block in the Blocks Palette and click Replace References.
-
In the Replace Block Reference window, select the replacement block. You can also choose to replace all instances in the entire drawing, or just those in the active space (visible).
-
Click OK to implement the change.
To replace an instance of a single block, open its Properties to the Block Insertion page. Use the Replace with button to replace it with another block.