Node Editing Roof Slabs
You can Edit Roof Slabs just as you can edit walls and most objects. You can:
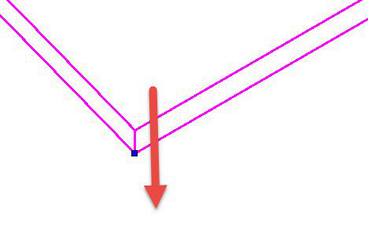
- Select a Node and delete it using the local menu.
- Right click on an edge and add a node from the local menu.
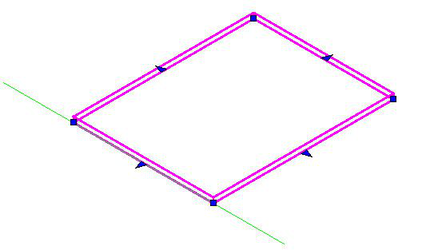
- Select and move node/s.
- Select the arrow on an edge to drag it to expand or reduce the slab.
 Editing Roof Slabs also has several special features.
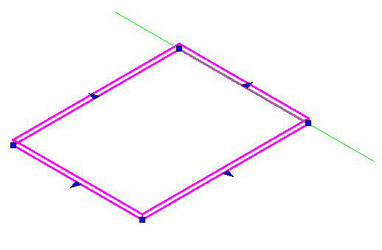
Set the Pivot Edge: This specifies the edge which will serve as the pivot when any future adjustments are made to the Slope or Rise-Run properties. The green line indicates the pivot edge.
Set the Edge Cut: This allows you to set each edge of the slab to be Plumb or Square. By default the value is set to Square.
Set the Edge Cut Angle: This allows you to the angle between the top plane of the slab and the edge plane if the Edge Cut is set to Square, or between the ground plane the edge plane of the slab if the Edge Cut is set to Plumb. By default the value is set to 90.
Editing Roof Slabs also has several special features.
Set the Pivot Edge: This specifies the edge which will serve as the pivot when any future adjustments are made to the Slope or Rise-Run properties. The green line indicates the pivot edge.
Set the Edge Cut: This allows you to set each edge of the slab to be Plumb or Square. By default the value is set to Square.
Set the Edge Cut Angle: This allows you to the angle between the top plane of the slab and the edge plane if the Edge Cut is set to Square, or between the ground plane the edge plane of the slab if the Edge Cut is set to Plumb. By default the value is set to 90.
To Set the Pivot Edge
- Select the Roof Slab with the Edit tool
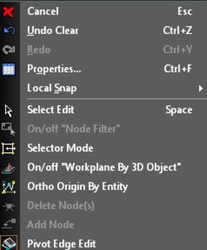
- Select Pivot Edge Edit from the local menu.
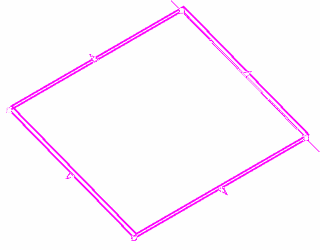
- Hover over the desired edge. It will be highlighted in red.
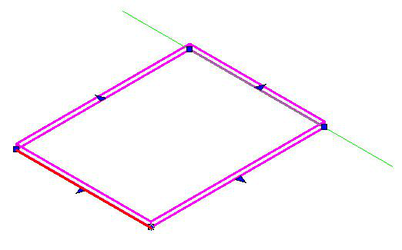
- Click to set the edge.
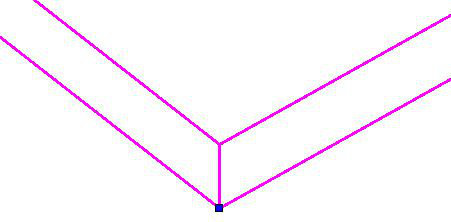
- The green indicator moves.
To Set the Edge Cut
- Select the Roof Slab with the Edit tool
-
Hold down the Shift key
-
Hover over the desired edge. It will be highlighted in white.

-
Click on the edge.
-
From the Inspector bar select Plumb from the Edge Cut drop-down.

- The result will be a Plumb edge.
To Set the Edge Cut Angle
- Select the Roof Slab with the Edit tool
-
Hold down the Shift key
-
Hover over the desired edge. It will be highlighted in white.
-
Click on the edge.
- From the Inspector bar type 60 into the Edge Cut Angle field.

- Press Enter.