Default UI Menu: Draw/Block/Create Block
Ribbon UI Menu:
Combines all selected objects into a block. Objects can include drawing objects, images, OLE objects, groups, and other blocks. Blocks can be comprised of 2D and 3D objects.
Warning: You should move all objects to be used in a block to Layer 0, before creating the block. Many features will not work properly otherwise.
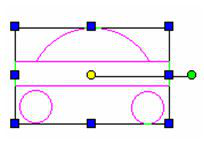
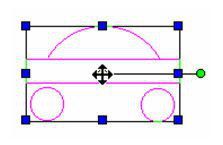
- Create the objects you want to combine into a block. Each object is separate, as you can see in Select mode.
You can set the reference point of the objects before creating the block , or you can change it later.
-
Select the objects you want to include in the block.
-
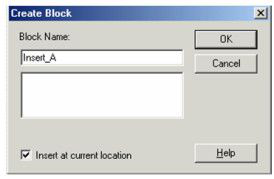
Click Create Block.
-
If auto-naming is not used, you must assign the block name. Check Insert at current location to create the block in place. Otherwise, the block will be removed from the drawing and stored in the library for future insertion.
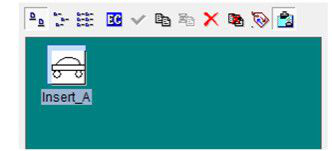
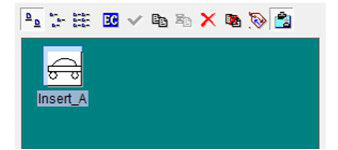
- The block is created. If the block is inserted in the drawing, you can select it as one object.
Blocks are created on Layer 0, even if their components are on other layers. To insert the block. If you open the Blocks Palette, you can see each block you have created. You can also add blocks to the drawing, edit blocks and create new blocks using this palette.
Warning: Do not include lights in a block. If you do, the lights will remain in their original locations regardless of where you place the block in your drawing.
Creating a Block by Drag and Drop
To create a block this way, the Blocks Palette must be open. Select Blocks palette, or the Blocks Palette tab.
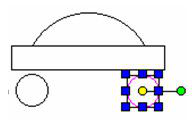
- Select the objects that you want to combine into a block. Click and hold the reference point (the yellow circle). The cursor turns into a double arrow.
-
Drag the objects into the Blocks Palette. If auto-naming is not used, assign a block name.
-
The block appears in the Blocks Palette.