(Available only in Pro Platinum)
Default UI Menu: Constraints/Auto Dimension
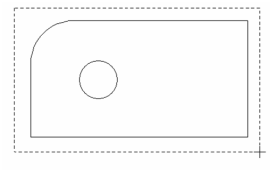
Ribbon UI Menu:

Automatically applies dimensions to a sketch.
Note: For detailed explanations of dimension tools Auto Dimension is included in this section because it works best in conjunction with geometric constraints.
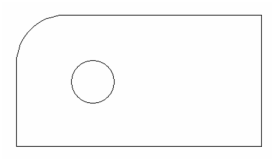
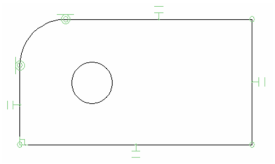
- Start with a rectangle and draw a small circle inside it. Fillet one corner.
- Activate Auto Dimension, and in the Inspector Bar you can select which dimensions you want to identify and label. The available dimensions are Radius, Distance, Angular, and Parallel. In this example, all are selected.
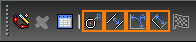
- Drag a selection box around all objects you want to dimension.
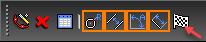
- Click Finish or select it from the local menu.
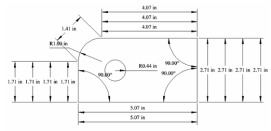
- This is the result - dimensions placed between all identified endpoints. This occurs when objects are not constrained. In particular, Points Coincident constraints are needed to reduce the number of auto dimensions.
- Undo the dimensions. The easiest way to constrain the sketch is to use Auto Constraint . The result in this case includes Tangent, Parallel, and Points Coincident constraints.
Note: You could also get the same constraints if you keep Auto Add Constraints active in the toolbar while you are creating geometry (rather than applying constraints after the geometry has been created).
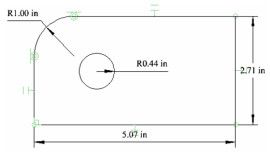
- Use the same steps as before to apply auto dimensions. This is the result.
Dimensions created this way are assigned variables, which can be seen and edited in the dimensions's Properties (Format page), and in the Calculator Palette