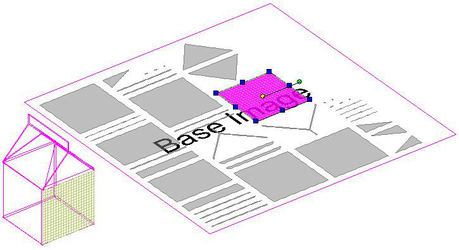
Once you have associated an image to a 3D object you will need to unwrap the facets of the 3D object into 2D parts that can be arranged on the image. This will allow you to 'map' which part of the image is to appear on each facet.
The following applies equally to unwrapping ACIS Solids and Surfaces.
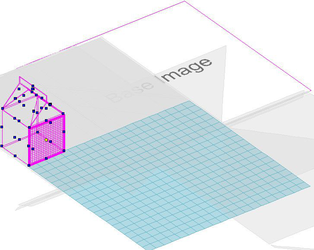 You can individually select facets on the 3D object, or select all of the facets.
To selcect an individual facet, click on the blue node of that facet. To select multiple individual facets, hold down the shift key and then click on each facet's blue node.
To select all of the facets drag a selection rectagle around the entire 3D object.
You can individually select facets on the 3D object, or select all of the facets.
To selcect an individual facet, click on the blue node of that facet. To select multiple individual facets, hold down the shift key and then click on each facet's blue node.
To select all of the facets drag a selection rectagle around the entire 3D object.
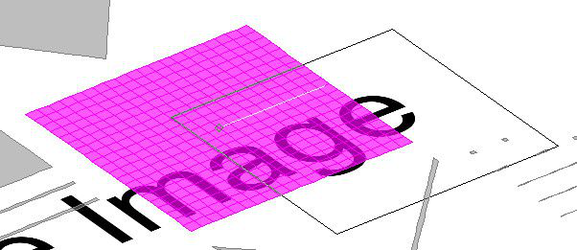
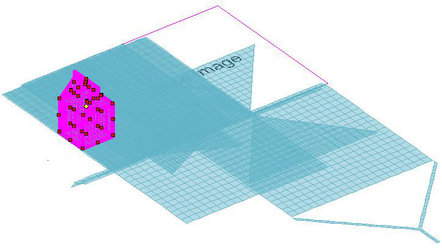 At this point you will want to begin arraging the 2D parts. There are two complementory methods to do this: Packing and Editing.
Packing 2D Parts
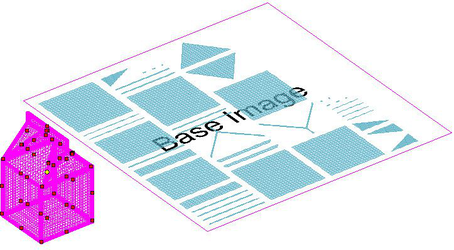
Packing is a algorythmic method of arrange a group object within a defined space. For UV Mapping, packing arranges all of the 2D parts within the area defined by the image. To pack the 2D parts:
-
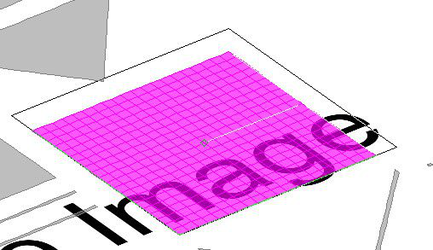
Select the desired facets.
-
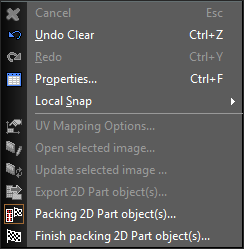
Right click and select Packing 2D Part object(s) ...
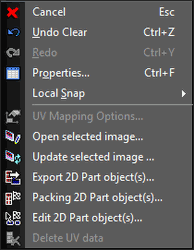
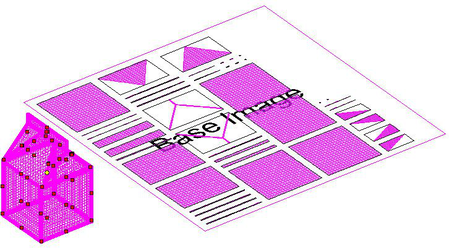
- The 2D parts will automatically be laid out on the associated image.
-
You can un-pack the parts by clicking Packing 2D Part object(s) ... again.
-
If you have un-packed you can re-pack by agin clicking Packing 2D Part object(s) ... The second time you pack the arrangement will be adjusted. To get back to the original packing arrangement. un-pack and repack once more.
-
When you are done packing right click and select Finish packing 2D Part object(s)...
To de-select facet click away from the 3D object and image.
Editing 2D Parts
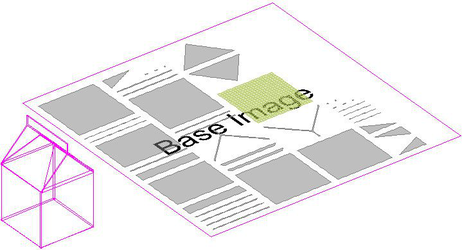
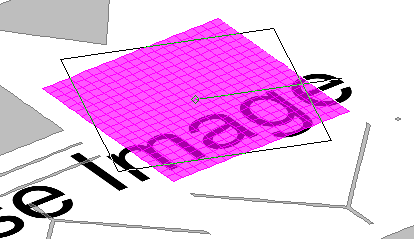
You can move, rotate, and scale parts to arrange them better for your purposes.
-
Select a facet or facets
-
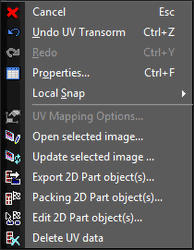
Right click and select Edit 2D part object(s)...
-
The selected part(s) will be highlighted to indicate that it can be edited.
-
Click on the part(s) to begin editing.
- You can then edt the part by standard methods:
Move
Scale
Rotate
- You can finish any one alteration by right clicking and selecting Apply transform to 2D Part object(s).

- To complete editing right click and slect Finish edit 2D Part object(s).
Inversed Normals
Occasionally the part and the image will map with an inversed normal. This means the section of the image appears backward on the facet. To remedy this You need to reverse the layout of the 2D part. Select the part then use the middle blue node on the edge and drag in past the opposite edge. You can now reposition the newly edges, as long as you do not recross their positions. The edge you select depends upon how the reversal appears, in other words is it reversed along the X or Y axis. You cannot simply scale -1 along the X or Y axis via the Edit bar. This will only flip the part but the reversed association will remain. Do not flip the 2D part via rotation. This will only flip the part but the reversed association will remain.