
There are three Symmetry tools: Set Symmetry, Mirror Symmetry, and Remove Symmetry. The Set Symmetry and Mirror Symmetry tools are used to create a Mirror Symmetrical object from a Smesh. This means that only half of all points are available for editing. The points on the opposite side of the mirror are calculated automatically in accordance with mirror (plane of symmetry).
Set Symmetry
Default UI Menu: Modify/Modify 3D Objects/Surface Mesh/Set Symmetry
Ribbon UI Menu:
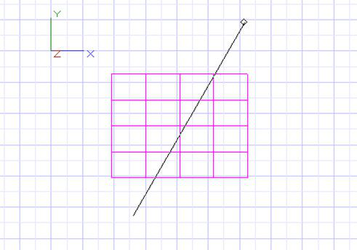
The tool looks for the "plane of symmetry" of the object. To use the Set Symmetry tool you must start with a symmetric object. This means there must be a natural division, equal on either side, and passing through edit nodes. For Example You can have a plane through the middle of a 4 wide mesh, but not through a three wide mesh because there are no edit nodes at the center.
- Draw Smesh box
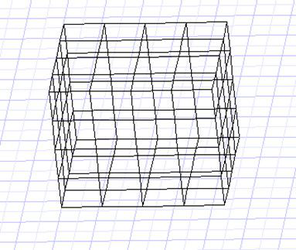
-
Explode it to create a Smesh object
-
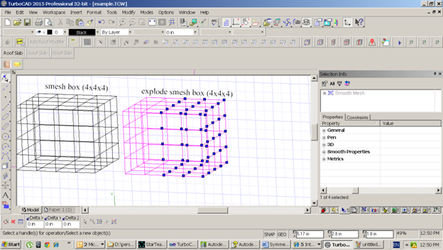
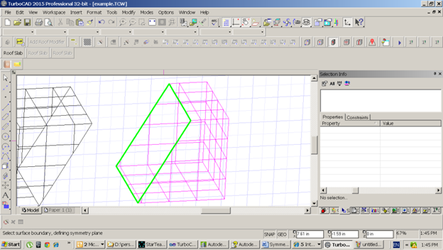
Click the Set Symmetry tool. As you move the mouse over the object acceptable planes will be highlighted. A series of points that are closed like this are sometimes referred to as loops.
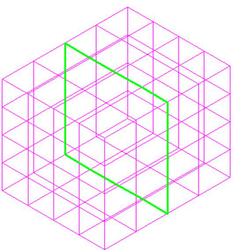
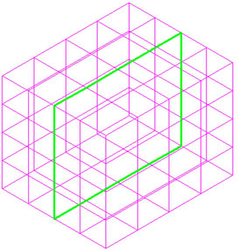
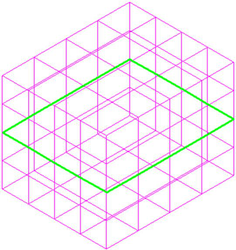
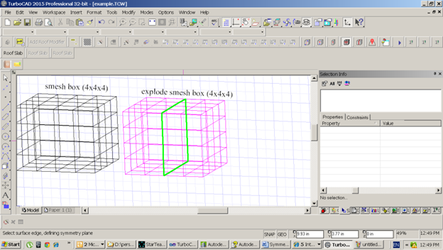
- Click to set the result .
Mirror Symmetry
Default UI Menu: Modify/Modify 3D Objects/Surface Mesh/Mirror Symmetry
Ribbon UI Menu:
The Mirror Symmetry tool uses Smeshs which have an "open" boundary. An "Open boundary" is a hole in the closed object. To make an open boundary use the 3D Slice tool.
-
Draw a smesh box with the smooth level set to: None (This is important)
-
Explode the box
-
Select the 3D Slice tool.
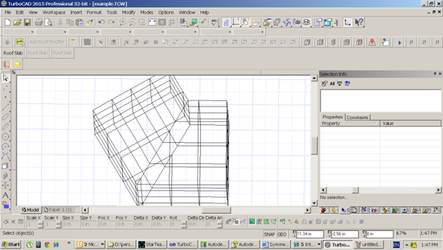
- Slice the box.

- The result should look like this.
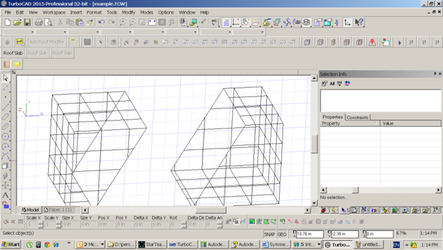
- Delete one of the resulting parts.
Now Proceed with Mirror Symmetry tool.
- Select the "Mirror Symmetry" tool.
-
Hover over the sliced face.
-
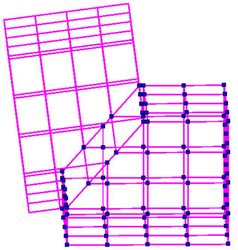
Select the highlighted boundary.
-
The result should look something like this.
Remove Symmetry
Default UI Menu: Modify/Modify 3D Objects/Surface Mesh/Remove Symmetry
Ribbon UI Menu: