(Available in Pro Platinum)
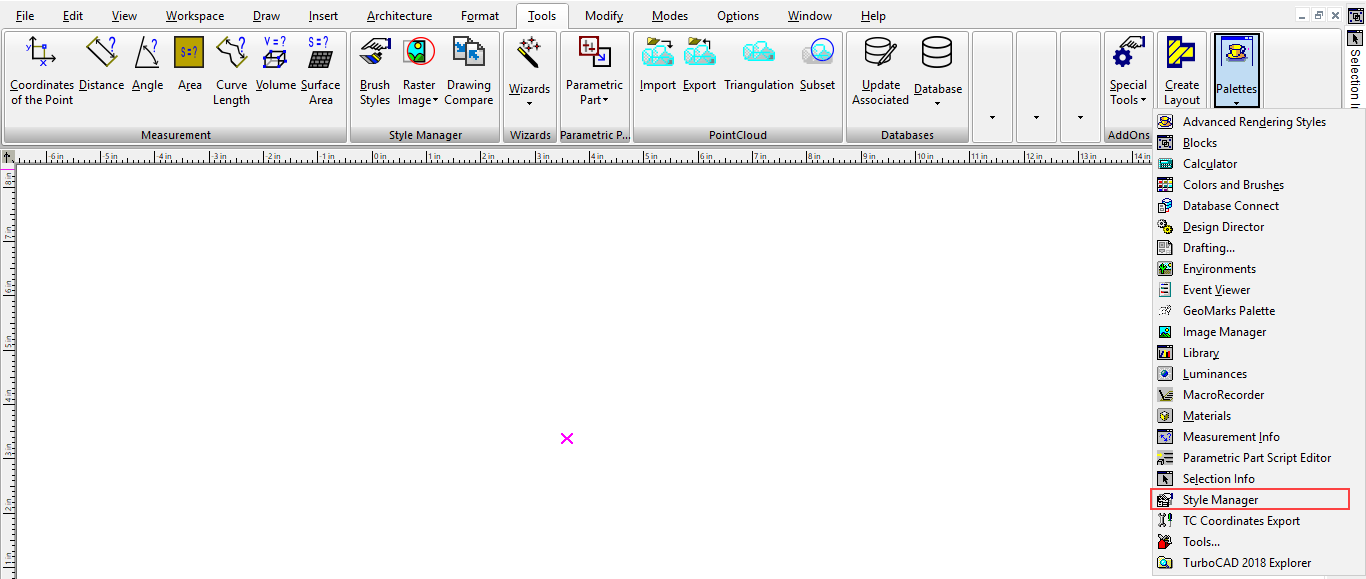
Default UI Menu: Tools/Palettes/Style Manager/Stair Styles
Ribbon UI Menu:
The Style Manager can be used to set various styles for stairs. For details on the types of stairs you can create,
Note: If you want to save styles to a template,
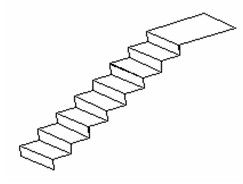
- Start with a staircase. This example uses a Simple Stair.
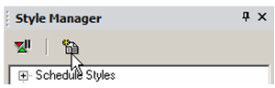
In the Style Manager, there is one style, "Standard," listed under "Stair styles." This style has two categories: components and materials. The graphic at the bottom shows a preview of the style.

Note: In the Preview area, you can click to zoom part of the graphic. Double-click to fit the graphic in the window.
- You can change the "Standard" style, but if you want to preserve this style, make sure "Standard" is highlighted, then click Create New Style.
- Assign a name or accept the default.

- The new style is a copy of the "Standard" style. To make some changes, open Components and change the parameters, such as tread and riser thickness, etc. Nosing Length* is how far the tread extends past the riser below. To view your changes, you can click inside the preview window to zoom in. (If you right-click in the preview window, a menu appears that enables you to change the view as well as render style.)
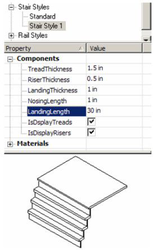
Note: Other stair properties, such as stair width, tread depth, and riser height, are set on the Stair page of the stair's Properties.
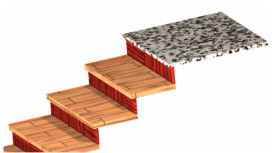
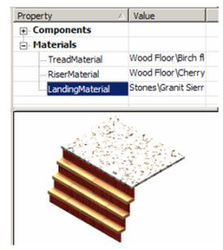
- Open the Materials category, in which you can assign different materials to the treads, risers, and landing. Set the preview to Quality Rendering to see the materials.
Note: For details on materials,
- To change the staircase in the model so that is has the new style, open its Properties to the General page. All styles defined for stairs will be available under Stair styles.
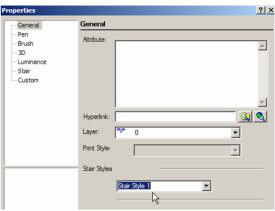
The staircase now has the properties of the new style.