Default UI Menu: Draw/3D Object/3D Primitives/Cone
Ribbon UI Menu:

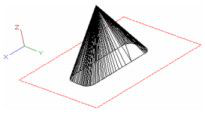
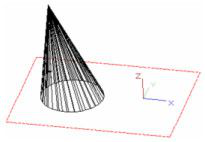
Creates a cone - by default, an object with a circular base that tapers to a point at the top. There are local menu options for creating non-standard cones.
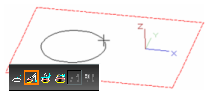
- Create the circular base by selecting the centerpoint and a point on the circumference. Or enter the radius, diameter, or circumference in the Inspector Bar. The circle is created on the current workplane.
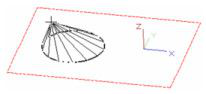
- Select a third point to specify the cone height, or enter the height in the Inspector Bar. You can create the cone on either side of the workplane. The top point is directly above the base centerpoint.

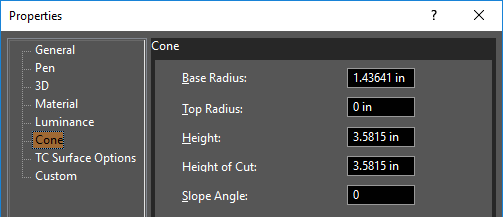
Cone Properties
The Properties window of a cone contains a Cone page, in which you can set the geometric parameters.
Note: These options can be used separately or in combination. Cut Cone by Plane and Cut Cone by Lofting cannot be used together.
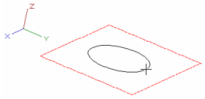
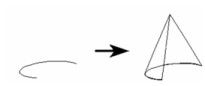
Local menu options: Specify 2D Base: Uses an existing 2D object as the base.
- Select the 2D object. (You cannot use 2D objects that are contained within a group or block.)
- Select a point to define the height, or enter the height in the Inspector Bar. The height is perpendicular to the workplane of the 2D object.
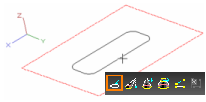
You can also select a 2D open object. In this case, a partial-cone surface object will be created.
You can also use a compound profile, open or closed, for the 2D base. (A compound profile is a series of connected lines and/or arcs.) Make sure Specify 2D Base and Use Compound Profile are both active, and select the compound profile.
When the profile is selected, select Finish Selection of Profile.
Specify Object Height Base: Creates an offset cone by using a specified point for the cone tip.
-
Create the circular base.
-
Select the point which is directly under the desired tip.
-
Select a third point to specify the cone height, or enter the height in the Inspector Bar. The top point is directly above the selected point.
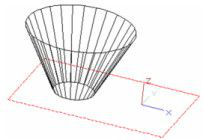
Cut Cone by Plane: Creates a truncated cone by cutting off the tip.
- Create a standard cone.
- Move the mouse back toward the base to create the cut. You can also enter the height of cut in the Inspector Bar.
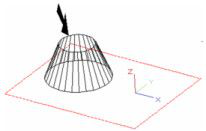
Cut Cone as Lofting: Creates an inverted, truncated cone by using a scaling factor for the cone base.
- Create a standard cone.
- Move the mouse outward to create the top of the cone. You can also enter a scaling factor in the Inspector Bar.