(Available in Pro Platinum and Expert)
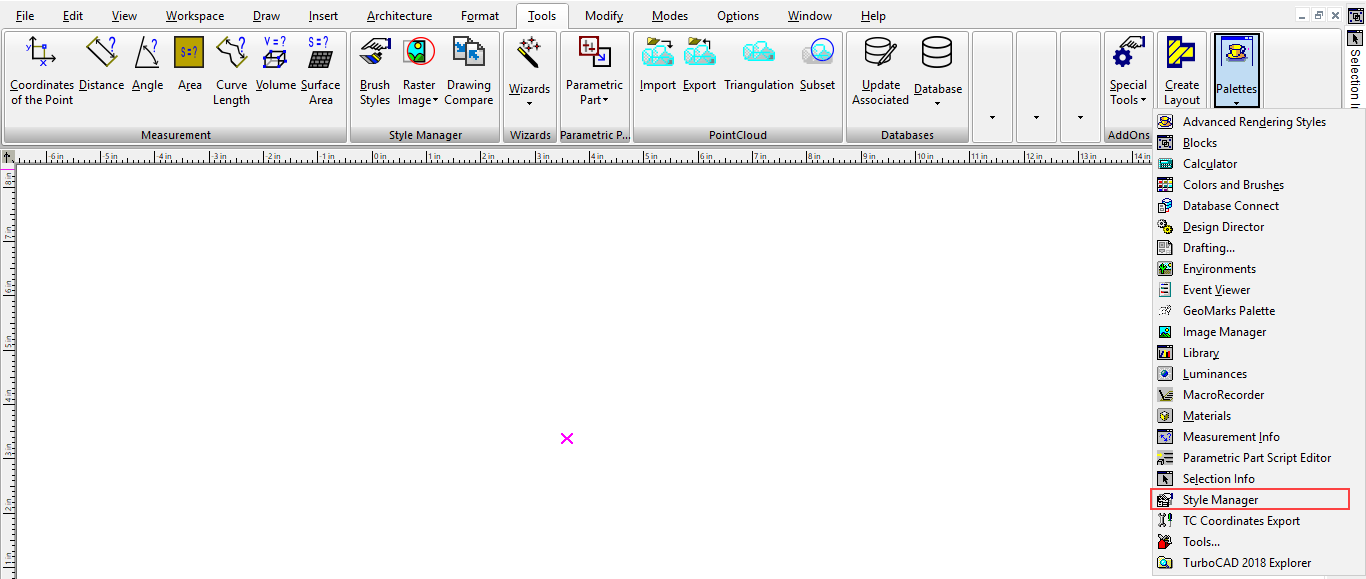
Default UI Menu: Tools/Palettes/Style Manager/Slab Styles
Ribbon UI Menu:
The Style Manager can be used to set various styles for slabs. For details on creating slabs,
Note: If you want to save styles to a template,
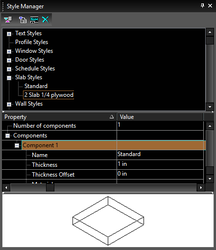
In the Style Manager, there is one style, "Standard," listed under "Slab styles." A preview showing a previous of the slab style is on the lowest pane.
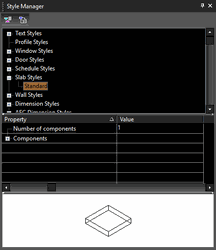
Note: In the Preview area, you can click to zoom part of the graphic. Double-click to fit the graphic in the window. You can also preview dynamically by using mouse wheel.
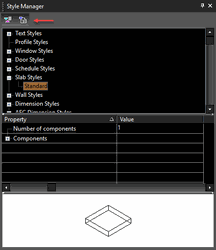
- You can change the "Standard" style, but if you want to preserve this style, make sure "Standard" is highlighted and click Create New Style.
- Assign a name.
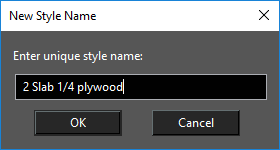
This creates a new style which is a copy of "Standard." By default, a slab consists of one component, for which you can specify a name, thickness, offset, and material.
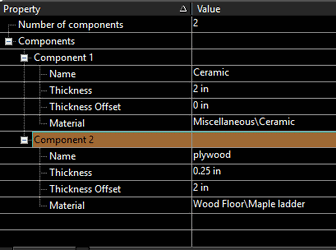
- In this example, there will be two components. Change the number and press Enter, and an additional component is added.

- Component 1 is a 2" concrete slab with zero offset, which means the slab will be created flush with the bottom of the walls. Component 2 is 1/4" wood with an offset of 2", so that it will sit directly atop the concrete slab. To define material, click inside the field, then select a category and material.
Note: For details on materials,
-
These are the icons for Add Slab by Click and Convert to Slab. Right-click on either icon to set the tool's Properties, and click the relevant icon to create the slab.
-
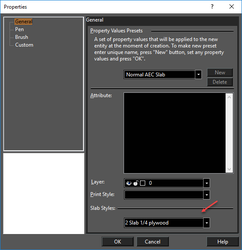
To create the slab with the new style, open the tool's Properties to the General page.
- Create the slab using one of the slab tools.
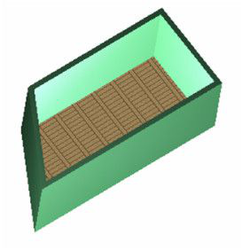
- In this example, if you remove the walls, both components of the slab can be seen.
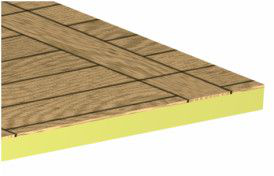
Rendering Slab Preview:
You can also render the slab preview in style manager. Right click the preview pane and select the desired rendering from local menu. You can also change view by right clicking in the preview pane and selecting the desired view from the local menu.
You can now view the actual Slab setup including all the components and materials.