
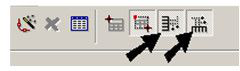
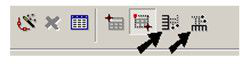
Default UI Menu: Draw/Table/Table
Ribbon UI Menu:

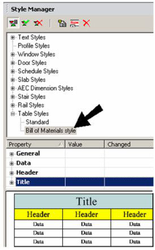
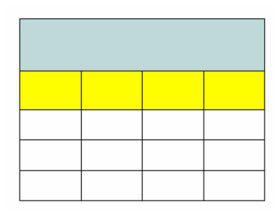
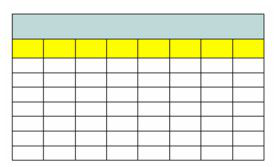
Before creating a table, you can define a table style. Styles are useful for creating tables with specific text properties, cell colors, and header / title rows.
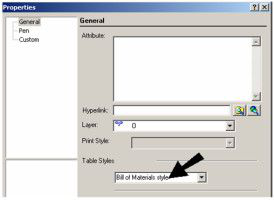
To apply the style to the table, open the tool's Properties and select the style on the General page.
You can also change an existing table's style in is Properties, or in the Selection Info palette. There are two methods of inserting a table: Specify Insert Point and Specify Window.
Specify Insert Point
With this method, you click the top left point of the table.
- Make sure Specify Insert Point is selected in the local menu or Inspector Bar. The number of columns and rows, as well as column width and row lines (number of lines of text) is set in the Inspector Bar.

- Click once in the file, and the table is inserted.
-
If you don't want to insert another table, press Esc or start a new tool.
-
If you need to change the size of an individual row or column, use the Edit Tool.
Specify Window
With this method, you insert the table by clicking two corner points. You can either fix the cell dimensions, or you can fix the number of rows / columns. (You can also mix options for sizing and numbers for rows and columns.) Make sure Specify Window is selected in the local menu or Inspector Bar.
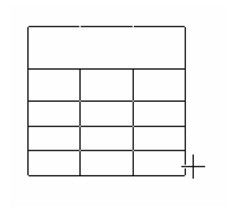
Fixed Number of Rows - Columns
- Activate both Calculated Row Height and Calculated Column width.
- Click once to set the top left corner of the table.
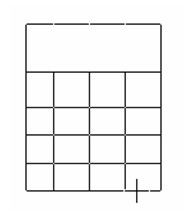
- Set the number of columns and rows.

- Move the mouse to size the table.
The number of cells remains the same, no matter how the table is sized.

- Click the second corner to insert the table. If you specified a table style, it will be applied.
- If you need to change the size of an individual row or column, use the Edit Tool. changing-rows-and-columns-merging-cells-1.html)
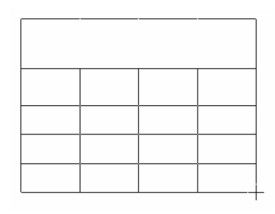
Fixed Cell Size
- Turn off both Calculated Row Height and Calculated Column width.
- Click once to set the top left corner of the table.
- Set the column width and number of text lines per row.

- Move the mouse to size the table.
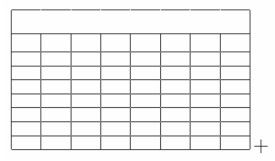
The cell size remains the same, no matter how the table is sized. Cells are added or removed as needed.

- Click the second corner to insert the table. If you specified a table style, it will be applied.
- If you need to change the size of an individual row or column, use the Edit Tool.