Extrude

Menu: Draw / Extrude

Shortcut Key: X
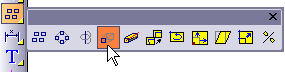
Toolbox Icon:
Extends a 2D object into three dimensions, connecting it from one point to another with surfaces. For example, you can extrude a floor plan upward to make the walls of a house, or you can extrude a circle to make a pipe or bar.
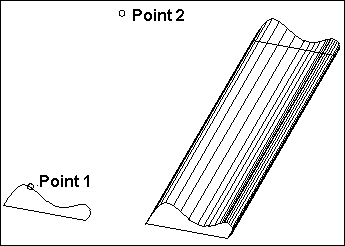
Point 1-n: Distance and direction for the extrusion path
Select the object to be extruded and choose the Extrude command. The following window appears:
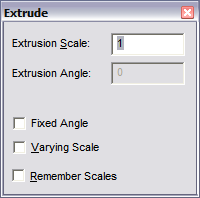
To extrude at a fixed angle, click Fixed Angle and then enter an angle measurement in the Extrusion Angle box. Positive angle values make the extruded end larger; negative values make it smaller. Set the points for the extrusion and then press Enter.
To use a different scale at points along the extrusion, click Varying Scale. A point list will appear in the window. Set the scale for the points of the extrusion by moving through the point numbers in the window and setting the Extrusion Scale. The scale is relative to the extruded object’s original size and not necessarily to its size at the previous point. Set the points for the extrusion and then press Enter.
Remember Scales: Used in situations where the Varying Scale option is being used repeatedly. If checked, the scales for each additional point are remembered from command to command.
Set a reference point and one or more points for the object to be extruded to. The object is extruded so the selection handle is placed at each point set.
The reference point represents the location of the selected object’s handle. The other points represent the distance and direction of the extrusion points. They form a parallel to the actual extrusion path.
The object does not move to the reference point.
Instead, the extrusion starts at the current location of the object. Therefore, it is most convenient to just set the reference point on the handle of the object. Press Enter when you have set all the points.