Page Layout Wizard
(Available in Platinum)
Default UI Menu: Tools/Wizards/Page Layout Wizard
Ribbon UI Menu:

The Page Layout Wizard is designed to expedite the creation of Paper Space Layouts for 3D models and projects. 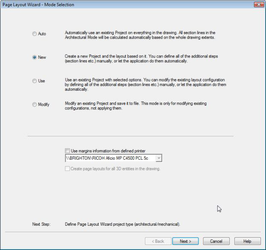
Options:
Auto: Everything is automatic, except the selection of the pre-existing project. New: Create an entirely new project. Use: Use an existing project with or without modifications. When the Use option is selected you will be prompted to specify the *.PLX file that contains the desired project. 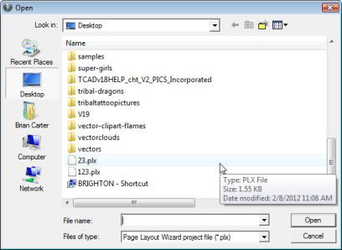
Modify: Modify an existing project without using it. Use margins information from defined printer: Use the margin settings from the selected printer to define the margins of the generated Paper Space Layouts. This option is not available in the Modify mode. Create page layouts for all 3D entities in the drawing: This option will only be available if the Use mode is selected. With this option ALL 3D entities in the drawing will be used for creation of the View/Viewports and Drafting palette components. If you do not select this option you will be prompted to select the required 3D entities in the drawing space. 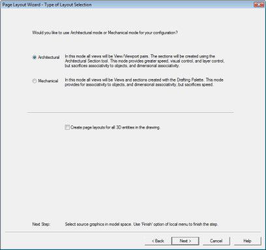
For optimal efficiency and performance two modes are provided for the creation of layout components: Architectural: This mode is faster with less demands on system resources, but non-associative Mechanical: This mode is associative, but is slower, and places greater demands on system resources. Note: You can use the Architectural mode for mechanical models and vice-versa but there is a potential for reduced
Options:
Create page layouts for all 3D entities in the drawing – With this option ALL 3D entities in the drawing will be used for creation of View/Viewports and Drafting palette components. If you do not select this option you will be prompted to select the required 3D entities in the drawing space. To select the items:
- Hold down the Shift key.
- Sequentially click on each of the items you require.
- Right click the mouse and choose Finish.
Layout Project Editor
The Layout Project editor is where you build your pages and layouts. Your options will vary depending upon whether you selected Mechanical or Architectural as the mode. Architectural  Mechanical
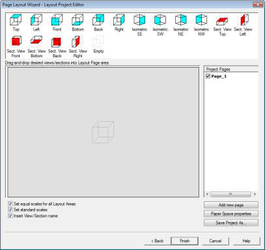
Pages
The Project Pages window shows all of the pages in your current project. The currently visible page is shown in bold. To view a particular page do a fast double click adjacent to the name of that page. 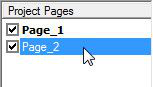 To create a new page, click the Add new page button below the Project Pages window.
 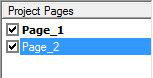 To Re-name a page do a slow double click on the name of the page. Then type in the new name and finally press Enter.
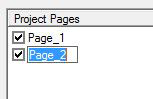
Options
If you right-click on a page in the Project Pages window you will be presented with three options: 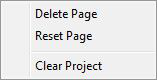 Delete Page: Removes the page on which you right-clicked. Reset Page: Resets the page on which you right-clicked so that it is blank. Clear Project: Deletes all pages except page 1 and resets page 1
Saving the Project
To save a project for future use click the Save Project As button. Projects are saved as *.PLX files.
Layout Page Area
The Layout Page area is where you compose layout for each of the pages in your project. This is accomplished by dragging & dropping views and sections from the top window into the Layout Page area. For example, if you drag a view onto the left side of the Layout Page area: 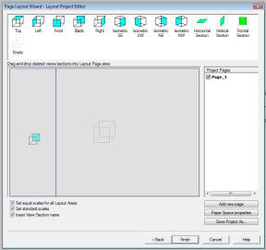 The result would be as follows:
 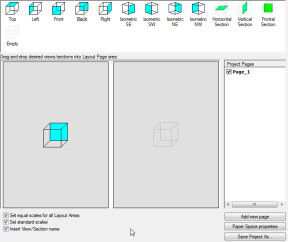 Another example, if you drag a view onto the center of the c:
 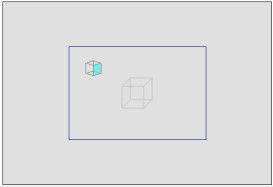 The result is as follows:
  The following diagram shows you all of the possible layouts available via the wizard:
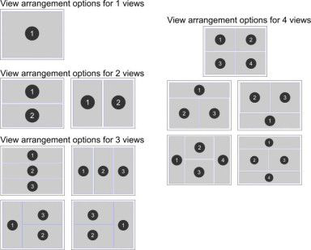
Options
Set equal scales for all Layout areas - If the checkbox is off, scales for different size areas will vary. If the checkbox is on the same MINIMAL scale will be applied to all areas. For example if you have one large area and three identical small areas the results would be as follows: If OFF, the large area would have Scale 1 and the small areas Scale 2; If ON, all four areas will have Scale 2. 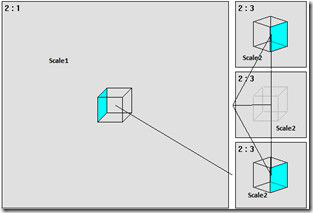 Set standard scales: When his option in turned on the scale for the views will be rounded off from the automatic fit scale to the closest rounded equivalent. (1:1.23234 --> 1:1.25 etc...). Insert View/Section name: The name of the view or section is inserted into the resulting layout as text.
Selecting a View/Section
To select a view or section in the Layout Page area, click on it. 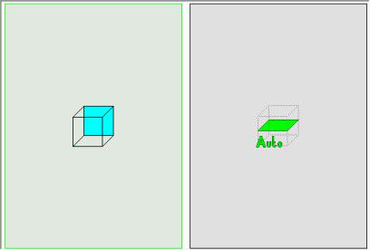
Deleting a Layout Area
To delete a section or view, select the target view or section in the Layout Page area, then right-click over it. From the popup menu select Delete Layout Area. 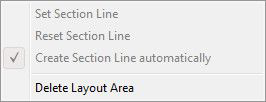
Sections – Architectural Mode
In architectural mode sections can be automatically derived or custom. By default all section are automatic. 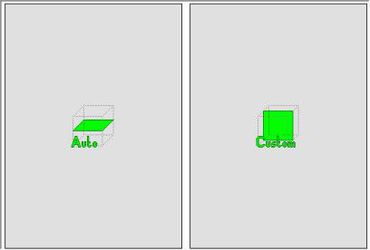 \ To create a custom section line, select a section in the Layout Page area, then right-click over that section. From the popup menu select Set Selection line.
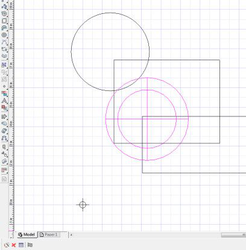
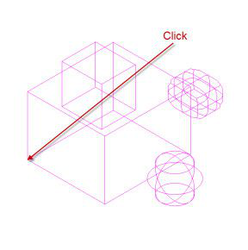
 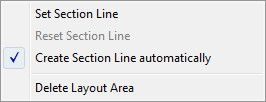 The view will switch from the wizard to Model space. You need to see the space in 3-dimensions clearly so right-click and select an isometric view. To set the selection line you will first be prompted with a dashed line.
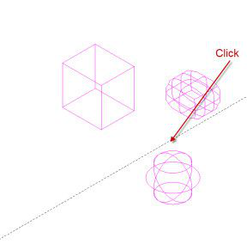
- Position the mouse, and then click to set the dashed line as the section line.
- The next prompt is a box. Position the mouse and click again to set the depth and width of the section area.
- After the second click the depth and width of the section box will be set. Now position the mouse and click a third time to set the height of the section.
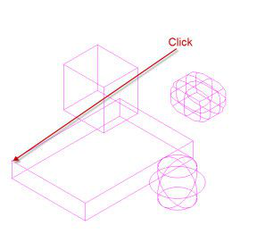
When you have selected the third position the section will be set and the wizard will reappear.
Resetting a Section
To reset a section, select that section in the Page Layout area, and then right-click over the section in the Layout Page area. Choose Reset Section Line from the popup menu. 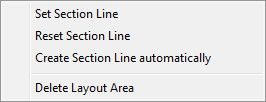 A warning will appear on the section saying that the Section Line is not defined. Use the Set Section Line option to set the section correctly.
Automatic Section Line
To reset any custom section to be automatic, select that section in the Page Layout area, and then right-click over the section in the Layout Page area. Choose Create section Line automatically from the popup menu. 
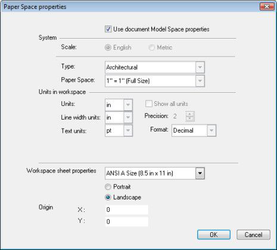
Paper Space Properties
To set the properties for any page in the project first select that page in the Project Pages window, and then click the Paper Space properties button. A paper Space Properties dialog will appear. From there you set the properties for the desired paper space in the normal fashion. Click OK when you are finished.