Slabs
(Available in Platinum and Professional)
Default UI Menu: Architecture/Slabs
Ribbon UI Menu:

You can add a slab by clicking inside a room of closed walls, or by selecting a closed polyline. You can also created holes in slabs. Before creating slabs, you should define slab styles. See Slab Styles
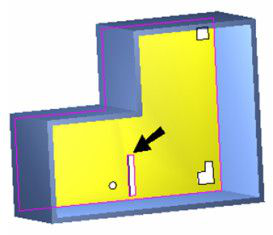
Add Hole
Default UI Menu: Architecture/Slabs/Add Hole
Ribbon UI Menu:

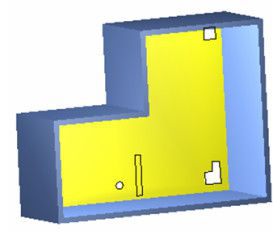
Creates holes in slabs or roof slabs, defined by closed curves or polylines.
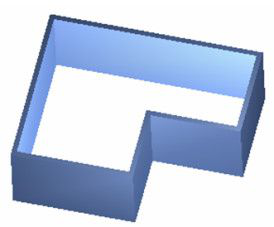
- Start with a slab, and use one or more polylines or curves (rectangles, circles, etc.) to define the holes.
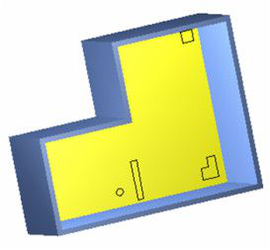
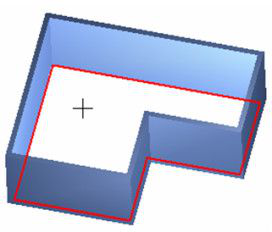
- Activate Add Hole and click the slab on which you want to create holes. Then click the object representing the hole. If you want to create multiple holes, press Shift and click all of the hole objects.
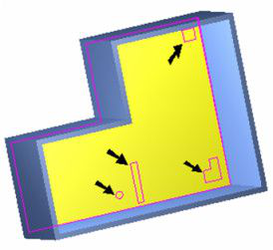
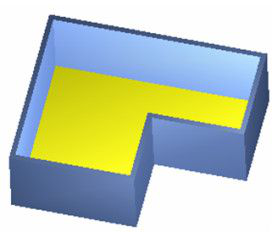
- Select Finish from the Inspector Bar or local menu. The material inside the hole objects is removed.
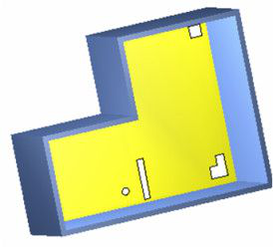
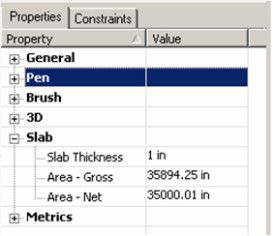
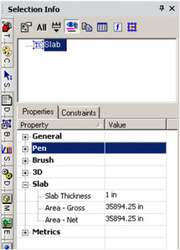
In the Selection Info palette, Area - Gross represents the area of the slab not including hole removal. Area - Net is the total area, with holes removed.
Add Slab by Click

Default UI Menu: Architecture/Slabs/Add Slab by Click
Ribbon UI Menu:

Creates a slab in a room, defined by a closed set of walls.
- Start with a set of closed walls.
- Open the tool's Properties and define the slab style on the General page. See Slab Styles. You can also change a slab's style using the Selection Info palette.
- Activate Add Slab by Click and click anywhere inside the room.
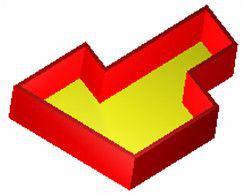
The slab is created inside the room, between the walls.
- You can also specify to offset the slab from the walls by using the Offset field in the Inspector bar.

- The thickness and area of the slab are listed in the Selection Info palette.
Local Menu Option Use Wall Thickness: This option can be useful using walls with different widths. If this option is selected, the offset value for each side of the slab will be calculated separately as offset = offsetwall_width* In this case offset value is dimensionless quantity and acts as a multiplier of the wall width.
Convert to Slab

Default UI Menu: Architecture/Slabs/Convert to Slab
Ribbon UI Menu:

Creates a slab inside a closed curve (rectangle, circle, etc.) or polyline. The curves or polylines can be created using double line tools.
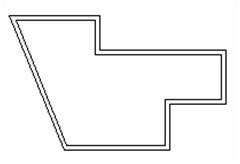
- Start with a closed curve or polyline. This example uses a polyline created with Double Line Polyline.
- Open the tool's Properties and define the slab style on the General page. See Slab Styles. You can also change a slab's style using the Selection Info palette.
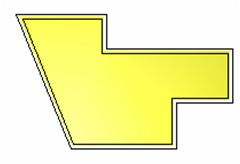
- Activate Convert to Slab and click the polyline. The slab is created inside the polyline.
- To create walls from the double lines, you can use Convert to Wall (see Convert to Wall).
Delete Hole

Default UI Menu: Architecture/Slabs/Delete Hole
Ribbon UI Menu:

Removes holes already defined in a slab.
- Start with a slab that has one or more holes defined. Activate Delete Hole and click the slab. Then click the object or objects whose hole you want to remove. If you want to remove more than one hole, press Shift and click multiple objects.
- Select Finish from the Inspector Bar or local menu. The hole is removed.