Roofs

Default UI Menu: Architecture/Roofs
Ribbon UI Menu:

You can easily add and modify roofs to a building. The roof slope can be constant or you can change the slopes of individual roof faces.
Add Roof
(Available in Platinum, Professional and Deluxe)

Default UI Menu: Architecture/Roofs/Add Roof
Ribbon UI Menu:

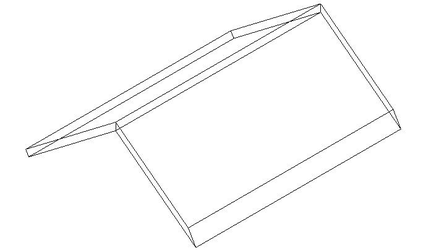
Creates a roof with a constant slope angle.
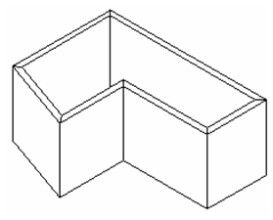
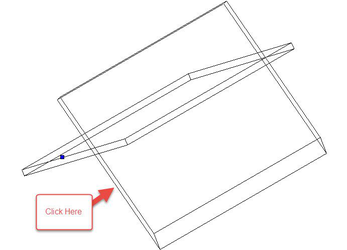
- Create the walls of the building. If you do not use the Wall tools, you can use any 3D shape, or even a 2D outline.
Note:If you use the Wall tool, you can give the walls height by entering a Thickness in the 3D page of the walls' Properties.
- If necessary, bring the workplane to the correct level. You can use By Facet to set the workplane to the top of the walls.
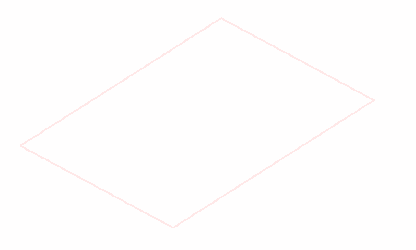
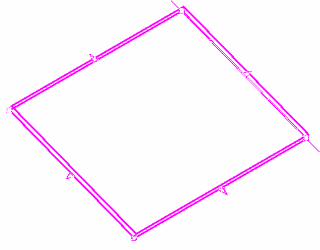
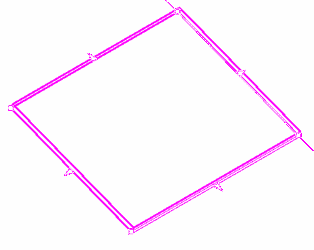
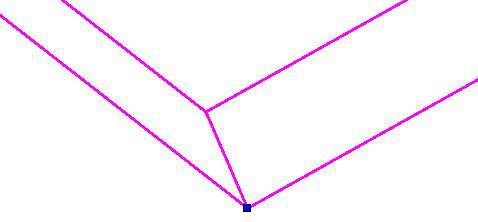
- Activate Add Roof, and trace the outline of the roof.
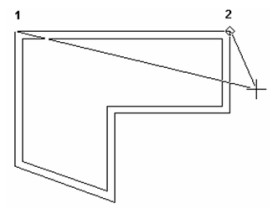
With each corner point you select, the roof adjusts to create a closed form. .
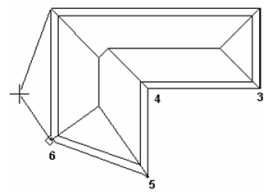
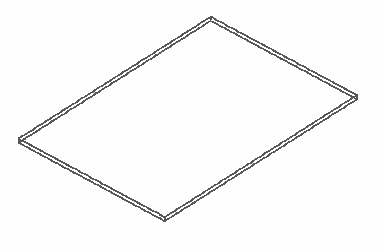
- After you select the last point, select Finish from the local menu or Inspector Bar. The ridge and valley lines are calculated to maintain a constant slope angle.
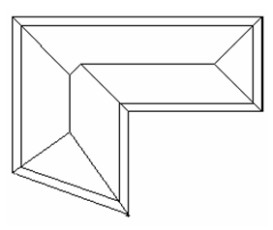
Rotate the view to see the roof.
Add Roof by Walls
(Available in Platinum, Professional and Deluxe)

Default UI Menu: Architecture/Roofs/Add Roof by Walls
Ribbon UI Menu:

Creates a wall defined by a series of walls.
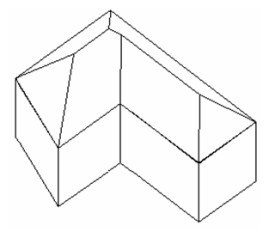
- Start with a closed chain of walls, and activate Add Roof by Walls.
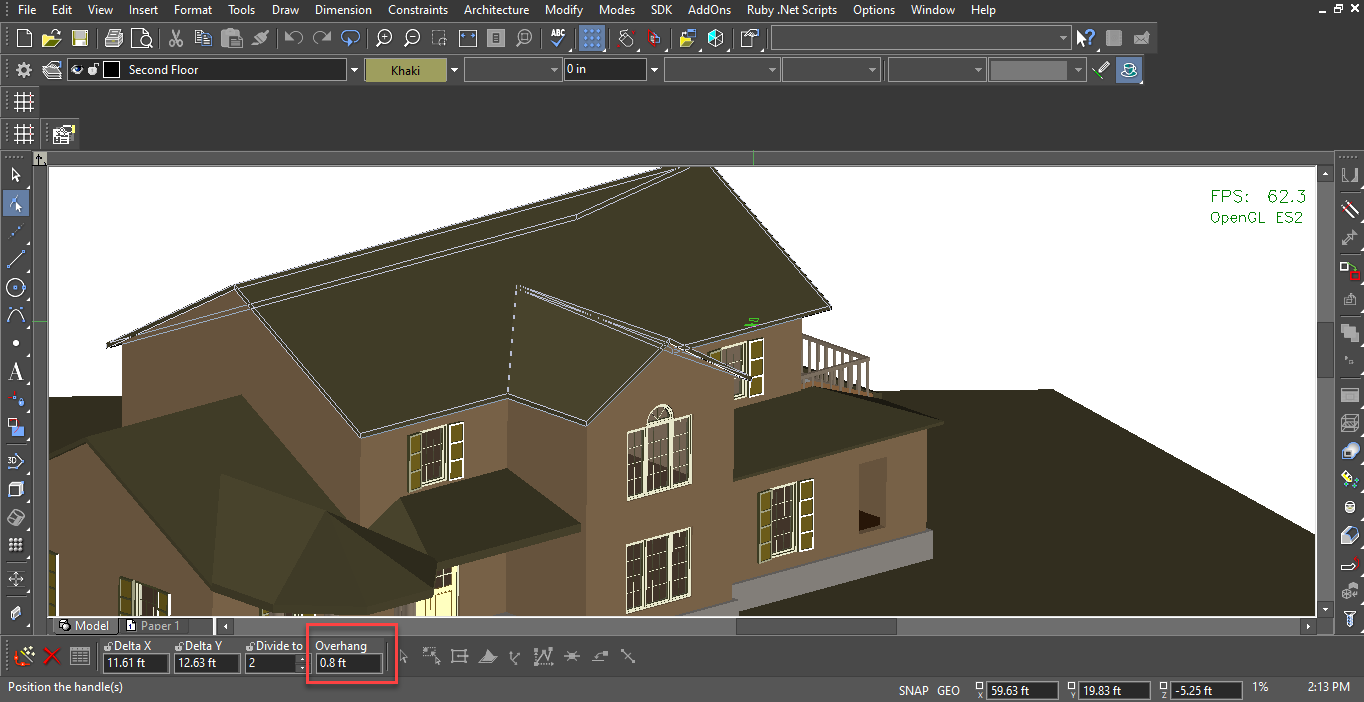
- In the Properties, set the Slope Angle and Overhang.
- Press Shift and select all walls in the chain.
- Select Finish to create the roof.

- More then one roof be also created by selecting all walls.
Previously, you could create only one roof object. Now more than one roof can be created by selecting more than one wall.
Roof Properties
(Available in Platinum and Professional)
Thickness, slope angle, and overhang length of the roof.
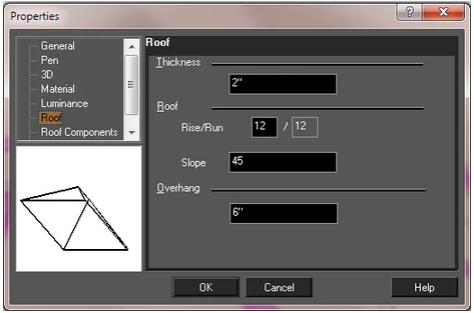
Thickness: The thickness of the roof. Rise/Run: Specifies the angle of the in standard ratio format. For English units the ratio is X over 12 (X/12). For metric the ratio is X over 100(X/100). Slope: Specifies the angle of the roof. The higher the angle, the steeper the roof slope. Adjusting this value will alter the Rise/Run.

Note: This parameter changes the slope of the entire roof. To change the slope of one facet, use the Edit Slope Angle tool.
Overhang: The distance the roof extends past the defined roof outline.
 From the Selection Info palette you will find the additional property Edge Cut.
 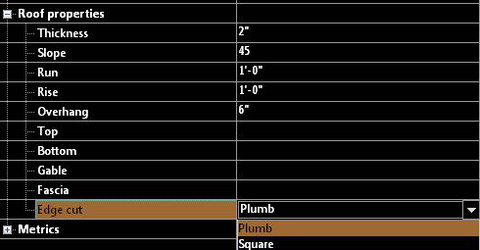 Edge Cut: Provides two options: Plumb, and Square. When set to plumb the edge will be perpendicular to the ground (vertical)
  When set to Square the edge will be perpendicular to the plane of the associated roof section.
Roof Components
The Roof Components properties allow for the setting of different Materials to each component of the roof. The components available are as Top, Bottom, Gable and Fascia 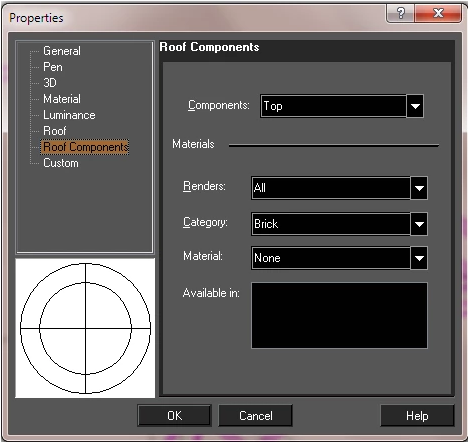
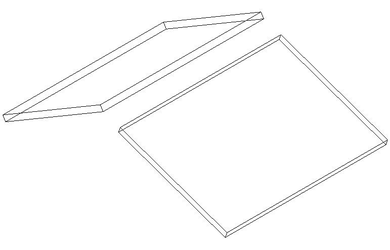
Roof Slabs and Converting to Roof Slabs
(Available in Platinum and Professional)
Roof slabs are used to create complex compound roof types that are not possible for the Roof tool. E.g. Skillion (Lean-to, Shed), Saltbox, M-Shaped, Gambrel, Mansard, Butterfly, Combination (Bonnet), Dormer, Dutch Gable, Jerkinhead, Flat, Cross Gabled. Roof Slabs are created from closed linear polylines (no arcs) or standard roofs.
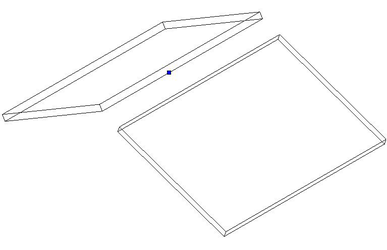
To Convert to a Roof Slab:
- Select the Convert to Roof Slab tool.
- Click on a closed polyline.
 Or
Or
-
Select the Convert to Roof Slab tool.
-
Click on a standard roof.
Roof Slab Properties
Roof Slabs have the following properties. As of now the can only be accessed through the Selection Info Palette. 
Thickness: The thickness of the roof. Slope: Specifies the angle of the roof. The higher the angle, the steeper the roof slope. Adjusting this value will alter the Rise/Run. Run: Specifies the Run value for the angle of the in standard ratio format, Rise/Run Rise: Specifies the Rise value for the angle of the in standard ratio format, Rise/Run Top: Used for setting of the materials for this component of the roof slab. Bottom: Used for setting of the materials for this component of the roof slab. Fascia: Used for setting of the materials for this component of the roof slab.
Extend Roof Slab
Default UI Menu: Architecture/Roofs/Extend a Roof Slab
Ribbon UI Menu:
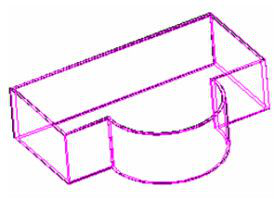
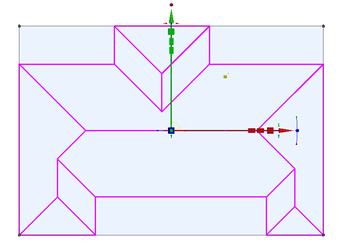
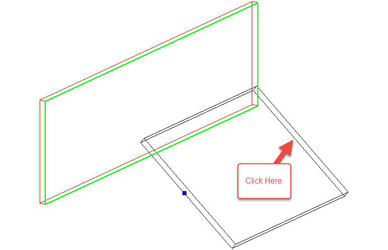
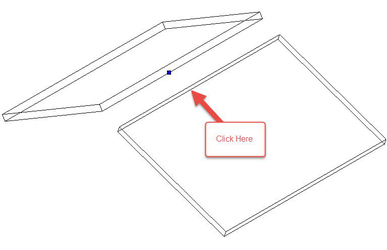
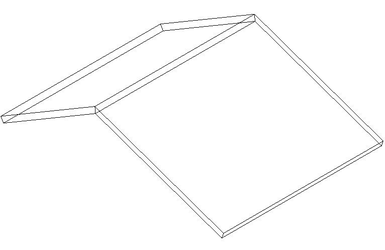
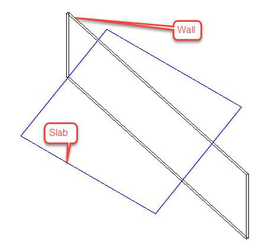
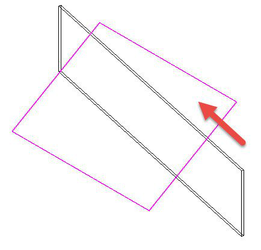
 The Extend Roof Slab tool to extend a slab or roof slab to a plane defined by another slab, a roof slab, or a wall. The target itself does not have to intersect with the extended slab/roof slab, as long as it projects an intersection in the current user coordinate system (UCS).
 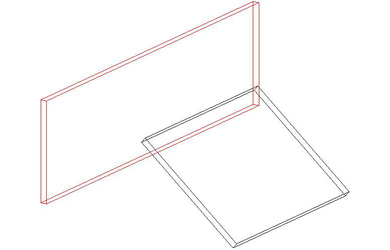 To Extend a Roof Slab:
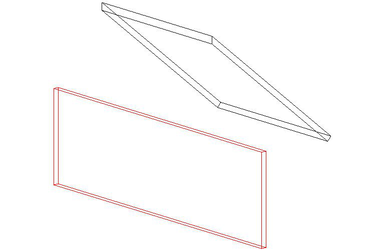
- Select the target flat plane. It will be highlighted in green.
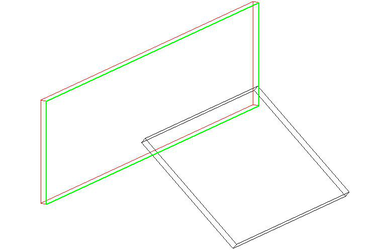
- Select the first edge to lengthen
- Select the second edge to lengthen
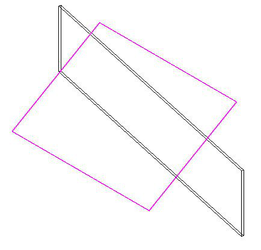
- The result will look like this:
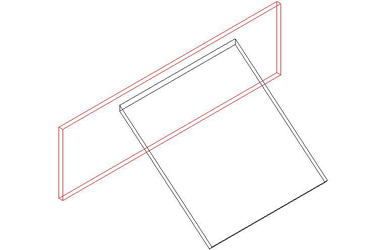
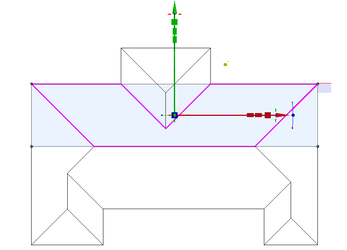
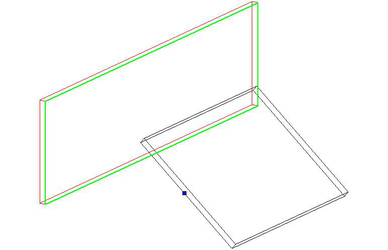
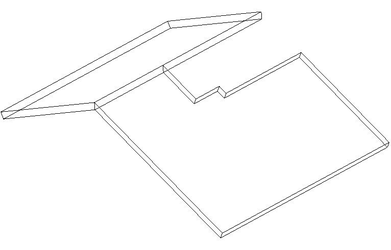
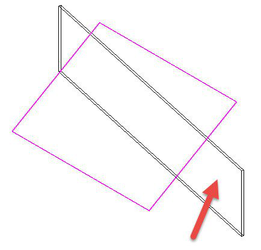
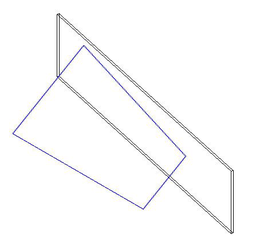
Another Example: 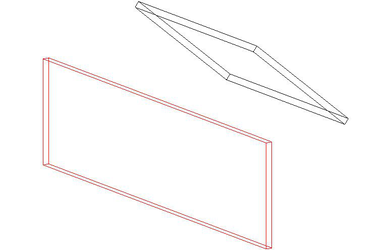
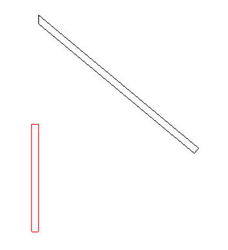 Notice that the roof slab has extended to where the wall would be if it were that tall.
Miter Two Roof Slabs
Default UI Menu: Architecture/Roofs/Miter Two Roof Slabs
Ribbon UI Menu:

The Miter Two Roof Slabs tool allow you to bring two Roof Slabs together with a smooth joint. The tool has a single option in the local menu:
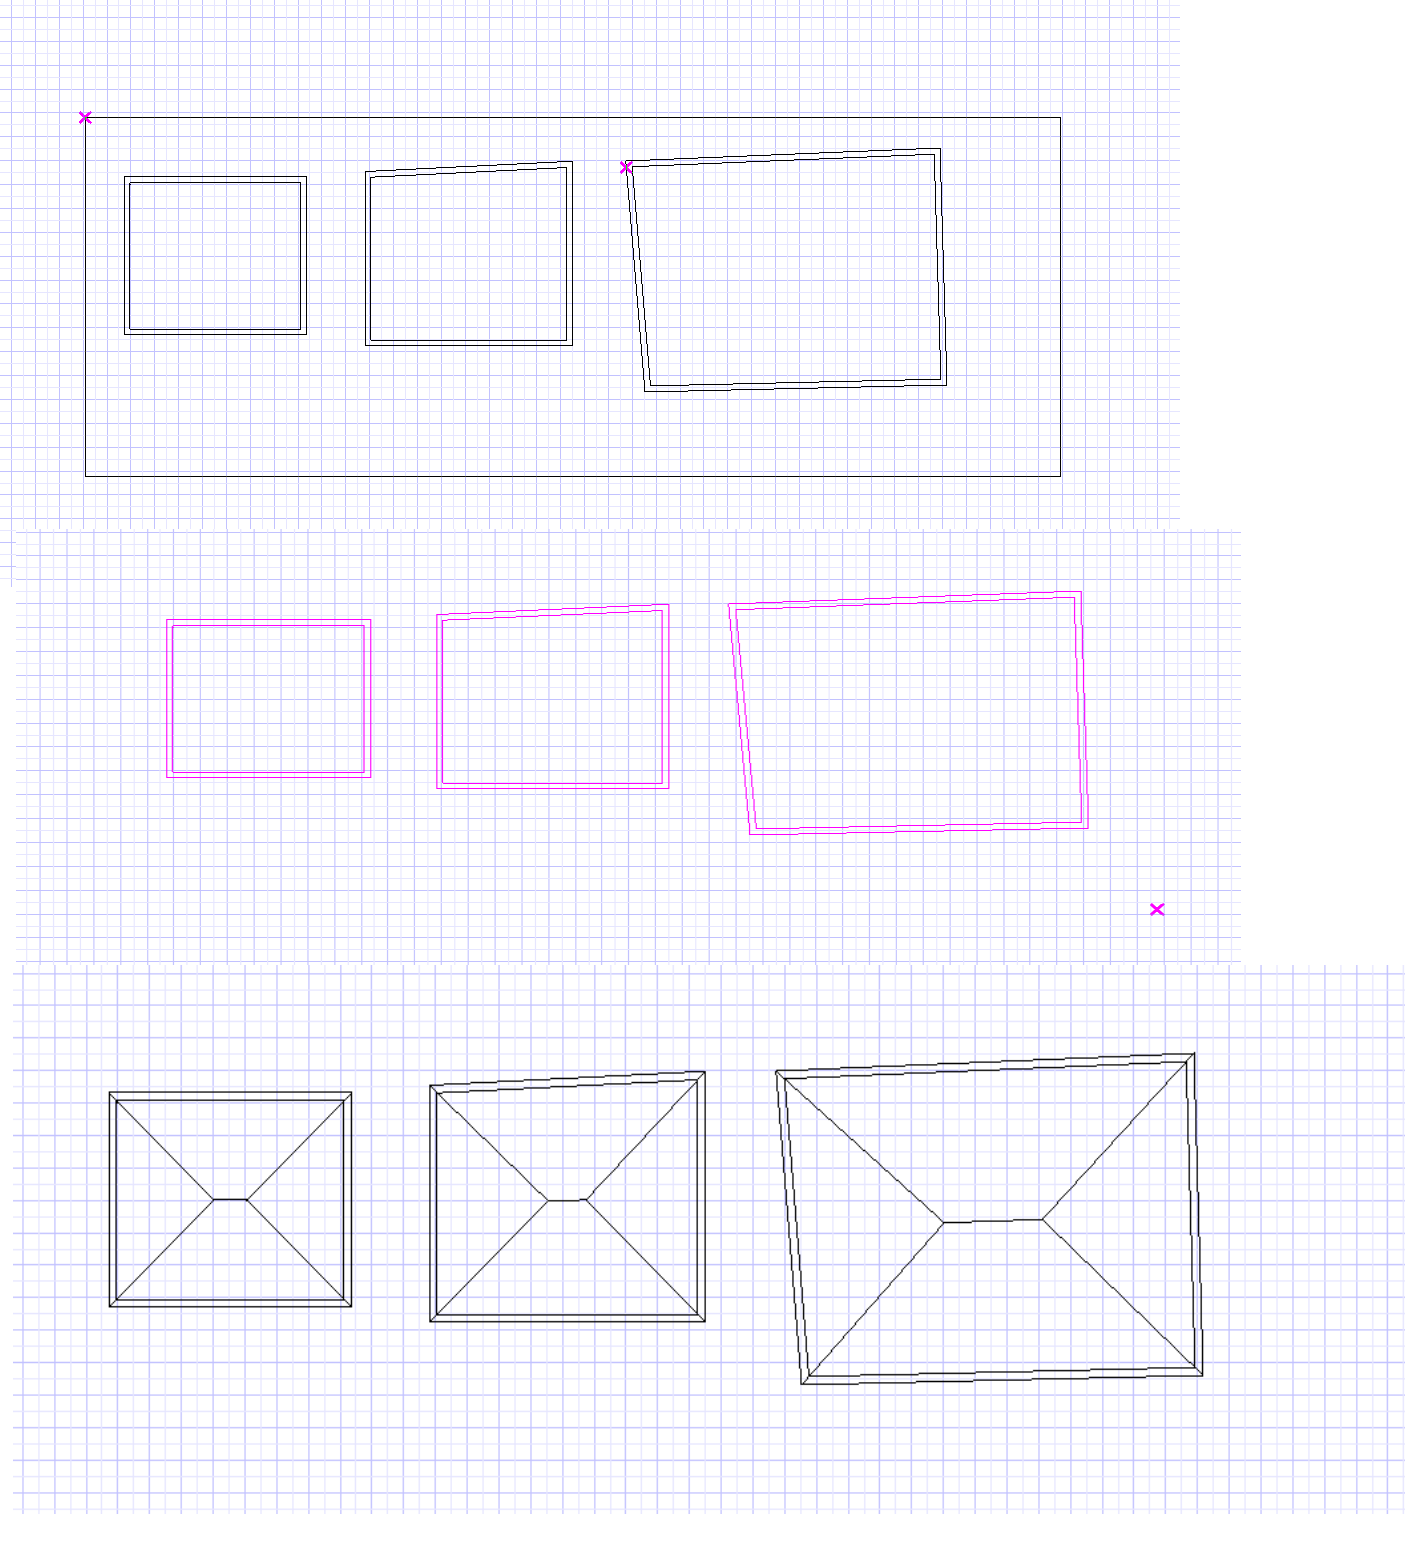
By Intersection Use this option when you are mitering two intersecting roof slabs. Both roof slabs are trimmed along the intersection of their perimeter lines. Vertices are added or removed as required. The new edges of the roof slabs are set to angles required for a true miter cut. If the slab thicknesses of the two edges are different, the angles will be different You cannot use this option if the slabs do not intersect. To Miter Two Intersecting Roof Slabs:
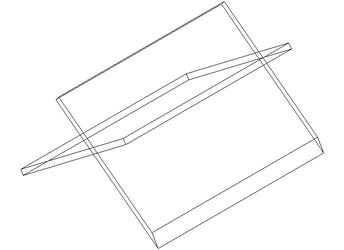
- Select the first roof slab on the part of the slab you wish keep. The opposite side will be trimmed.
- Select the second roof slab on the part of the slab you wish keep. The opposite side will be trimmed.
- The result will look like this.
If the two Roof Slabs do not intersect you can miter two slabs by selecting edges to extend and meet (similar to the 2D Meet 2 Lines tool). Only one edge of each roof slab is mitered. You can miter edges of roof slabs without altering the entire slab. To accomplish this, however, you may need to insert additional vertices.
- Make sure that the By Intersection option is off in the local menu.
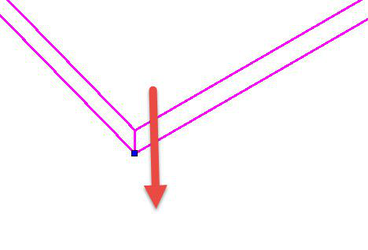
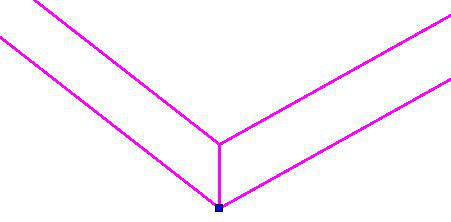
- Select one edge on the first roof slab.
- Select one edge on the second roof slab.
- The result will look like this:
Another example:

Node Editing Roof Slabs
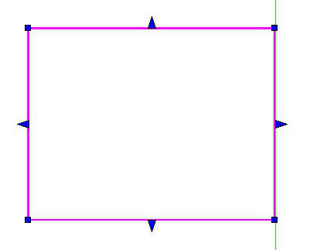
You can Edit Roof Slabs just as you can edit walls and most objects. You can:
- Select a Node and delete it using the local menu.
- Right click on an edge and add a node from the local menu.
- Select and move node/s.
- Select the arrow on an edge to drag it to expand or reduce the slab.
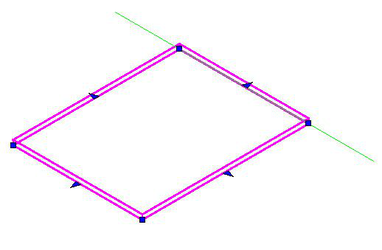
 Editing Roof Slabs also has several special features. Set the Pivot Edge: This specifies the edge which will serve as the pivot when any future adjustments are made to the Slope or Rise-Run properties. The green line indicates the pivot edge. Set the Edge Cut: This allows you to set each edge of the slab to be Plumb or Square. By default the value is set to Square. Set the Edge Cut Angle: This allows you to the angle between the top plane of the slab and the edge plane if the Edge Cut is set to Square, or between the ground plane the edge plane of the slab if the Edge Cut is set to Plumb. By default the value is set to 90.
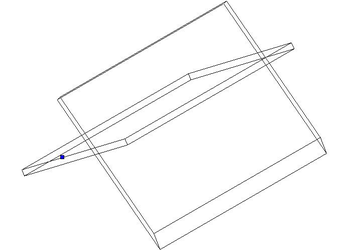
To Set the Pivot Edge
- Select the Roof Slab with the Edit tool
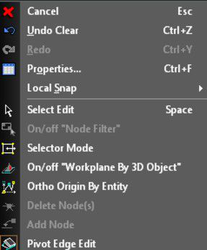
- Select Pivot Edge Edit from the local menu.
- Hover over the desired edge. It will be highlighted in red.
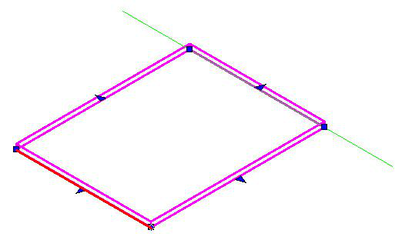
- Click to set the edge.
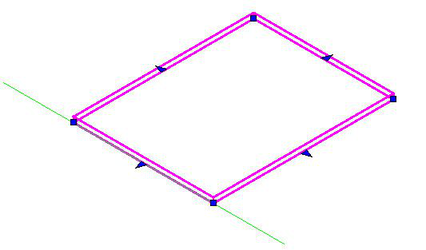
- The green indicator moves.
To Set the Edge Cut
- Select the Roof Slab with the Edit tool
-
Hold down the Shift key
-
Hover over the desired edge. It will be highlighted in white.
-
Click on the edge.
-
From the Inspector bar select Plumb from the Edge Cut drop-down.

- The result will be a Plumb edge.
To Set the Edge Cut Angle
- Select the Roof Slab with the Edit tool
-
Hold down the Shift key
-
Hover over the desired edge. It will be highlighted in white.
-
Click on the edge.
- From the Inspector bar type 60 into the Edge Cut Angle field.

- Press Enter.
Trim Roof Slab by Plane
Default UI Menu: Architecture/Roofs/Trim Roof Slab by Plane
Ribbon UI Menu:

This tool allows you to trim a Roof Slab by the plane of another object. The objects that can be used are: Other Roof Slabs, Standard Roofs, or Walls. To Trim a Roof Slab:
- Select the Trim Roof Slab tool.
- Select the slab.
- Select the plane to be used as the trimming element.
- Select the side of the Roof Slab to be trimmed away.
Roof Overhangs:
User can edit overhangs for each side of the roof by selecting and editing the roof. The Overhang option is available in the Inspector Bar which allows user to enter value manually as well.