Text
(Available in all TurboCAD Variants)
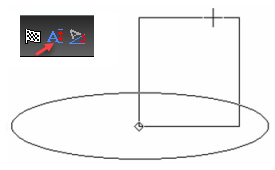
Default UI Menu: Draw/Text/Text
Ribbon UI Menu:

These tools enable you to add strings of letters and other characters into your model.
The text tools are available on the Insert menu, and can be accessed on the flyout toolbar on the Drawing Tools toolbar.
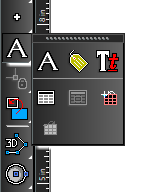
You can also display the Text toolbar by right-clicking on any toolbar area and selecting Text. 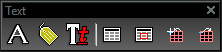
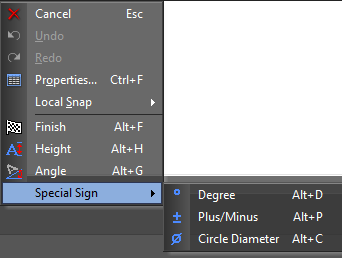
TurboCAD supports Special Signs when entering text. Local menu options include: Degree, Plus/Minus, and Diameter signs.
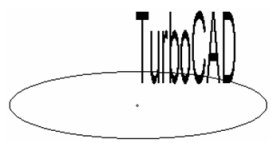
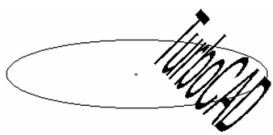
Note: With this tool you can add single straight lines of text. To add multiple lines in paragraph format, see Multi Text . To create text that follows a curve, see Text Along Curve .
Editing Text
You can edit existing text by accessing its Properties. Open the General page, and edit the text in the Attribute field. 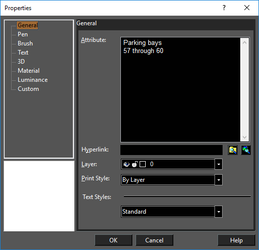
You can also edit the content of the text by clicking on the text with the Text tool, or, if in the Selector General properties the Double Click Action is set to Edit content, you can edit the text content by double clicking on the text with the Selector tool. If you use the Selection Info Palette, you can use the Edit in Place tool to edit text directly on the screen. See Selection Info Palette. In this palette, the text is also listed (and can be edited) in the General category, next to Info. 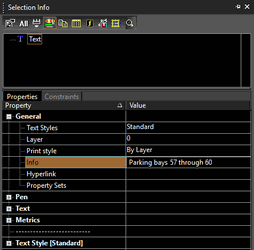
Exploding Text
You can use Explode to explode text into individual characters, and explode characters into polygons and polylines, and explode these into lines. This can be useful if you need to change a very small aspect of text, or if you need a text-shaped polyline to extrude.
Inserting Text
- Set the desired font and other text parameters. See Text Properties .
- Click on the point where you want to place your text.
3. Type the text, using the Backspace key to make corrections. Press Enter to add a new text line. To finish, click on the drawing, press Shift+Enter, or select **Finish** from the local menu.
Note: By default, the text is centered at the insertion point. You can change this, however, via the Properties window, or by using the Align local menu option.
Local menu options: Height: Changes the text height. Move the mouse to adjust the height rectangle, or enter a height in the Inspector Bar.
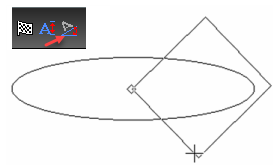
Angle: Adjust the angle of the text line (not the text slant). Move the mouse to rotate the text rectangle, or enter the angle in the Inspector Bar.
Text Properties
Certain parameters of text (color, font, and text height) can be set on the Property toolbar.

Other parameters (bold, italics, etc.) can be set in the Text Properties toolbar, which can be displayed by right-clicking in any toolbar area and selecting Text Properties.

Note: You can use the Manager palette to create multiple styles of text, which set certain basic text properties such as font and height. See Text Styles
The Text Properties toolbar can be used while creating text (i.e. when Text is active), and it can be used to edit selected existing text. You can access all properties of the Text tool by right-clicking on the tool icon.
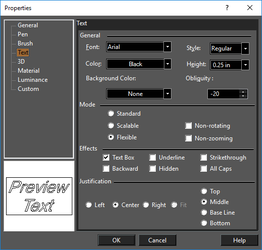
Shx (AutoCAD compatible). The available TrueType fonts depend on your Windows setup. AutoCAD (.shx) fonts are installed by TurboCAD, and are located in the Program\Fonts folder. Choose: Regular, Italic, Bold, or Bold Italic. These four styles are not available for every TrueType font. Height: You can set the height in either World or Paper units, depending on the current mode - Model Space or Paper Space. Text can be measured in points only if you are using Paper units.
Note: There are also options for setting text height in the Space Units page of the Drawing Setup (Options / Space Units).
Mode: Standard: Always proportional even if resized. Scalable: Can be resized non-proportionally. Flexible: Pen, brush and slant options are available. Non-rotating, Non-zooming: Text will not change position or be scaled when rotating or zooming. Obliquity: Degree of text slant (slant of each character), available only for Flexible mode. A positive value slants to the left. Justification: Left-justified text is typed to the right of the insertion point; right-justified text is typed to the left of the insertion point, and center-justified text is centered on the insertion point.
Tip: You can get more precise control of the placement of text relative to the insertion point by using Align, accessed by right-clicking in the drawing area while the Text tool is active. This feature can only be applied to text as it is being drawn; you cannot use it to format existing text.
Background Color: The color that appears behind each character.