Chamfer Edges
(Available only in Platinum)
Default UI Menu: Modify/Modify 3D Objects/Modify Edges/Chamfer Edges
Ribbon UI Menu:

Chamfers (bevels) edges of solid 3D objects.
Only solid objects (not surfaces) can be selected for chamfering. Chamfering can either add or remove material; material is added to a concave edge, and it is removed from a convex edge. You can choose whether to create rounded or mitered vertices.
Note: You can edit a Chamfer Edges operation in the Selection Info palette.
The chamfer size is set by the Offset and Chamfer Angle values. Offsets are the distances from the edge. If the Offset values are equal, the Chamfer Angle is 45 degrees.  If you change one Offset value, the Chamfer Angle updates accordingly.
  Similarly, if you change the Chamfer Angle, the Offset 2 value will update accordingly.
Chamfer with Miter Vertices
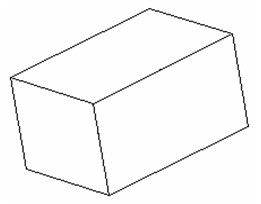
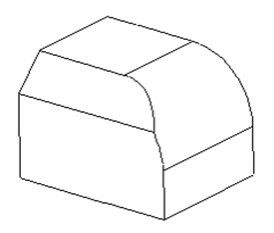
Mitering the vertices produces chamfered edges that meet at an edge at the corners. This example will use the following model.
- Make sure Round vertex is disabled.
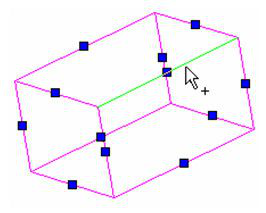
Select the object whose edges are to be chamfered. Each edge is marked with a blue square.
- Set the chamfer offset values in the Inspector Bar, and select the edge to chamfer.
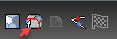
- The edge is chamfered. To chamfer another edge, select the object again and select the next edge.
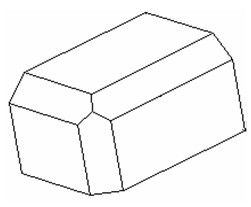
- Continue to select edges to chamfer.

Any common corners will meet at a sharp edge.
Pick Smooth Sequence
Adjacent edges are smoothly connected if they are connected by an arc or rounded vertex. When working with Round vertex, smoothly connected edges are automatically selected. But this is not the case when Round vertex is turned off.
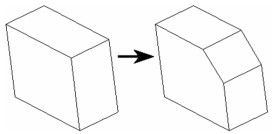
- Start with a box with one filleted edge, using a large radius.
- Activate Chamfer without Round vertex, and chamfer one edge, using a smaller offset.

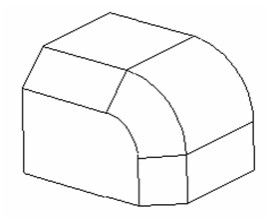
This is the result - only the selected edge was chamfered.
- Undo, and this time select Pick smooth sequence.
- This time when you select one of these edges for chamfering, all edges in the smooth chain are selected.

This is the result - all edges in the chain are chamfered.
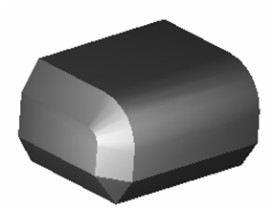
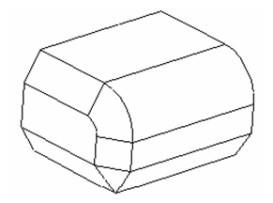
Chamfer with Round Vertices
Rounding the vertices produces a smooth rounding along corners. This example will use the following model, with one filleted edge. 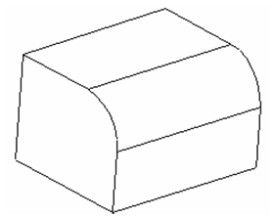
- Select RoundVertex in the Inspector Bar or on the local menu.
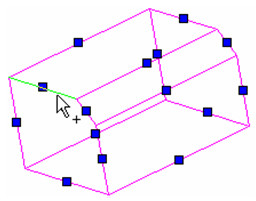
- Select the object whose edges are to be chamfered. Each edge is marked with a blue square. If you select Hide Marks, these edge markers will be hidden.
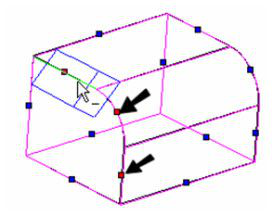
- Select the first edge to chamfer. When an edge is selected, the blue square turns red. A preview appears indicating the chamfer size. If you select an edge that is smoothly connected to other edges, the connected edges will be selected automatically.
 -
-
Note:Adjacent edges are smoothly connected if they are connected by an arc or rounded vertex.
- Continue selecting edges, if needed. (You can also drag a window to select multiple edges). In some cases, selecting an edge (such as the bottom front edge) will cause another edge to be chamfered as well (the bottom side edge), because they meet at a common vertex. These edges are indicated by a green square.
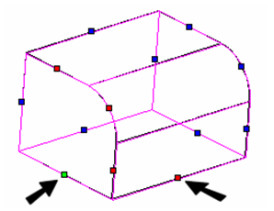
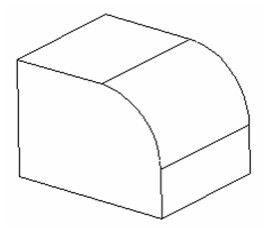
- When all edges are selected, set the chamfering offsets in the Inspector Bar, and select Finish from the Inspector Bar or the local menu.
Viewing the results in render mode shows the affect of chamfering. The common vertex is smoothly rounded.