Creating a Rendered View
Default UI Menu: View/Camera/Properties
Ribbon UI Menu:

By default, these tools are also available on the local (right-click) menu. When creating the first render of a model, the easiest way is to select one of the render modes and accept the default lights.
Tip: You can modify the lights by selecting View / Lights. For more details,
There are several ways to modify and enhance your rendering:
- Adjust render properties
- Modify or add lights
- Define object materials
- Create a render scene environment
You can use all 3D tools (as well as most 3D editing tools) in both wireframe and render modes. To render only specific objects, select those objects before selecting the render mode. To return to Wireframe or another render mode, click the relevant icon or use the View / Camera menu.
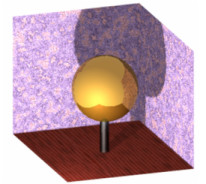
Quality Rendering
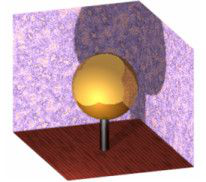
 Creates the most photorealistic image with respect to shading, color, reflection, texture, and other qualities. For complex models, this type of rendering can be slow.
Draft Rendering
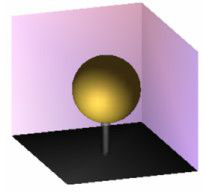
 Quickly creates a rendered view. The parameters are more limited than with Quality rendering, and the view will not be as detailed. The OpenGL and Lightworks rendering types are available for this mode.
Hidden Line
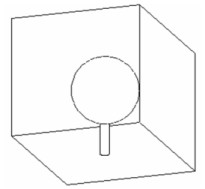
 Eliminates the hidden lines from the view.
Advanced Render- RenderStyles
 Render Styles are used to give you maximum control over the rendering process. A fair variety of preset values are provided including both raytracing and sketch types of rendering
Note: There are detailed help files available from the Editors for Luminances, Environments, Materials, and Render Styles. These detailed help files describe the function of all settings, and the effect of value changes to parameters in these dialogs
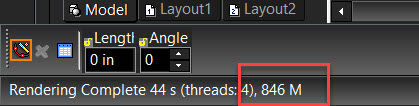
Status Bar Memory Display
Once you initiate any Rendering mode for a selected object; the TurboCAD status bar displays the respective memory usage along with the processing time.
For example, if you have just initialized Quality Rendering, the status bar located at the lower left corner of the screen displays the value of the memory being used during the process (as shown above) and the total memory used after completion (as shown below). The memory is calculated in Megabytes.
Creating and Editing Objects in Render Mode
All 3D geometry and most 3D editing tools can be used while in render mode.You can edit objects using Select Edit and Edit Tool, perform 3D Boolean commands (with the exception of the Boolean operation 3D Slice) and manipulate the workplane.Tools for creating and modifying 2D geometry cannot be used in render mode. This includes text and tools for inserting and manipulating pictures.
Tip: If you need access to 2D profiles for creating profile objects, you can see them in render mode if you check Foreground Wireframe / Nonrenderable objects in the Camera Properties (View / Camera / Properties) for the various render modes.
Drag and drop maneuvers are also not available in render mode. Therefore, you cannot drag objects in or out of the Blocks or Symbols Palettes (though the Format menu commands are available). You also cannot drag objects into other drawings.
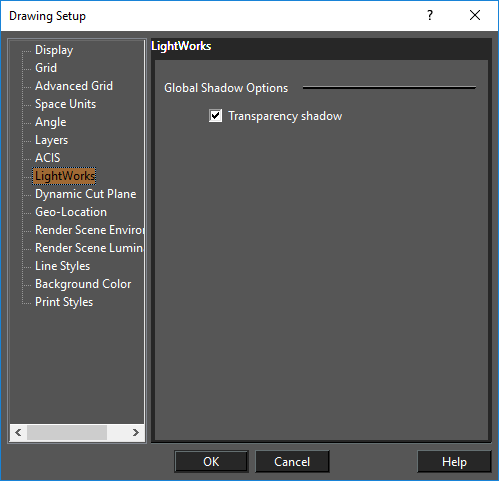
Lightworks Settings
The Lightworks settings under Options/Lightworks will effect any render or saved raster file created with render styles. They are on by default. Transparency Shadow: Specifies whether a render created with a render style will support shadows cast by transparent objects. This toggles the Shadow Transparency setting for every Luminance which has Shadow Transparency turned on.