Groups
(Available in all TurboCAD Variants)
Two or more objects can be combined as a group. A group is treated as a single object for purposes of selecting and editing. Each group contains its own drawing data. This means that making a copy of a group increases the size of your model. If you need to create several groups of numerous or complex objects, you may want to use blocks instead. Blocks are stored in a library, and each instance of the block refers to this external source, without significantly increasing the file size. Because groups can contain groups and blocks, they can be complex hierarchical structures. The structure of a group can be seen in the Selection Info Palette (View / Selection Info), which can also be used to edit a group's contents.
Creating a Group

Default UI Menu: Format/Create Group
Ribbon UI Menu:

Combines all selected objects into a group. This tool is available on the Groups and Blocks toolbar, or on the icon in the Drawing Tools.
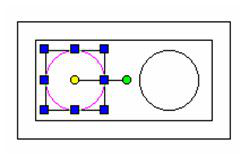
- Create the objects you want to combine into a group. Each object is initially separate, as you can see in Select mode.
-
Select all the objects you want to include.
-
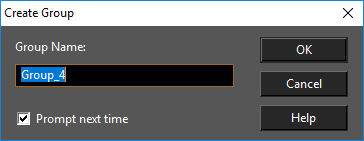
Click Create Group.
-
If Auto-naming is not used, you must assign the group name.
The group is created, and the objects are now selected as one object.
Note: The new group will be placed on Layer 0 if its components are originally on different layers.. If you explode a group, the objects will return to their original layers. Layer 0 should always be left visible, or newly created groups will instantly "disappear."
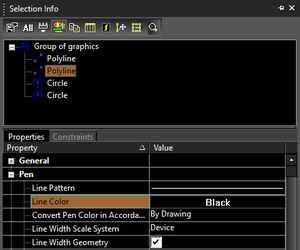
If you open the Selection Info Palette, you can view the contents and properties of a selected group.
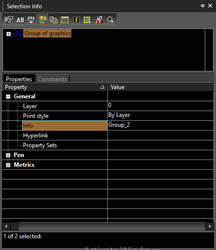 You can highlight any component of the group to view its individual properties as well.
Editing a Group
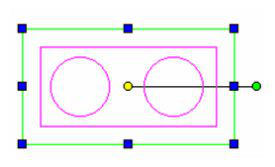
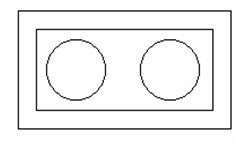
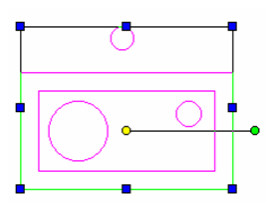
This example will use the following group, consisting of four objects:
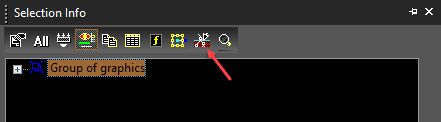
- Select the group, and select Edit Group Content. If the Selection Info Palette is open , you can also click the Edit Content button on the palette toolbar.
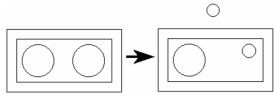
- You are now in edit mode, and the screen contains only the group's objects. You can add objects, delete objects, or edit existing objects. Whatever appears on the screen will become part of the edited group.
- When finished, select Finish to Edit Group, or click Finish Edit Content in the Selection Info Palette.
The group now contains the edited and new objects.
Exploding a Group
Default UI Menu: Modify/Explode
Ribbon UI Menu:

Click the Explode icon.

If you explode a group that contains nested groups or blocks, the nested groups will remain intact. Each sub-group must be exploded separately.