House Wizard Toolset
(Available in Platinum, Professional and Deluxe )
Default UI Menu: Architecture/House Wizard
Ribbon UI Menu:

The House Wizard is a set of tools designed to allow for accelerated layout of a house design. It is structured to provide a set of room boxes that can be snapped together quickly. Once the initial layout of spaces is complete the click of a single button will generate a preliminary 3D model of the house, including walls, slabs, and doors. You can then quickly finalize the model to your needs. In order for the House Wizard to work correctly you must start with either the "House Template", or the "House Template Metric".
To get the maximum utility out of the House Wizard you should turn on the House Wizard toolbar. Go to Customize, navigate to the Toolbars page and select House Wizard.

Arranging and Snapping Room Boxes
To arrange the room boxes into your design simply pick up each box and drag it into position, and drop it.
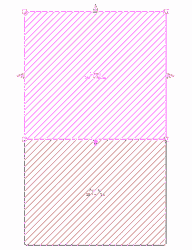
If you position the boxes so that are aligned closely edge-to-edge the dropped box will "snap" to the adjacent box with edges aligned, and if possible with corners aligned.

 It is a good idea to turn Off Dynamic snaps while you are arranging your boxes, since the two types of snapping may conflict in some instances.
You can resize the boxes while they are selected by using the node edit blue handles on the edge of the selector. If you hover over the edge of an adjacent box while resizing the edge you are adjusting will snap to align with the edge you are hovering over.
It is a good idea to turn Off Dynamic snaps while you are arranging your boxes, since the two types of snapping may conflict in some instances.
You can resize the boxes while they are selected by using the node edit blue handles on the edge of the selector. If you hover over the edge of an adjacent box while resizing the edge you are adjusting will snap to align with the edge you are hovering over.
 For best results, it is suggested that you put small ancillary rooms within larger rooms e.g. bedrooms.
 Once you are done arranging your rooms, click the Build House button.
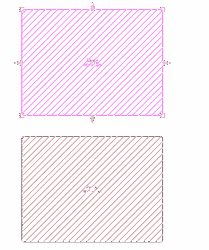
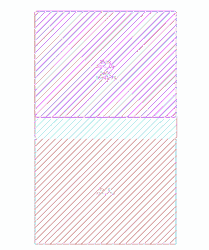
Here is an example of some rooms laid out together:
Once you are done arranging your rooms, click the Build House button.
Here is an example of some rooms laid out together:
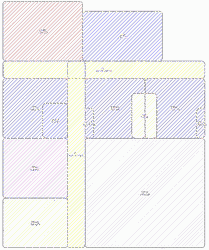 Notice the overlaps between the rooms.
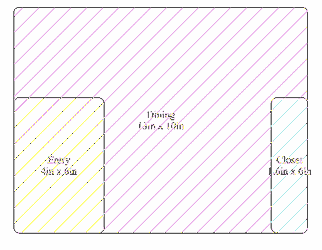
Here is the result after pushing the Build House button.
Notice the overlaps between the rooms.
Here is the result after pushing the Build House button.
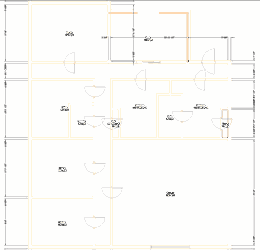 Notice how the House Wizard has automatically add room dimensions, calculated the individual room areas, and automatically placed doors at logical positions within the house.
Multiple Floors
To create multiple floors via the house wizard place room boxes on different workplaces at different elevations.
Changing Room Size While Inserting
When you are using the Insert Room tools you can dynamically change the size of the room you are inserting by changing the Width and Length parameters in the Inspector bar, or by using the local menu to access the tools properties.

Delete Room Boxes
Default UI Menu: Architecture/House Wizard/Delete Room Boxes
Ribbon UI Menu:

This will delete all of the room boxes in your drawing.
Warning: You will not be prompted to verify that you want to delete the boxes, so if you accidentally delete the boxes, use Undo immediately.
Hide-Show Room Boxes
Default UI Menu: Architecture/House Wizard/ Hide/Show Room Boxes
Ribbon UI Menu:
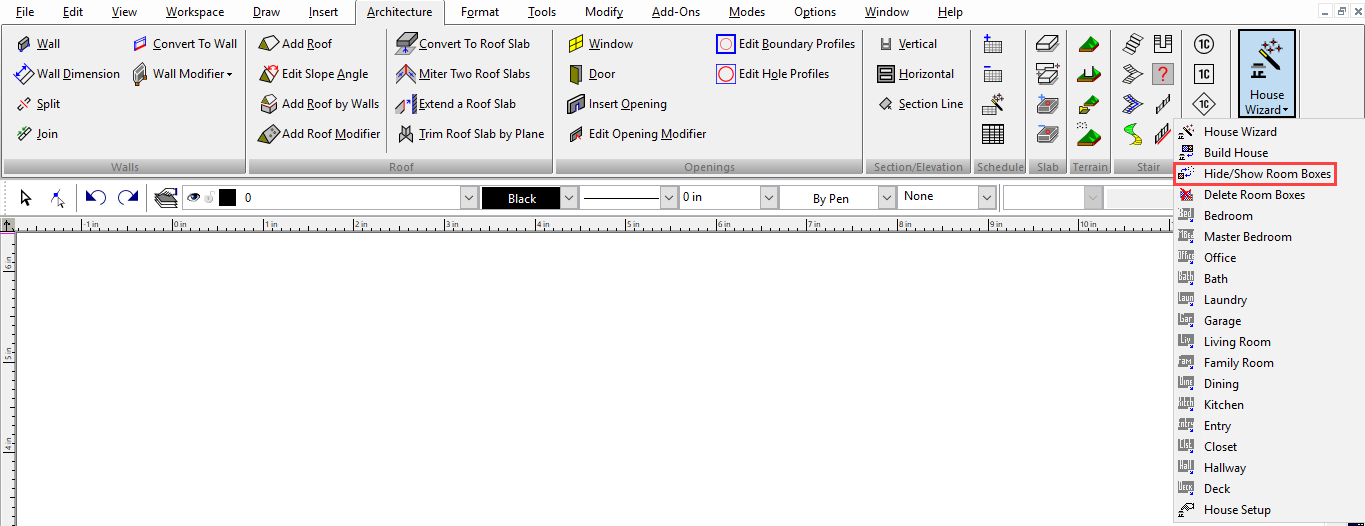
This option will hide room boxes if they are currently showing, or it will show room boxes if they are currently hidden. This function does not override layer visibility.
House Setup
Default UI Menu: Architecture/House Wizard/House Setup
Ribbon UI Menu:
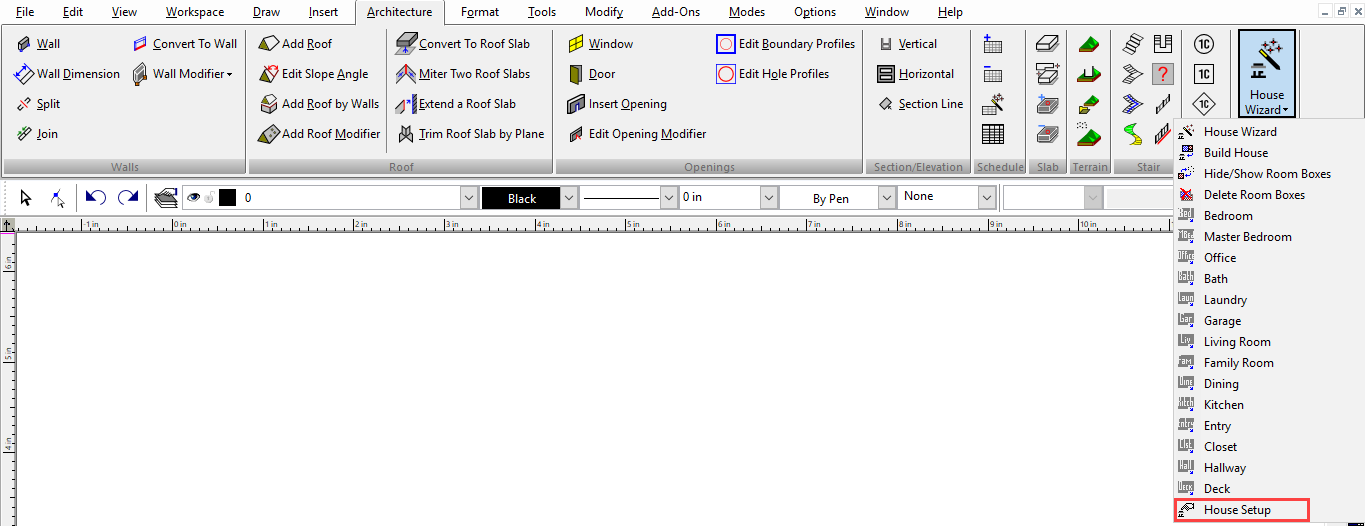
This will open the House Wizard Setup dialog. With this dialog you can specify which style elements will be used to generate each of the components of your house. Changes in these settings will only be reflected in your model after the design is rebuilt with Build House. 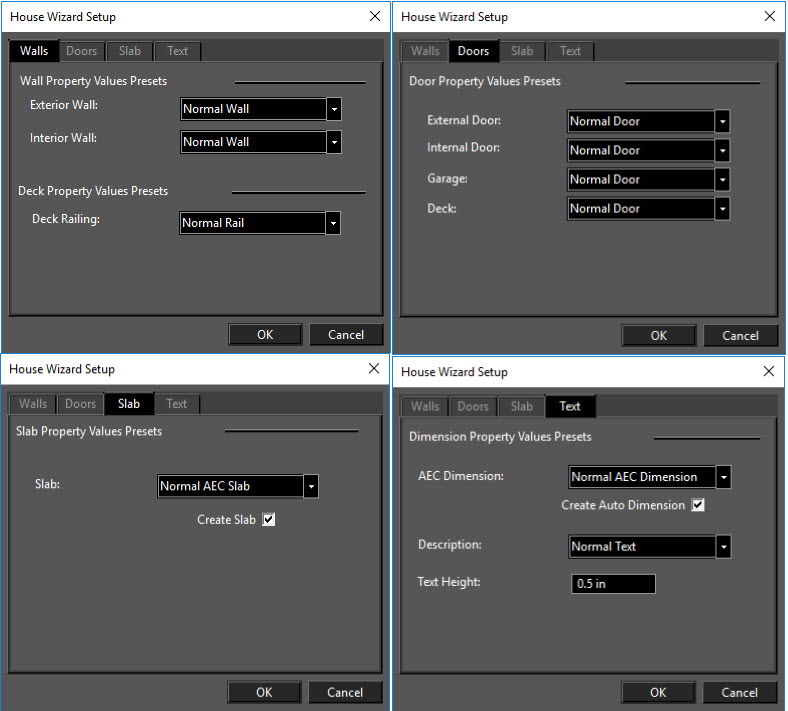
House Wizard
Default UI Menu: Architecture/House Wizard/House Wizard
Ribbon UI Menu:
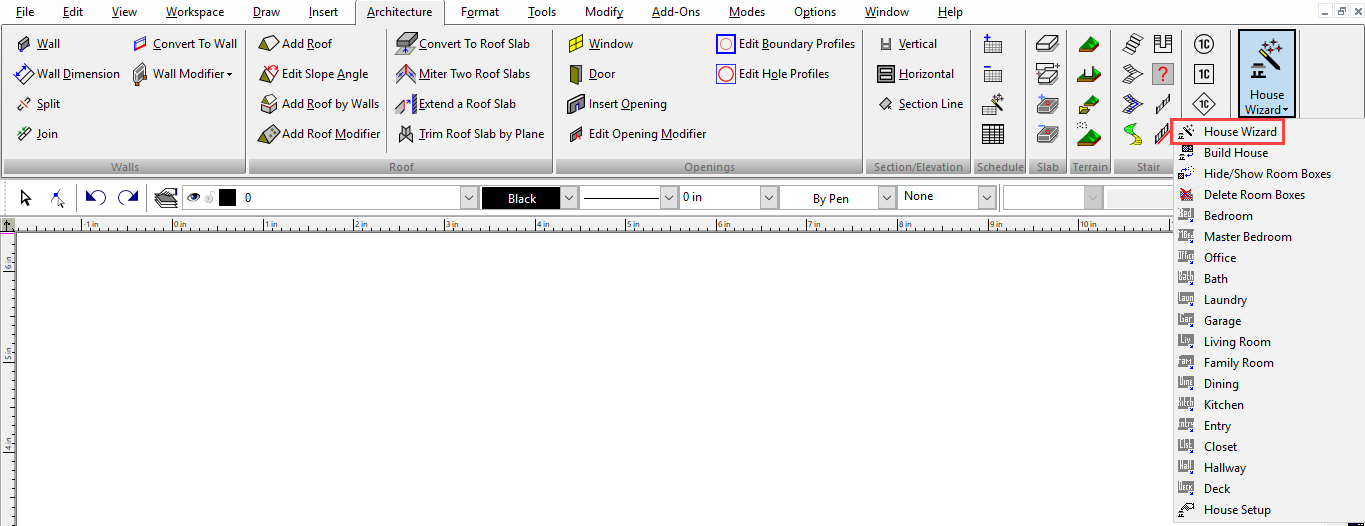
The first step in using the House Wizard toolset is to use the House Wizard itself. The Wizard will generate all of the room boxes that you select.
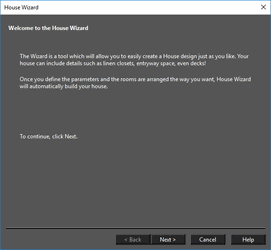
The Page One of the wizard is simply an introduction, Click Next to move to Page two
Page Two of the wizard is used to specify the number and size of the Garages and Main Rooms in your house design. The Garage drop-down controls allow you to specify the number of cars the garage is to hold. The Bedroom and Bathroom drop-down controls allow you to specify the number of those rooms you want. You can specify the additional rooms you want using the check boxes on the page.
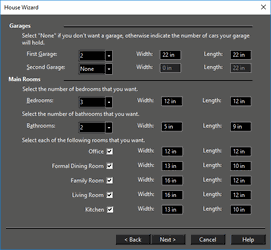 While on this page you can use the Width and Length fields to override the default sizes for the rooms.
Click Next to go to Page Three of the Wizard.
While on this page you can use the Width and Length fields to override the default sizes for the rooms.
Click Next to go to Page Three of the Wizard.
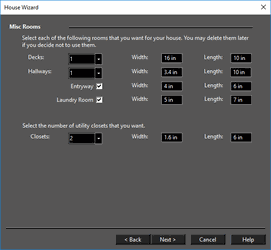 On Page Three of the Wizard you can specify the size and number of decks you want in your design, as well as miscellaneous rooms and passageways. For all of these areas, you have the option of choosing None.
Click Next to go to Page Three of the Wizard.
On Page Three of the Wizard you can specify the size and number of decks you want in your design, as well as miscellaneous rooms and passageways. For all of these areas, you have the option of choosing None.
Click Next to go to Page Three of the Wizard.
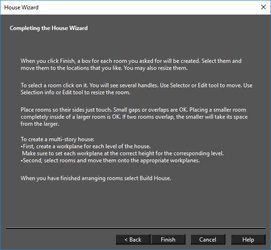 Page Four of the Wizard gives you some final tips on how to use the boxes that the wizard generates. Read the info carefully then click the Finish button.
The result of the Wizard will be a 2D layout of all the boxes you generated.
Page Four of the Wizard gives you some final tips on how to use the boxes that the wizard generates. Read the info carefully then click the Finish button.
The result of the Wizard will be a 2D layout of all the boxes you generated.
Insert Room Boxes
Default UI Menu: Architecture/House Wizard/Bedroom
Ribbon UI Menu:
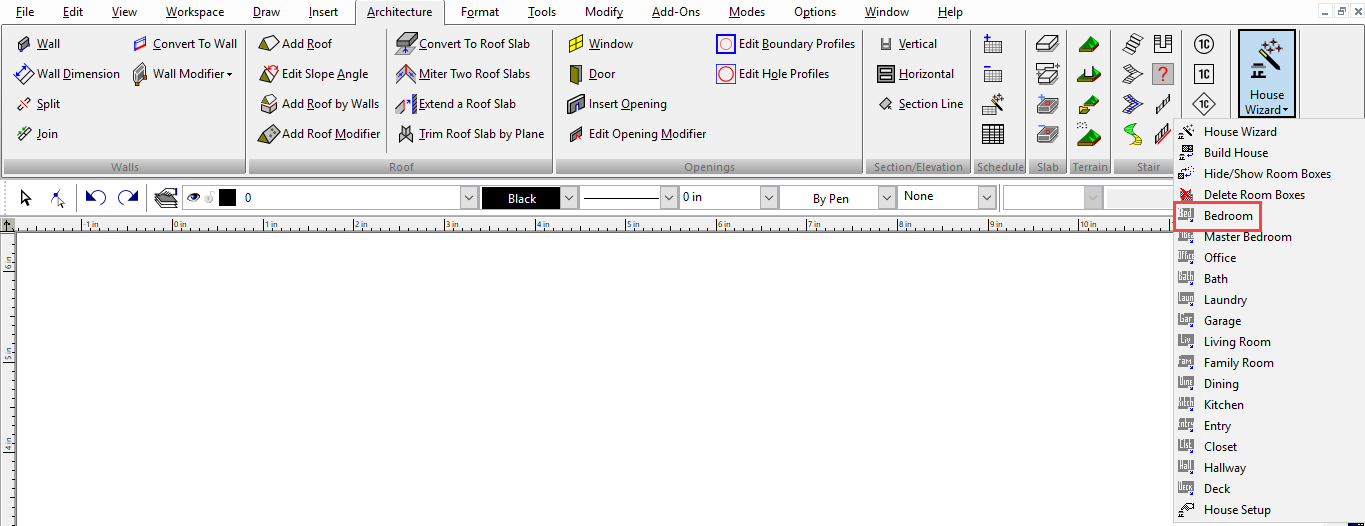
You do not have to use the House Wizard to generate your rooms, nor do you have to reuse the Wizard if you forgot a room. The Insert Room Box tools e.g. Insert Bedroom will allow you to add room boxes to your layout at any time. Simply select an Insert Room Box tool then click at each location that you want to place that room type. The tool will remain active until you press ESC or choose a different tool.
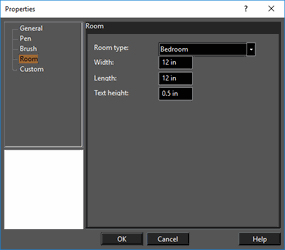
Room Box Properties
 Most Room Box properties are the same as any standard 2D object, but there are a few special properties.
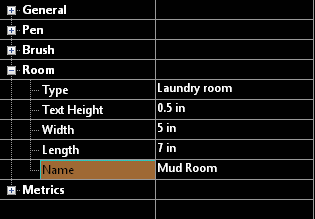 Type: Contains the room type designation for the box. This cannot be edited.
Text Height: Controls the test height of the text label of the box.
Width: Sets the width of the room box.
Length: Sets the Length of the room box.
Name: Sets the contents of the text lable of the room box.
Type: Contains the room type designation for the box. This cannot be edited.
Text Height: Controls the test height of the text label of the box.
Width: Sets the width of the room box.
Length: Sets the Length of the room box.
Name: Sets the contents of the text lable of the room box.