Planes
Menu: Draw / Planes / Plane
Shortcut Key: P
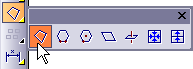
Toolbox Icon:
Draws a plane or flat surface by setting points around the perimeter of the surface. The points of a plane must lie on a single plane in 3D space.
You cannot, for example, have a plane entity with a bump in it. (You can use surface commands such as Surface Connect and Extrude for that.)
Points 1-2: Starting point and edge of the plane
Points 3-n: Points around the perimeter of the plane
Set a starting point for the plane. Set another point for one edge of the plane, and then set at least one more unique point (i.e., not on Point 1 or Point 2) to set the plane. When you have set all the points you want, press Enter to end the command.
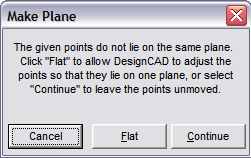
DesignCAD checks to see if the points form a valid plane. If they do not, you will have the option to allow DesignCAD to adjust the points so that they form a plane.
NOTE: Be careful not to confuse the Plane command with the Line command. Plane entities have surface area, like a piece of paper, and can be shaded. Line entities have no surface area, like a piece of thin wire, and they cannot be shaded.
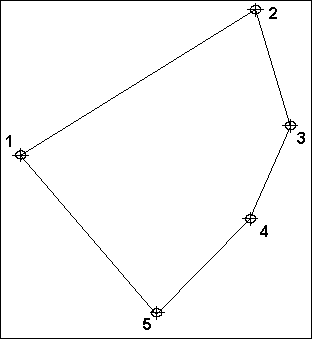
Example: Create a plane along five specific points in your drawing
Set the first point. After the first point is set,a rubber-band drawing of the plane appears, showing how the plane will look when subsequent points are added. Press Enter after all the points have been set and a plane is drawn on the screen.