Auto Hatch
Auto-Hatch
For simple 2D vector shapes (circles, arcs, curves, planes, lines) we have added the capability to draw them automatically filled with a hatch pattern. For non-closed shapes (such as a semicircle, or a 2-segment line that forms two legs of a triangle), the fill pattern is bounded by the imaginary line between the starting and ending points of the shape.
Use the Options/AutoHatch Settings command to specify the currently-active fill pattern to use on new objects.
The use of the fill pattern can be enabled or disabled here as well.
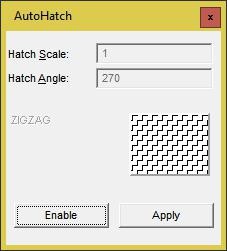
To specify a fill pattern, click the 'Enable' button, then click on the hatch preview thumbnail to select the desired pattern. Finally, click 'Apply' to make the new setting active. Now any new vector objects will be automatically filled with the specified hatch pattern. To turn off the fill again, re-run the command and click 'Disable', then 'Apply'.

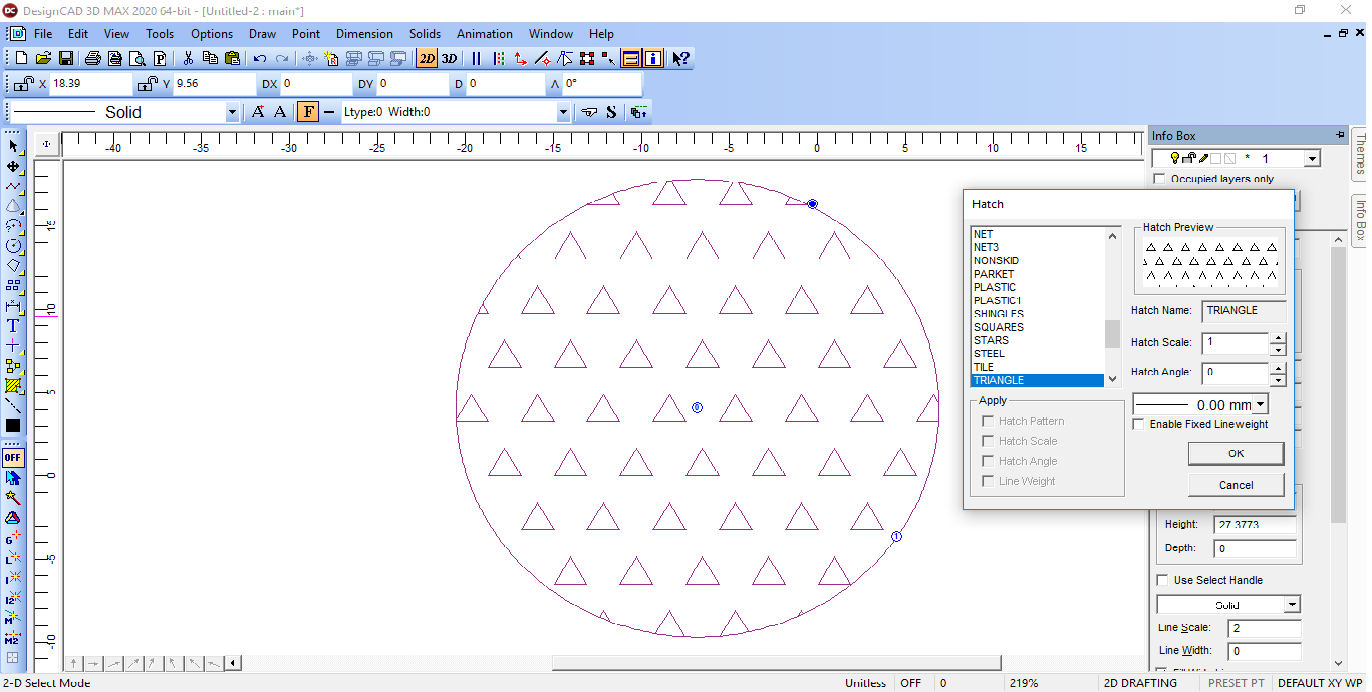
To modify the fill pattern on an existing object, select the obect and open the Info Box. The rightmost icon in the toolbar at the top of the Info Box allows you to specify the fill pattern for the selected entity.
In the image below, an arc has been selected, and the 'AutoHatch Settings' icon in the Info box has been clicked.
 To assign the same AutoHatch fill pattern to multiple entities, select them all, then open the Info Box and click on the 'Show Detail' button. Modify the Fill pattern of any selected object, and all selected objects will update to match it.
At this time, Gradient and Bitmap fill patterns are not supported. Also, there is currently no way to specify a separate fill color – it will have the same color as the entity being filled. If you want a different color, you'll need to set the Fill pattern to 'None' and use Hatch Line or Hatch Fill to create a separate Hatch entity in the desired color.
NOTE:The Fill property is not currently accessible from BasicCAD or OLE Automation.This support will be added at a later time.