Layers
The Print Shop for Macintosh puts each page object on its own layer. Layer order determines which objects display on top of other objects if they overlap. You can change an object's layer by clicking on the Change object layer icon  in the Gallery or by right-clicking on the object itself (Ctrl-click on the Mac).
General Guidelines
- The most recently placed page objects will have a higher layer order and therefore display on top of older page objects by default.
- All objects will display on top of the background image.
To adjust layers:
-
Select the object to adjust.

-
Choose
Arrange
>
Order
from the menu and click on the desired action or right-click on the object and select the action from the pop-up menu.
- Bring to Front - Places the object on top of all other objects.
- Send to Back - Places the object behind all other objects.
- Bring Forward - Moves the object up one layer.
- Send Backward - Pushes the object back one layer.
If you are trying to move an object above/below another object, you may need to choose an action several times before you see the desired effect, especially when there are many objects on the page.
Layers Gallery
- Click on the Layers
 icon located in the Gallery on the right side of the software.
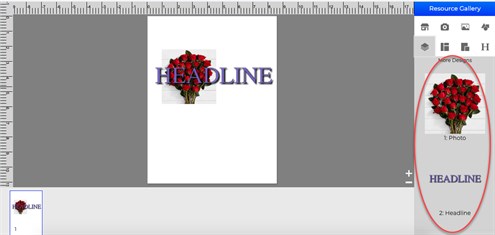
- From this screen, you can see all your objects and easily change the layer order.
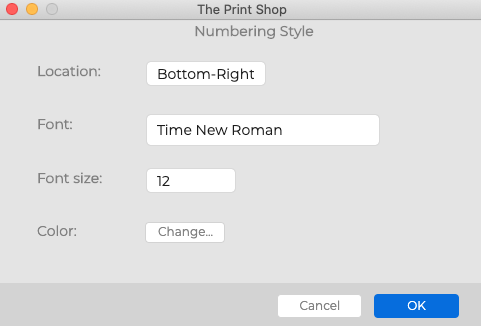
Page Numbering
When you have a project that includes multiple pages it can be useful to include page numbers. You can enable page numbering by clicking Page Numbering from the Arrange Menu. You will be able to set location, font style, font size, font color, and starting page. To disable or change page numbers click Page Numbering from the Arrange Menu.