Adding a Page
There are three ways to add a page:
- Choose Insert > Add Page from the menu.
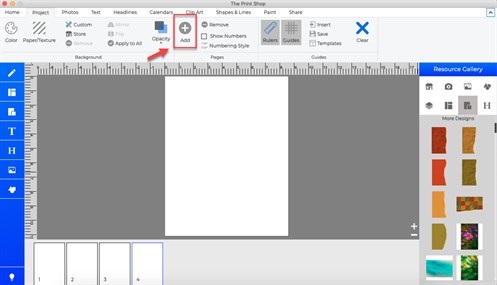
- Click on the Add Page icon
 from the Project Ribbon Tab.
 - Right-click (Ctrl-click on the Mac) on a page thumbnail in the Page Thumbnails (bottom bar of The Print Shop for Macintosh). From the menu that appears, choose Insert Page After or Insert Page Before. After the page is created, it will appear either after (Insert After) or before (Insert Before) the page that you clicked on. This approach gives you the flexibility of choosing where the new page will be created.
Each of these methods will pop up the Add New Page window.
In the Add New Page window:
- Click on a photo layout option or select a blank page from the list on the left side.
- A preview of the selected photo layout will appear on the right. Dark gray boxes represent photo boxes. Once a page is created, the boxes can be deleted, if desired.
- The number preceding the 'L' in the layout name represents the number of landscape-oriented photo boxes, while the number preceding the 'P' represents the number of portrait photo boxes (e.g. 0L4P-Classic-S-18 is a layout with zero landscape photo box and four portrait photo boxes).
- Click on the up or down arrows next to Quantity to add more or fewer pages with the selected layout. Alternately, type a number between 1 and 10 in the box to change the quantity.
- Click on the OK button to add the page(s) to the project.