Export Settings
Pages
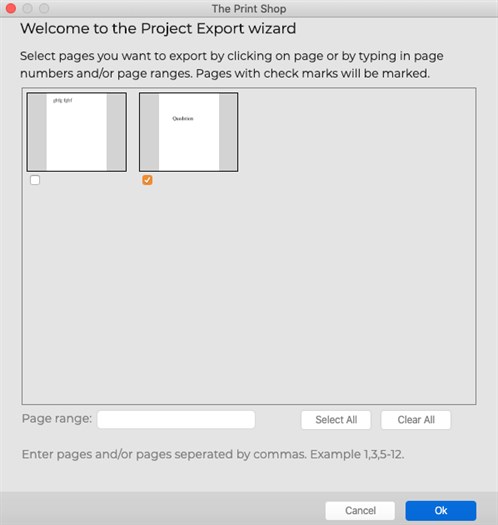
Select which project pages to export using the options in this step:
- The Select All button will mark all pages.
- The Clear All button will clear all pages.
- Alternately, type a range of pages in the Page range field. To indicate a range of pages (e.g. from page 2 through page 5), put a dash in between the page numbers (2-5). You may also enter specific page numbers, separated by commas (1,4,6) or a combination of ranges and individual pages (1-3,5).
- You may also directly check the box in the upper left corner of each project page preview to mark the page.
Click OK to return to the main screen.
Image Size
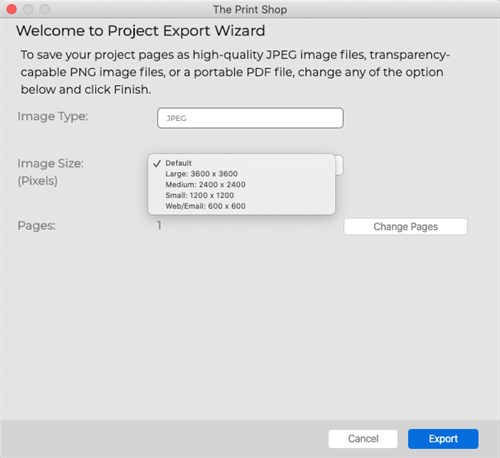
Choose a size for your exported files (not all sizes may be available for all project types). Larger sizes work better for printing, while smaller sizes use less disk space and are easier to transport or send as email attachments.
Click OK to return to the main screen.
Output Location
Choose a location for the exported files. Double-click on folders to open them. Click OK to choose the current folder.
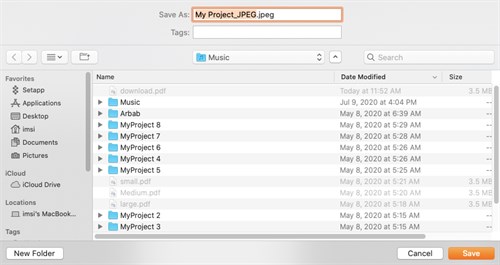
The Print Shop for Macintosh will place all of the created images in a new folder (with the project's name) inside the selected folder.
Click OK to return to the main screen.