Text Block
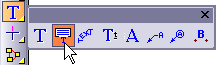
Toolbox Icon:
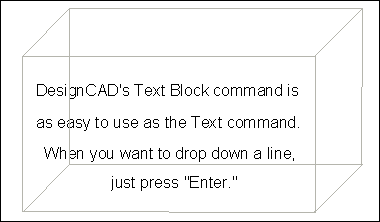
Draws multi-line text. Points determine the position and angle of the text in the drawing.
Point 1: Top of the Text Block
Point 2: Point determining angle of the Text Block (optional)
Point 3: Plane on which the text lies (optional)
In the Text Block window, enter the lines of text. Press Enter to add a new line.
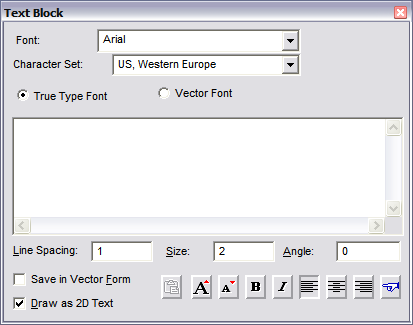
Set the Font and Character Set. Available fonts depend on whether True Type Font or Vector Font is selected.
Line Spacing: Vertical spacing between text lines.
Size: Size of the font.
Angle: The angle of text, measured from horizontal.
Save in Vector Form: The text will be drawn as separate vector entities in the shape of each letter. Text drawn in this manner cannot be edited as normal text.
Draw as 2D Text: If checked, set a point for the top of the text. Next, Set a point to determine the angle of the text, or click the middle mouse button or press Enter to have the text drawn using the angle set in the Angle field. The text will be drawn according to the points and the options selected. The text will appear flat regardless of the viewing angle being used.
If Draw as 2D Text is not enabled, you can set one to three points. If only one point is used, the angle of the text is determined by the Angle field.
NOTE: For other options on this window.
Point Selection:
The first point is used to place the location of the text.
The second point is used to specify the angle of the text.
The third point, if used, defines the plane on which the text is to be drawn. For example, if the third point is below the first, the text will be upright. If the third point is in front of the first, then the text will be positioned to be read from above. It will be “flat” on the X-Z plane.