LightWorks
(Available in all variants)
The LightWorks rendering engine is included in TurboCAD. TurboCAD includes LightWorks 9.3 SP5.
It includes the following improvements:
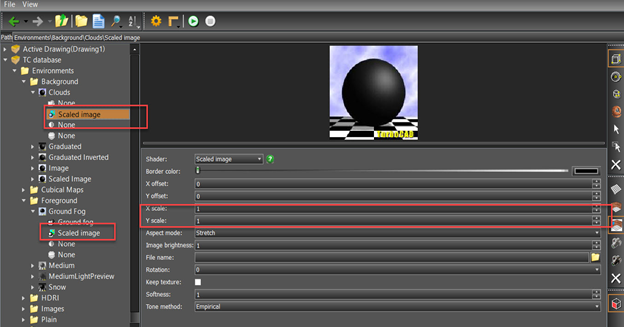
- Environments
Scaled Image (Foreground/Background):
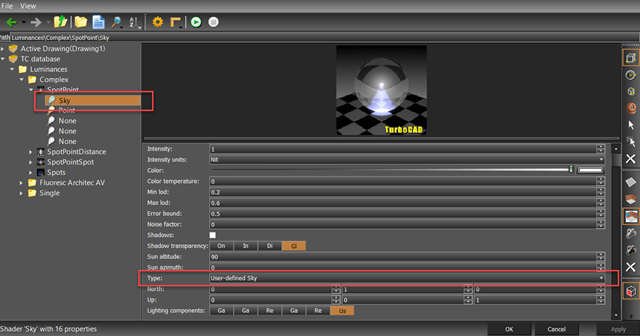
- Sky
Type: user-defined sky
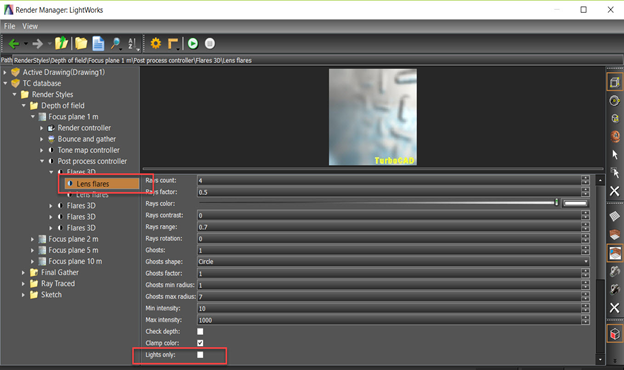
- Render Styles
Post process controller\ Lens flares: Lights only
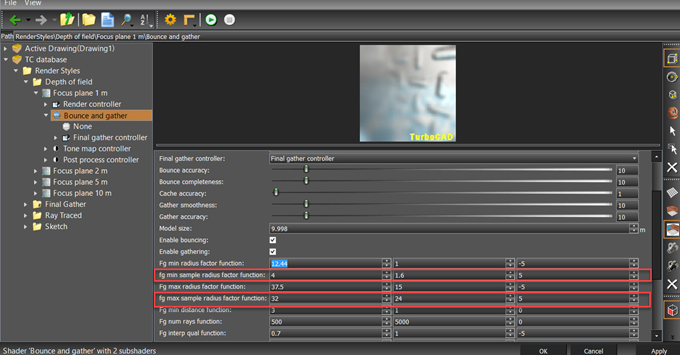
-
Bounce and gather: min\ max radius sample function
-
GI controller\ Final gather controller
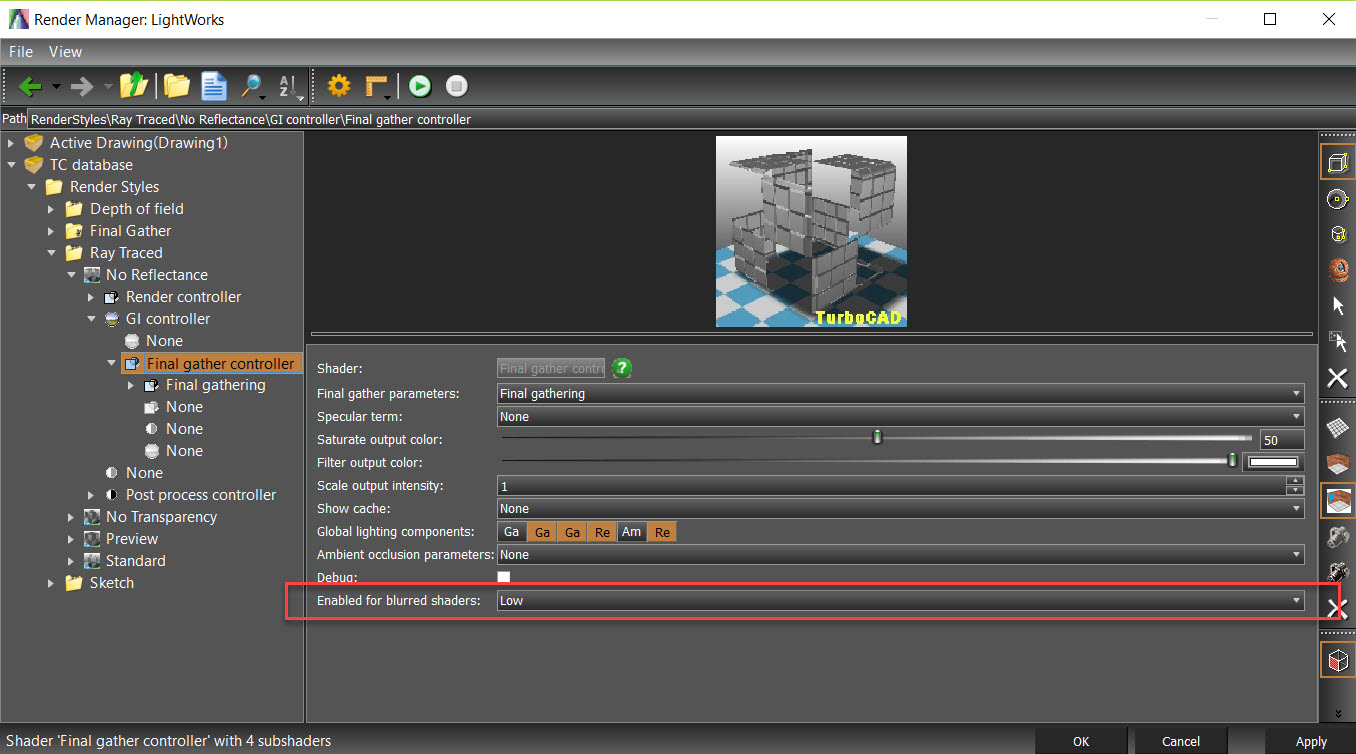
-
Render controller\Soft pencil
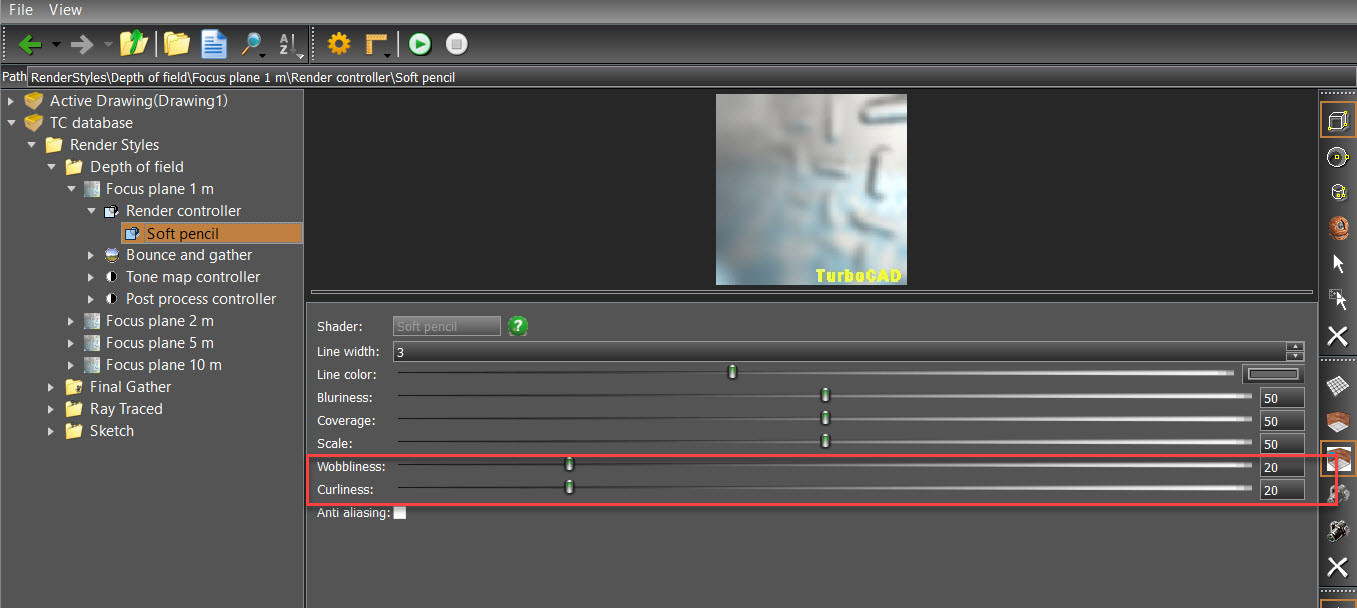
-
See Porting of RedSDK render attributes to LightWorks for the description of “RedSDK to Lightworks” converter in TurboCAD 2018.
Lightworks Luminance Properties
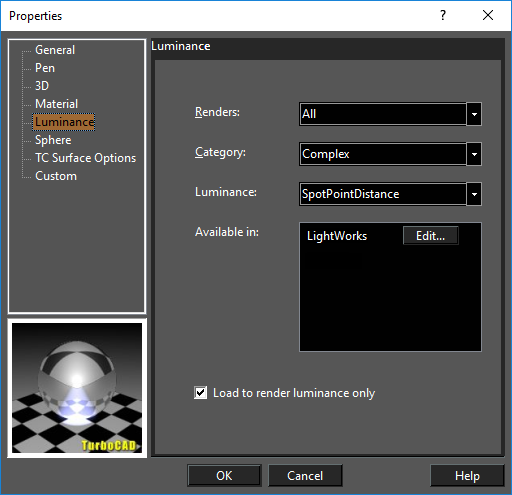
Most Lightworks Luminance documentation is available via a separate help file accessed from within TurboCAD. You can access luminance properties via the Properties window of an object (see Object Properties),or by using the Luminances Palette
-
Note: If you are specifying luminance for the overall drawing, use the Render Scene Luminance. Drawing luminance can be applied either to the WCS (World Coordinate System) or UCS (User Coordinate System).See WCS and UCS.
Category: Three categories are provided for you, but you can create new ones. Single: Defines only one light type. Complex: Defines two or more lights. Floresc Architec AV: A set of light types representing realistic lights, based on .ies files from Lithonia Lighting. These files are stored in the Luminance\Photometric\ies folder. Luminance: This field depends on the category. See the relevant section for details. Edit Luminance: Opens the Render Manager. Load to render Luminance only: Check if you want to view only the object lights, and not the object itself. 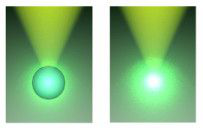
-
Normal Render (Showing Object), and Load to Render Luminance Only
Light Types
There are several types of lights you can use to define an object's luminance. Each type has relevant parameters such as intensity, color, direction, and location. Ambient: Illuminates all surfaces equally, regardless of orientation. Area: Simulates a luminous surface. Area Goniometric: Combines area and goniometric shaders, but models only sky light that passes through portals, such as a window or door. Distant: Light that is constant and parallel (non-conical). Eye: A light source located at the view point. Goniometric: Directional light, whose direction is specified by an .ies file (a text-based file). This luminance is useful for creating lighting based on manufacturers' lighting data, such as room lights, building lights, and street lights. Point: Light from a selected position. Projector: Projects a graphic image onto a solid object. An image file with full path must be specified. Simple Environment: A light shader that uses an environment map to light a scene. Simple Sky: A simplified sky shader which models the illumination from a uniformly bright, single-color, hemispherical dome representing the sky. Sky: An area light that simulates sky light, providing soft and natural shadows. This light is modeled as a hemisphere of infinite radius, positioned above the center of the model. Spot: Provides directional light that is constrained to a cone. Sun: Projects a spot light from a very distant point, to simulates outdoor sunlight. You can combine Sun and Sky lights for a realistic rendering effect.
Single Luminance
Defines only one light. You can select one of the provided luminances, or create a new luminance via the Luminance Editor . Examples of Single Luminance light types are shown below. 
-
Spot Light

-
Point Light
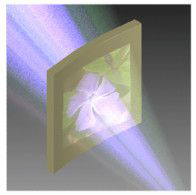
-
Projector (Projects an Image)
Complex Luminance
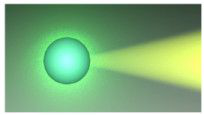
-
Spot and Point Lights.
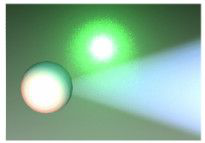
-
Spot, Point, and Distant Lights.
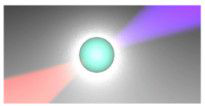
-
Point and Two Spot Lights
Lightworks Materials
Default UI Menu: Options/Materials
Ribbon UI Menu:

-
Creating a New Lightworks Material
You can create a new material in two ways: modifying an existing material, or creating a new one from scratch.
Modifying an Existing Material
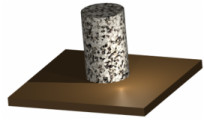
In this example, the cylinder has the material "Stones - Granite Sierra" and the plate below is "Metals - Antique Brass."
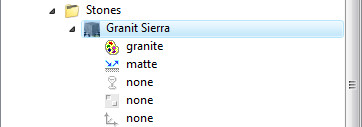
- To create a new material from an existing material, find the existing material in the Render Manager.
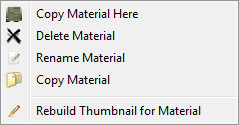
- Then right click and select Copy Material Here.
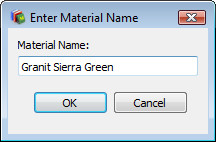
- Assign a name for the new material. It will be placed in the same category as the original.
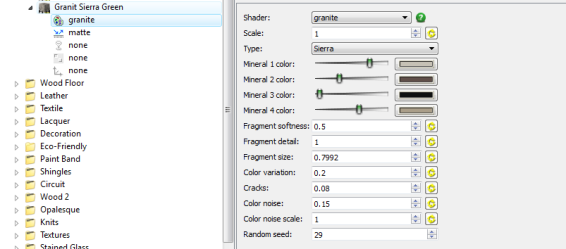
- In the Pattern category, increase the Scale (which is the size of the repeated image, in drawing units), and change the various mineral colors.
-
Wrapping an Image
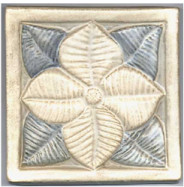
If you have your own image you want to use as a material, this is defined in the Pattern category. This example uses a ceramic tile:
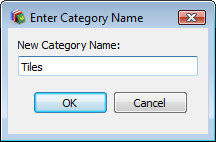
- In the Editor, create a New Category.
Assign the name "Tiles."
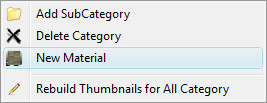
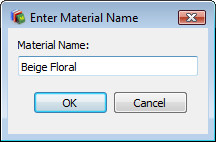
Within the "Tiles" category, add a new material and call it "Beige Floral ".
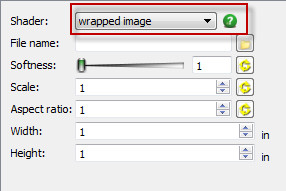
For the Pattern, select "Wrapped Image"
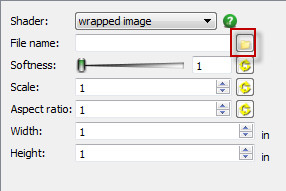
Click the Browse icon next to File name.
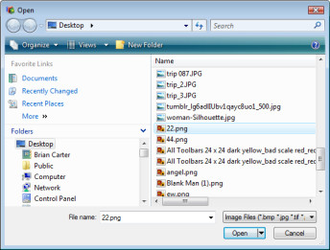
In the Open dialog navigate to an image and select it.
For Reflectance, use "Matte" with a high Ambience Factor.

Use "Auto Axis" for Wrapping.

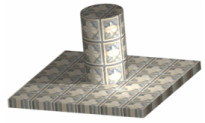
New shader DisplacementWrapped normal map is added in Lighworks.
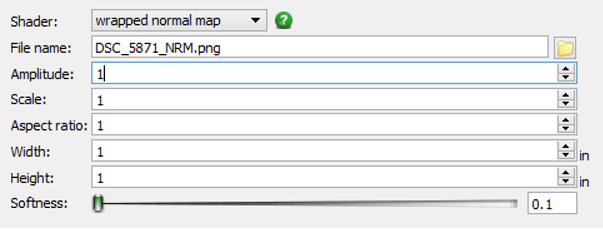
Editing Lightworks Material

Default UI Menu: Options/Materials/Edit LightWorks Materials
Ribbon UI Menu:
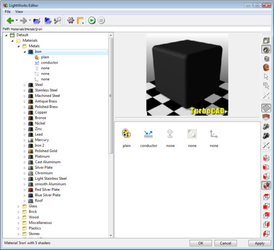
Each material has five categories of parameters you can set: Pattern, Reflectance, Transparency, Texture and Wrapping. Not all categories are used for each material, only those that are relevant.For more information on Materials HDR, HDRI, Luminances and all other Lightworks.
- Select a material in the Materials Palette
- Right click and select Edit Materials.
- When the Render Manager appears click the small green help button. This will open the Lightworks help, which is replete with details on functions and settings.

In the Preview section, you can change the shape and orientation of the preview object. Under Options, you can toggle the display of the preview object or desk. If Auto Update is checked, the preview will update each time a change is made (otherwise you must click the Preview button). 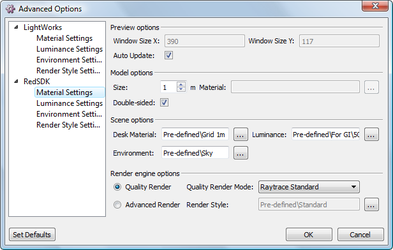
The toolbar on the right side of the editor allows you to specify the elements of the preview. You can navigate within the preview window using the center mouse button. You can also see approximately how the material will appear on an object by entering a value into the Model Size field. Simply specify a size that is close to the size of the object to which you will be applying the material.Alternately, you can use the selection arrow under the preview. 
This will show you exactly how the material will appear on the selected object.
Warning: If the selection arrow is the specified option for the preview object, and no object is selected, you will get a warning that a preview cannot be generated. This will also happen if the selection arrow is the default and you open the Render Manager with no object selected.
Pattern
Note: TurboCAD has several defined patterns, but if you want to apply your own image as a pattern.
The first set of parameters in the Render Manager is for the material's pattern. For example, look at a Brick material. In this example, the pattern is "Wrapped texture brick." 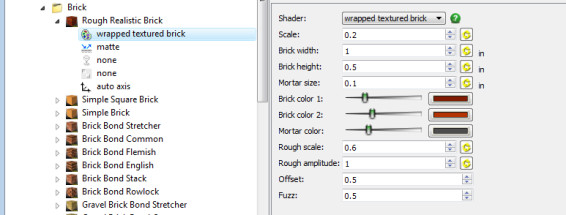
This pattern is defined by dimensions and colors specific to bricks and mortar. For granite, the pattern parameters are related to mineral colors. 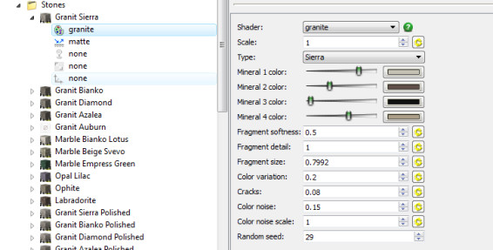
And for wood floors, the pattern parameters are for planks and grooves. 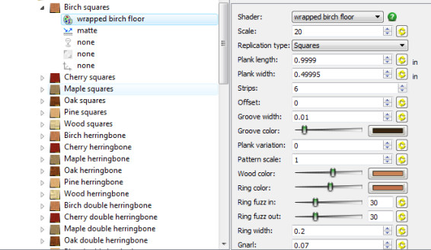
-
Materials such as glass have no pattern; the pattern is defined as "Plain." 
To see the entire list of available patterns, open the drop-down menu. Each type of pattern has its own set of unique parameters.
Reflectance
This category defines a material's luster: its brightness, polish, dullness, etc. For example, a brick's reflectance is "Matte" - it is flat and does not reflect light. 
Reflectance of most metals is "Conductor" - a set of parameters designed to simulate how metals interact with light. 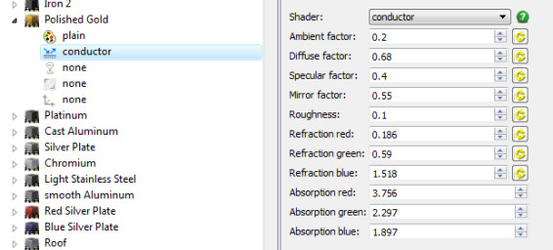
Glass has its own Reflectance settings. 
Some stone materials have "Mirror" reflectance to simulate shininess. 
Transparency
This category is relevant for transparent glass and plastic materials. For example, "Eroded" transparency simulates a bumpy or uneven glass surface. 
Not all glass or plastic materials have Transparency defined. For example, "Tinted Glass" is smooth, and its transparency is actually defined as part of the "Glass" reflectance. 

This is a good example of how complex, and powerful, the TurboCAD materials engine is. You can get similar results by defining parameters in different categories.
Texture
This category enables you to make a surface appear rough or bumpy. The rendering engine simulates shadows along the surface to create the textured effect. For example, you can define a Leather texture. "Ice" is defined with a rough texture.
Wrapping
This category defines how a pattern or image wraps around surfaces of a 3D object.For materials, such as Granite, the wrapping is defined as "None," which pastes the pattern without distortion onto faces along the three major planes.
 The "UV" wrapping is similar to "None" except that you can specify how the pattern is scaled. With "Auto Axis" the pattern is oriented according to the WCS, regardless of where the faces of the 3D object are located and oriented. You can also specify the axis along which the pattern will be projected.
Final Gather
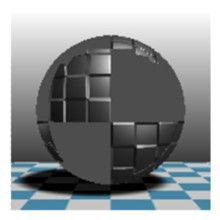
Description: Render style intended for preliminary rendering. This rendering style uses the Final Gather algorithm with minimum render quality settings, without regard for reflectance or transparency. It allows for the quickest rendering while creating or editing a scene.
Preview 10
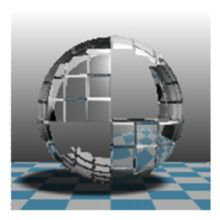
Description: Render style intended for preliminary rendering of models that are about 10 meters in size. This rendering style uses the Final Gather algorithm with minimum render quality settings, but takes into account size and overall illumination of the model. It allows for a quick rendering while creating or editing a scene.Accurate lighting = 10%, Model Size =10 m. Accurate lighting is set by 'bounce and gather\ lighting, accuracy' parameter; model size is set by 'bounce and gather\ Model Size' parameter.
Standard 10m

Description: Render style intended for rendering of models that are about 10 meters in size. This rendering style uses the Final Gather algorithm with medium render quality settings.Accurate lighting = 40%, Model Size =10 m. Accurate lighting is set by 'Bounce and gather\ Lighting, Accuracy' parameter; model size is set by 'Bounce and gather\ Model Size' parameter.
Standard 30m
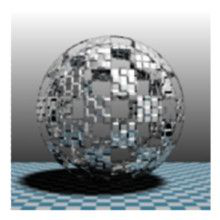
Description: Render style intended for rendering of models that are about 30 meters in size. This rendering style uses the Final Gather algorithm with medium render quality settings.Accurate lighting = 40%, Model Size =30 m. Accurate lighting is set by 'Bounce and gather\ Lighting, Accuracy' parameter; model size is set by 'Bounce and gather\ Model Size' parameter.
Standard 50m
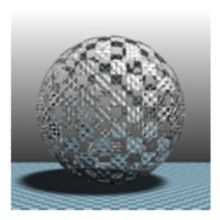
Description: Render style intended for rendering of models that are about 50 meters in size. This rendering style uses the Final Gather algorithm with medium render quality settings.Accurate lighting = 40%, Model Size =50 m. Accurate lighting is set by 'Bounce and gather\ Lighting, Accuracy' parameter; model size is set by 'Bounce and gather\ Model Size' parameter.
Standard 100m
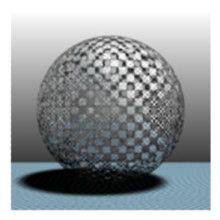
Description: Render style intended for rendering of models that are about 100 meters in size. This rendering style uses the Final Gather algorithm with medium render quality settings.Accurate lighting = 40%, Model Size =100 m. Accurate lighting is set by 'Bounce and gather\ Lighting, Accuracy' parameter; model size is set by 'Bounce and gather\ Model Size' parameter.
Presentation 10m
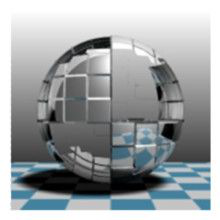
Description: Render style intended for rendering of models that are about 10 meters in size. This rendering style uses the Final Gather algorithm with high render quality. Accurate lighting = 80%, Model Size =10 m. Accurate lighting is set by 'Bounce and gather\ Lighting, Accuracy' parameter; model size is set by 'Bounce and gather\ Model Size' parameter.
Depth of Field
Focus plane 1 m
Description: Render style intended to reproduce the focusing effect.This rendering style uses a ray casting algorithm and Depth of field effect, reproducing the effect when a real camera is focused on objects a certain distance away and objects nearer or further away appear blurred.Focus plane = 1.0 mFocus plane is set using the 'Depth of field \Focus plane' parameter.
Focus plane 2 m
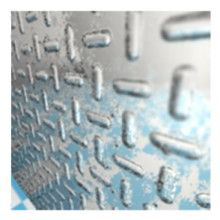
Description: Render style intended to reproduce the focusing effect.This rendering style uses a ray casting algorithm and Depth of field effect, reproducing the effect when a real camera is focused on objects a certain distance away and objects nearer or further away appear blurred.Focus plane = 2.0 mFocus plane is set using the 'Depth of field \Focus plane' parameter.
Focus plane 5 m
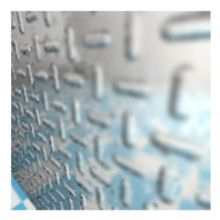
Description: Render style intended to reproduce the focusing effect.This rendering style uses ray casting algorithm and Depth of field effect, reproducing the effect when a real camera is focused on objects a certain distance away and objects nearer or further away appear blurred.Focus plane = 5.0 mFocus plane is set using the 'Depth of field \Focus plane' parameter.
Focus plane 10 m

Description: Render style intended to reproduce the focusing effect.This rendering style uses a ray casting algorithm and Depth of field effect, reproducing the effect when a real camera is focused on objects a certain distance away and objects nearer or further away appear blurred.Focus plane = 10.0 mFocus plane is set using the 'Depth of field \Focus plane' parameter.
Ambient Occlusion
White 0.1 klux
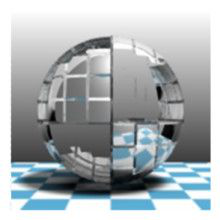
Description: Render style intended for rendering of models that are about 10 meters in size.This rendering style uses the Final Gather algorithm with medium render quality settings and an ambient lighting effect.Ambient lighting intensity = 0.1 Kilolux, Ambient lighting color = White.Lighting intensity is set by 'Ambient occlusion\Intensity' parameter, color is set by 'Ambient occlusion\Colour" parameter.
White 0.5 klux
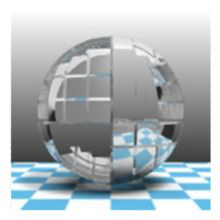
Description: Render style intended for rendering of models that are about 10 meters in size.This rendering style uses the Final Gather algorithm with medium render quality settings and ambient lighting effect.Ambient lighting intensity = 0.5 Kilolux, Ambient lighting color = White.Lighting intensity is set by 'Ambient occlusion\Intensity' parameter, color is set by 'Ambient occlusion\Colour" parameter.
White 1.0 klux
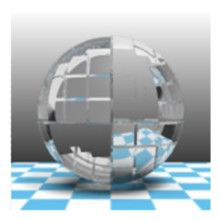
Description: Render style intended for rendering of models that are about 10 meters in size.This rendering style uses the Final Gather algorithm with medium render quality settings and an ambient lighting effect.Ambient lighting intensity =1. 0 Kilolux, Ambient lighting color = White.Lighting intensity is set by 'Ambient occlusion\Intensity' parameter, color is set by 'Ambient occlusion\Colour" parameter.
Warm 0.1 klux
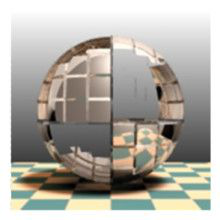
Description: Render style intended for rendering of models that are about 10 meters in size.This rendering style uses the Final Gather algorithm with medium render quality settings and an ambient lighting effect.Ambient lighting intensity = 0.1 Kilolux, Ambient lighting color temperature = 3000.0.Lighting intensity is set by 'Ambient occlusion\Intensity' parameter; color is set by 'Ambient occlusion\Colour temperature" parameter.
Warm 0.5 klux
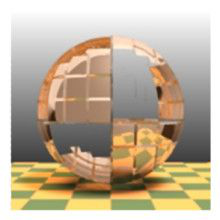
Description: Render style intended for rendering of models that are about 10 meters in size.This rendering style uses the Final Gather algorithm with medium render quality settings and an ambient lighting effect.Ambient lighting intensity = 0.5 Kilolux, Ambient lighting color temperature = 3000.0.Lighting intensity is set by 'Ambient occlusion\Intensity' parameter; color is set by 'Ambient occlusion\Colour temperature" parameter.
Warm 1.0 klux
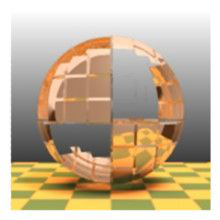
Description: Render style intended for rendering of models that are about 10 meters in size.This rendering style uses the Final Gather algorithm with medium render quality settings and an ambient lighting effect.Ambient lighting intensity = 1.0 Kilolux, Ambient lighting color temperature = 3000.0.Lighting intensity is set by 'Ambient occlusion\Intensity' parameter; color is set by 'Ambient occlusion\Colour temperature" parameter.
Blue 0.1 klux
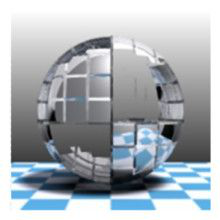
Description: Render style intended for rendering of models that are about 10 meters in size.This rendering style uses the Final Gather algorithm with medium render quality settings and an ambient lighting effect.Ambient lighting intensity = 0.1 Kilolux, Ambient lighting color temperature = 7500.0.Lighting intensity is set by 'Ambient occlusion\Intensity' parameter; color is set by 'Ambient occlusion\Colour temperature" parameter.
Blue 0.5 klux
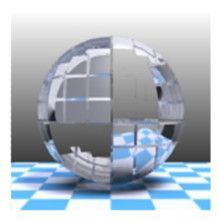
Description: Render style intended for rendering of models that are about 10 meters in size.This rendering style uses the Final Gather algorithm with medium render quality settings and an ambient lighting effect.Ambient lighting intensity = 0.5 Kilolux, Ambient lighting color temperature = 7500.0.Lighting intensity is set by 'Ambient occlusion\Intensity' parameter; color is set by 'Ambient occlusion\Colour temperature" parameter.
Blue 1.0 klux
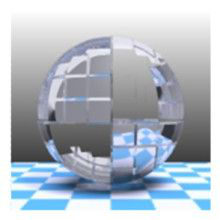
Description: Render style intended for rendering of models that are about 10 meters in size.This rendering style uses the Final Gather algorithm with medium render quality settings and an ambient lighting effect.Ambient lighting intensity = 1.0 Kilolux, Ambient lighting color temperature = 7500.0.Lighting intensity is set by 'Ambient occlusion\Intensity' parameter; color is set by 'Ambient occlusion\Colour temperature" parameter.
Ray Traced
Preview
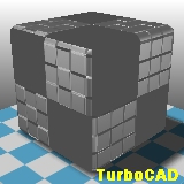
Description: Render style intended for preliminary rendering.This rendering style uses ray casting algorithm with minimum render quality settings. It allows for a quick rendering while creating or editing a scene.
No Transparency
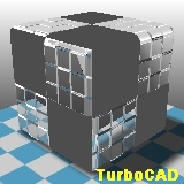
Description: Render style intended for rendering without regard for transparency.This rendering style uses ray casting algorithm with Transparency = Off. It allows for a quick preliminary rendering for scenes that have a large number of transparent materials of 'Glass' type.
No Reflectance
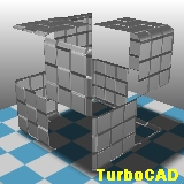
Description: Render style intended for rendering without regard for reflectance.This rendering style uses ray casting algorithm with Reflectance = Off. It allows for a quick preliminary rendering for scenes that have a large number of reflective materials of 'Mirror' type.
Standard
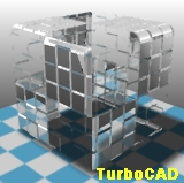
Description: Render style intended for medium render quality renderings.This rendering style uses ray casting algorithm with optimum settings for time/render quality. It allows for a quick rendering for the majority of scenes.
Sketch Style
Cartoon
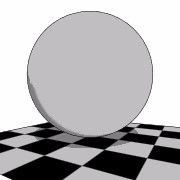
Description: Render style intended to create a cartoon effect.
Colour Wash
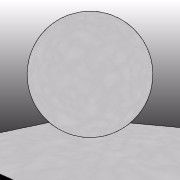
Description: Render style intended to create a colour wash effect.
Color Contour
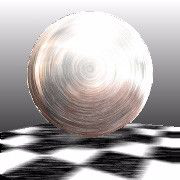
Description: Render style intended to create a colour contour effect.
Gray Contour
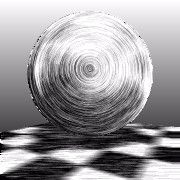
Description: Render style intended to create a gray contour effect.
Hand Drawn
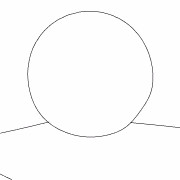
Description: Render style intended to create a hand drawn effect.
Hatch
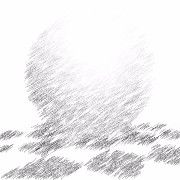
Description: Render style intended to create a hatch effect.
Ink Print
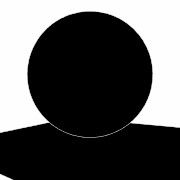
Description: Render style intended to create an ink print effect.
Lines and Colour Fill
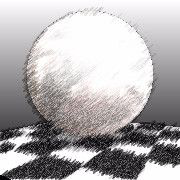
Description: Render style intended to create a line and colour fill effect.
Mosaic
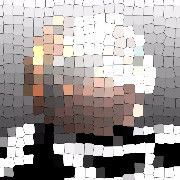
Description: Render style intended to create a mosaic effect.
Lines and Shadow
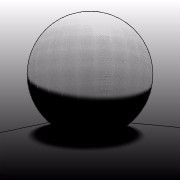
Description: Render style intended to create a lines and shadow effect.
Oil Painting
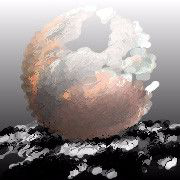
Description: Render style intended to create an oil painting effect.
Soft Pencil
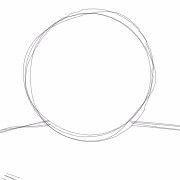
Description: Render style intended to create a soft pencil effect.
Rough Pencil
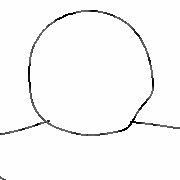
Description: Render style intended to create a rough pencil effect.
Stipple
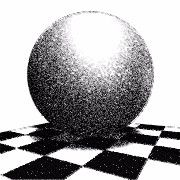
Description: Render style intended to create a stipple effect.
Weather
Clear Sky
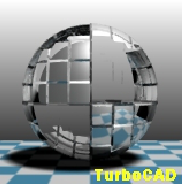
Description: Render style intended to produce rendering with a specified illumination.This rendering style uses the Final Gather algorithm with minimum render quality settings with illumination level set up under Tone Linear Ceiling to emulate a clear sky.
Cloudy
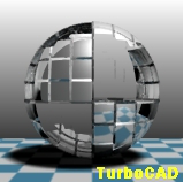
Description: Render style intended to produce rendering with a specified illumination.This rendering style uses the Final Gather algorithm with minimum render quality settings with illumination level set up under Tone Linear Ceiling to emulate a cloudy sky.
Hazy
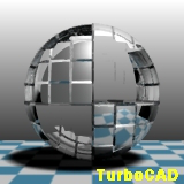
Description: Render style intended to produce rendering with a specified illumination.This rendering style uses the Final Gather algorithm with minimum render quality settings with illumination level set up under Tone Linear Ceiling to emulate a hazy sky.
Night - Overcast
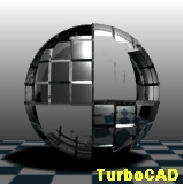
Description: Render style intended to produce rendering with a specified illumination.This rendering style uses the Final Gather algorithm with minimum render quality settings with illumination level set up under Tone Linear Ceiling to emulate night an overcast sky.
Overcast
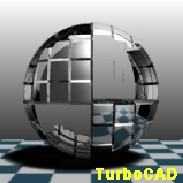
Description: Render style intended to produce rendering with a specified illumination.This rendering style uses the Final Gather algorithm with minimum render quality settings with illumination level set up under Tone Linear Ceiling to emulate an overcast sky.
Twilight - Clear
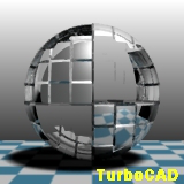
Description: Render style intended to produce rendering with a specified illumination.This rendering style uses the Final Gather algorithm with minimum render quality settings with illumination level set up under Tone Linear Ceiling to emulate twilight with a clear sky.
Twilight - Cloudy

Description: Render style intended to produce rendering with a specified illumination.This rendering style uses the Final Gather algorithm with minimum render quality settings with illumination level set up under Tone Linear Ceiling to emulate twilight with a cloudy sky.
Twilight - Hazy
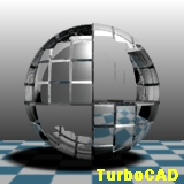
Description: Render style intended to produce rendering with a specified illumination.This rendering style uses the Final Gather algorithm with minimum render quality settings with illumination level set up under Tone Linear Ceiling to emulate twilight with a hazy sky.
Twilight - Overcast
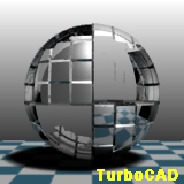
Description: Render style intended to produce rendering with a specified illumination.This rendering style uses the Final Gather algorithm with minimum render quality settings with illumination level set up under Tone Linear Ceiling to emulate twilight with an overcast sky.