Stellated Polygons

(Available in all variants)
Default UI Menu:

Ribbon UI Menu:

Creates a parameterized star shaped (stellated) polygon. To create a Stellated Polygon:
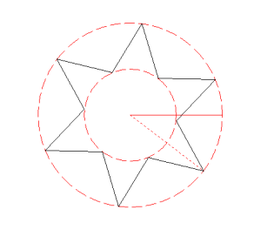
- Specify the number of teeth
- Specify the Internal and External radii
- If to wish the polygon to be rounded specify the Radius Fillets. (Skip this if you want to set the polygon as a wave)
- If you want there to be a hole in the polygon specify the Hole Diameter. Then:
- Click to place the center point for the polygon.
- Move the cursor and click to specify the rotation Angle for the polygon Or:
- Specify the angle value in the Angle field and click the Enter key.

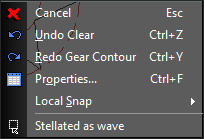
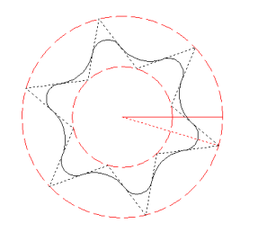
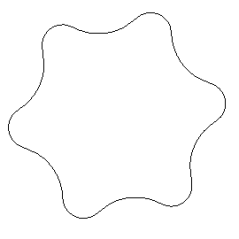
 Options: Stellated as Wave – this option sets an automatic wave curvature for the polygon. When this option is on the Fillet values are ignored.
Note: You cannot extrude, revolve, loft or perform similar 3D operations on Stellated polygons. You must explode them first.
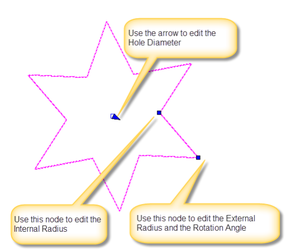
Editing Stellated Polygons
You can use the Edit tool to re-arrange and modify a Stellated Polygon. To Edit a Stellated Polygon:
- Select the polygon.
- Right click, and select Edit Tool.
- Use the node to reshape the polygon.
Note: You cannot rotate a Stellated Polygon using the standard rotation handles of the Selector tool. You must use the rotation angle of the polygon itself. 