Headlines
Headlines allow you to customize text further with image fill, stroke, shadows, etc.
Icon Descriptions.
Add – Adds a headline box to your page.
Font – Loads a drop down menu of available fonts.
Size – Set the desired size of selected headline from the drop down menu.
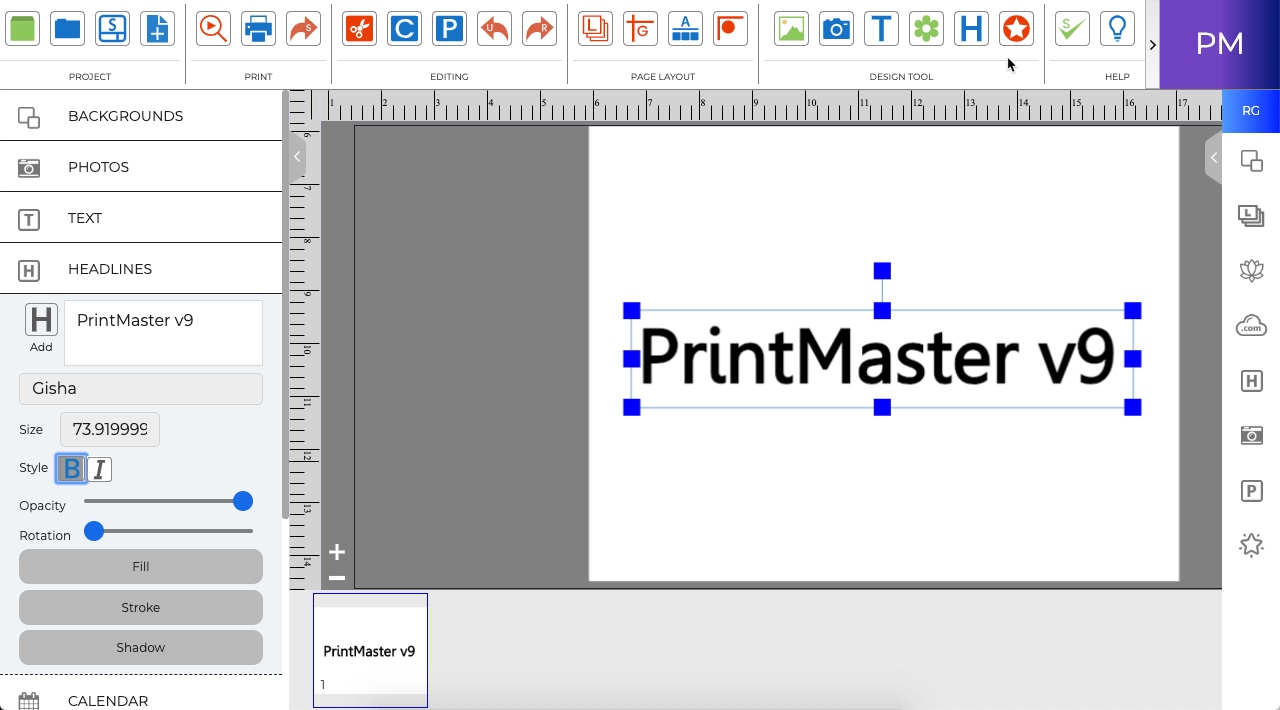
Style – Select B (Bold) or I (Italicize) to apply the style.
Opacity – Drag the slider left or right to increase or reduce the transparency.
Rotation – Drag the slider left or right to apply a rotation.
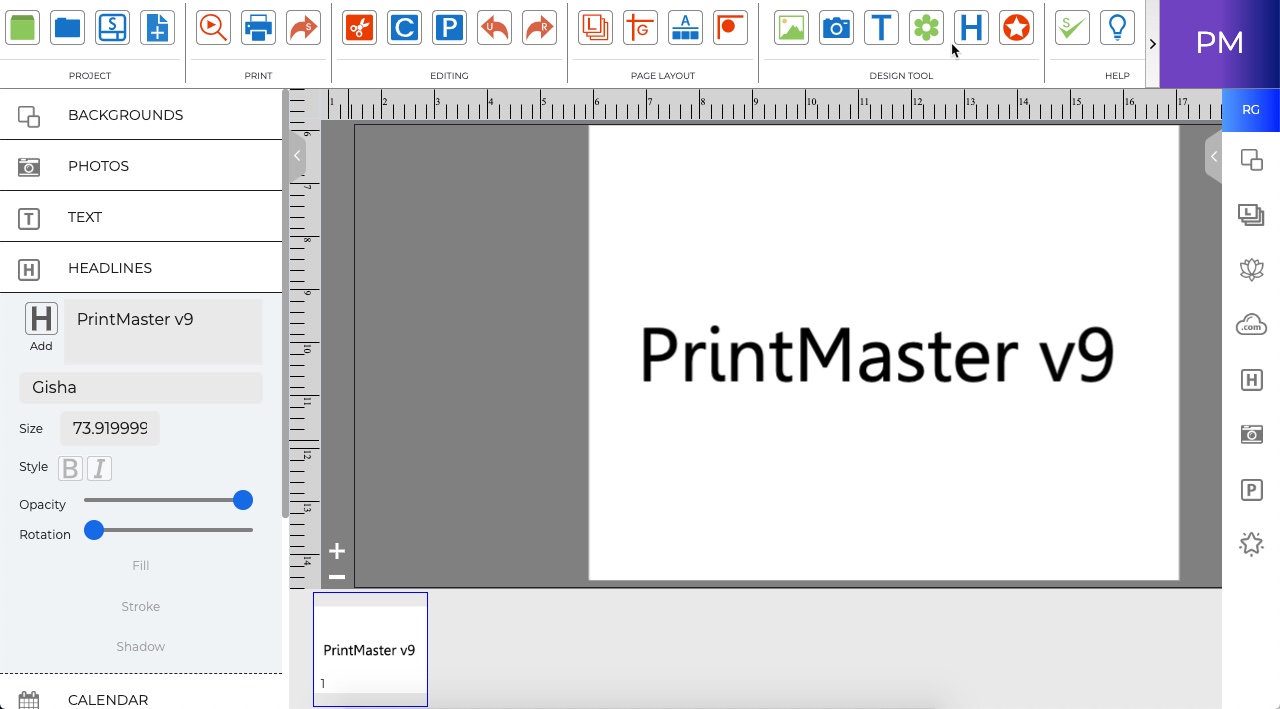
Adding Headlines
-
To add a headline to a page open the Headlines tab and click on the Add icon.
-
A headline box will appear in the middle of the page.
-
Type your headline, the headline box will update with what is typed.
-
Drag from the center of the box to adjust the position.
-
Drag from the handles (small grey boxes) to adjust the size of the box.
· Please note that the text will stretch to fit the headline box and will adjust the font size.
· To enter edit mode (allows typing) double-click on the headline box.
· You may size and position headlines on the page while in edit mode.
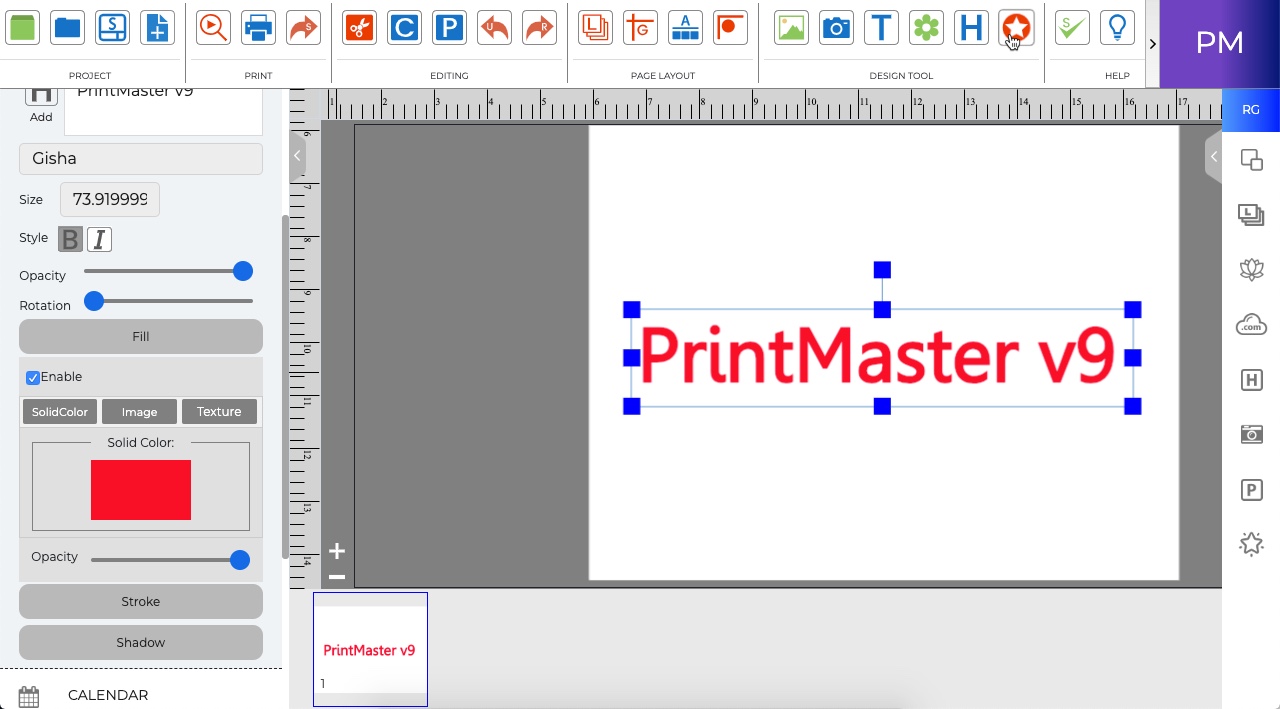
Fill Tab
Fill the characters in a headline: Color, Image, and Texture.
· Toggle the Enable check box to apply or clear the fill.
· Select an option from the Fill Type drop-down.
- Solid Color – Click on the Change Color square to select a color for the fill.
- Image – Click on the Change icon to choose an image file to fill the headline. Double-click on the headline to adjust the image’s position in the headline.
- Texture – Click on one of the Texture Options to fill the headline with that texture.
· Drag the Fill Opacity slider to increase or decrease the transparency of the fill.
Related Topics